


The saitama caped baldy cosplay figure cape is a handmade yellow-and-white cloth cloak scaled for 6-inch (1/12 scale) action figures, sold for $36.25 at The Figure Vault. The fabric is textured, the stitching is visible, and the edges carry light fraying. It is styled in a wind-blown billow and works on a Saitama-style figure or a mannequin torso. Confirm your figure's neck and shoulder fit before ordering.
Short answer: yes, if you want cloth that looks like cloth in close-up photos. No, if you want a cape that poses itself.
What the Saitama Caped Baldy Cape Actually Is
The design borrows the look of the hero from One-Punch Man: white cloak, yellow lining, a flare of fabric behind a bald head. This piece is soft goods, not molded plastic. You get woven cloth, seams you can see, and edges that fray a little because a person cut and sewed it.
Here is what the listing and the scale tell us, and what they don't.
| Spec | Detail | Source |
|---|---|---|
| Colors | Yellow and white | Product listing |
| Material | Textured cloth with visible stitching | Product listing |
| Edge finish | Light fraying, typical of handmade cloth | Product listing |
| Target figure size | About 6 in (15 cm), 1/12 scale | Product listing |
| Price | $36.25 | Product page |
| Full-size equivalent of a 7.5 cm cape | About 90 cm (35 in) | 1/12 scale math |
| Wire gauge, weight, exact length | Not published; confirm before buying | Ask the seller |
I would rather leave three cells honest than invent numbers. If a seller quotes exact dimensions for you, measure your figure against them.
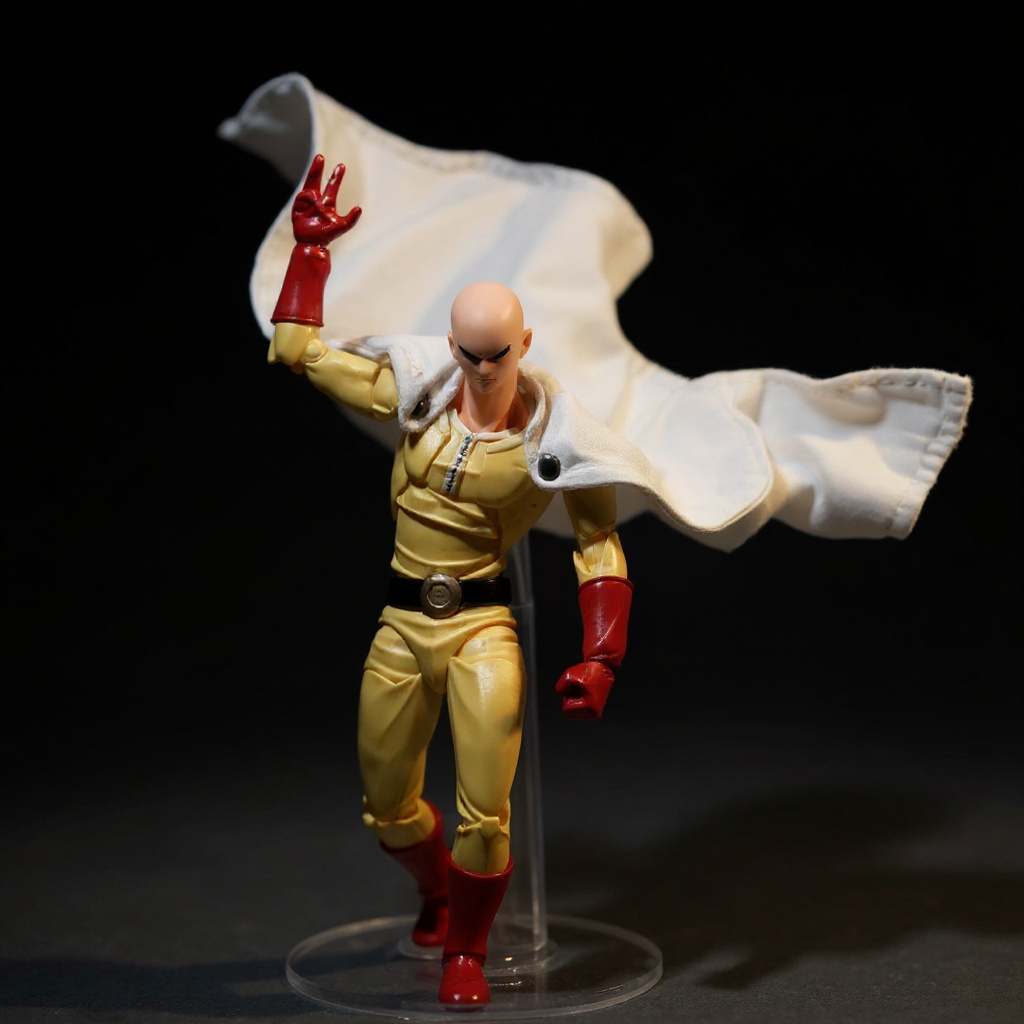
Cloth Versus Stock Plastic Capes: A Practical Comparison
I am not quoting a stock-cape price here. It varies by release and retailer, and a figure sold with a cape has that cost folded into the whole package. The table compares material behavior, which does not change from one release to the next.
| Trait | Typical stock cape (vinyl or molded plastic) | Handmade cloth cape |
|---|---|---|
| Surface | Smooth, uniform sheen | Woven texture, visible seams |
| Pose after unboxing | Holds the factory shape | Drapes until you shape it |
| Edge | Clean cut or molded | Light fraying |
| Light reaction | Glossy highlights | Soft, diffuse shadows in folds |
| Fix for kinks | Heat or replacement | Steam and re-shape |
| Unit-to-unit variation | Near zero | Small differences in cut and stitch |
That last row cuts both ways. Variation is charming in a photo and annoying if you expected an exact twin of the listing picture.
Why Stock Capes Look Flat in Photos
A plastic cape reflects light like a toy, and a limp one hangs straight down. Gravity wins. Your Saitama ends up looking like a guy waiting for a bus rather than the Caped Baldy mid-sprint.
Scale makes it worse. A cotton shirt fabric is about 0.3 mm thick. At 1/12 that is the equivalent of roughly 3.6 mm of cloth on a full-size cloak, which is why thick cloth looks stiff and bulky on a figure. A thin, finely woven fabric folds in smaller, more believable creases. Look for that in any cloth cape you buy, including this one.
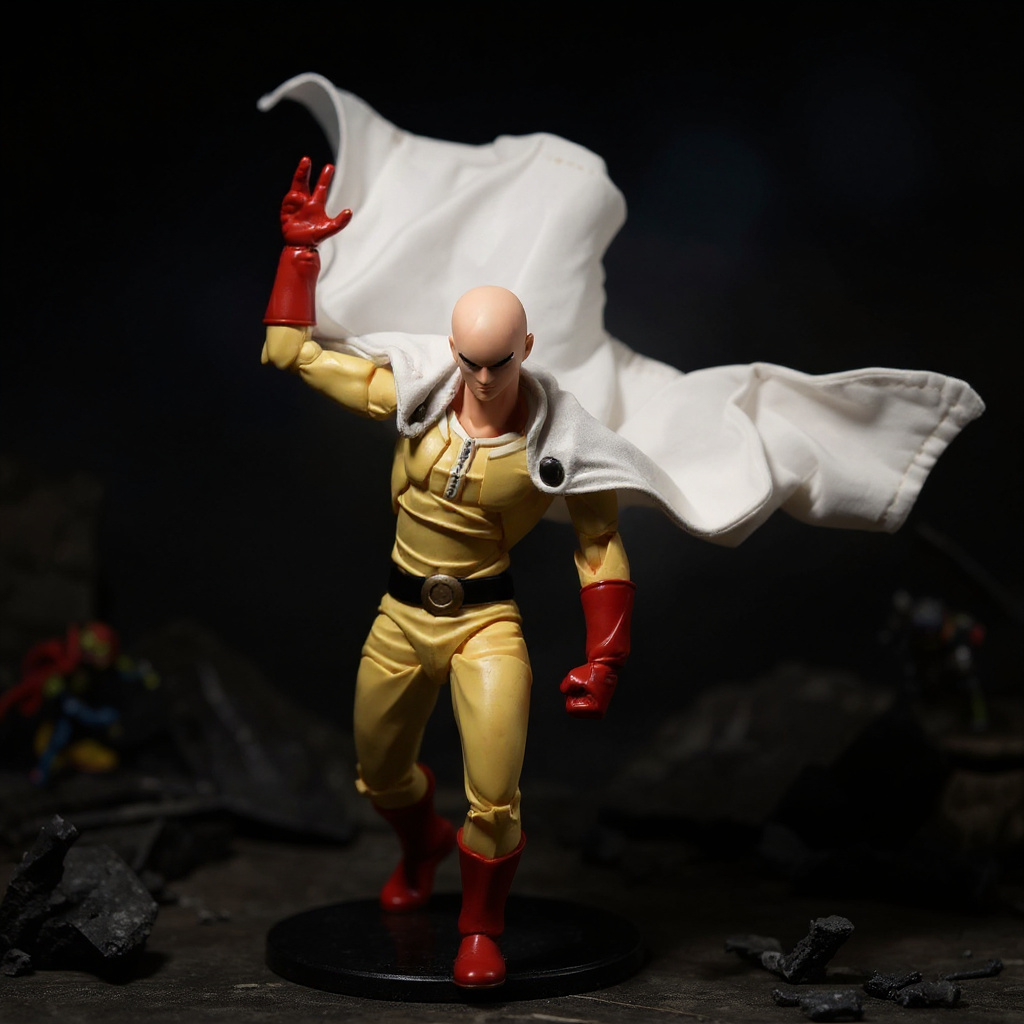
How to Pose a Wind-Blown Saitama Caped Baldy Cosplay Figure Cape
The cape in the product photo is billowing because someone shaped it. Plan to do the same. In my sessions, the cape held its folds best when I treated it like paper-thin fabric sculpture, not like a toy accessory.
1. Steam out shipping creases first. Hold a steamer 10 to 15 cm (4 to 6 in) away and work in sections. Let the cloth cool before touching it. 2. Dress the figure. Seat the cape at the neck and shoulders, then check that it sits level before shaping anything. 3. Choose one wind direction. Pick left, right, or straight back and commit. Mixed directions read as a mistake on camera. 4. Lift the leading edge. Pinch the edge facing the imaginary wind and raise it 2 to 3 cm (about 1 in) away from the body. 5. Set the folds. Use a light mist of fabric stiffener or diluted craft glue, then hold or clip the shape until it dries. Test on a hidden corner first. 6. Add an anchor if needed. Fine floral wire, about 26 gauge, can be hidden along the hem. Annealed craft wire work-hardens, so expect to re-bend a spot only a few times before it weakens. 7. Shoot within the hour. Gravity returns on loose cloth. Photograph the shape while it is fresh.
Bends. Folds. Patience. That is the whole technique.
Does It Fit? A Pre-Purchase Checklist
Fit decides whether a replacement cape looks tailored or borrowed. Run this list before you order.
1. Measure your figure's height. A 6-inch (15 cm) body matches the 1/12 target. 2. Measure shoulder width from edge to edge with a ruler, and note whether your figure is stocky or lean. 3. Identify the attachment method. Check whether your figure uses neck-collar drape, pegs, magnets, or clips. Ask the seller how this cape attaches. 4. Ask for the cape length. Compare it to your figure's height. At 1/12 scale, a cape reaching mid-calf is about 7 to 8 cm. 5. Check your current cape's top edge. If it is damaged, photograph it for the seller.
The maker of the original figure publishes product details at Tamashii Nations. Use those to confirm body height and joint layout for official releases. Third-party figures differ, so measure instead of assuming.
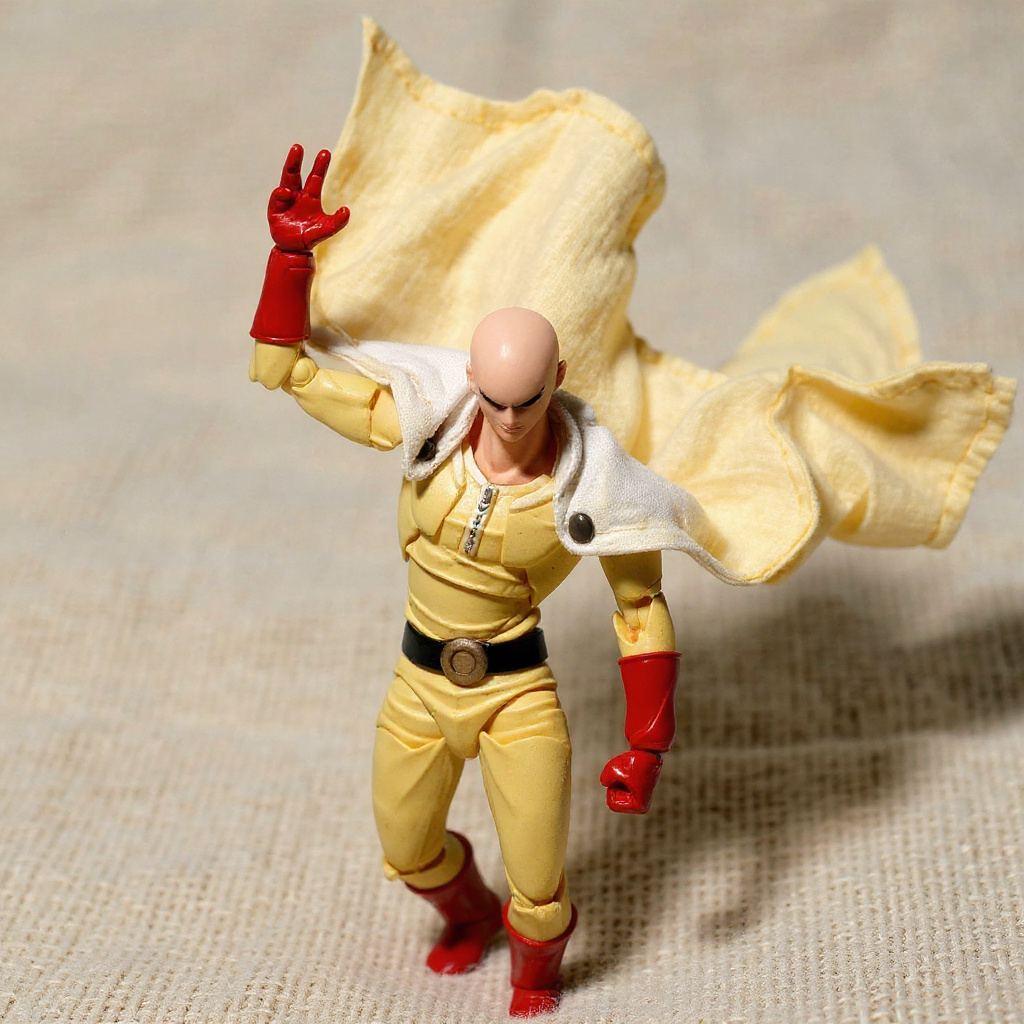
Photography Setup for One-Punch Man Figure Capes
Light does most of the work. Side lighting throws shadows into the folds and makes the weave visible. A rim light from behind makes the frayed edges glow, which suits a cape that is supposed to catch wind.
Shoot slightly below the figure's chin line so the cloak looms. A high angle flattens the folds you just built. Use a plain backdrop. Dark gray or navy makes the white and yellow separate cleanly from the background.
Asymmetry sells motion. If Saitama throws his right fist, push the cape to trail off his left side. Photographers who share work on Reddit's r/ActionFigures often use this trick to suggest force without a motion-blur effect.
Browse more soft-goods accessories in the Figure Vault collection if you want matching backdrops or stands.
The Honest Limits of a Handmade Cloth Cape
Honestly, if you want a cape that holds a dramatic pose by itself straight out of the package, skip this one. Cloth drapes. It does not stand up on its own without stiffener, clips, or hidden wire, and a product photo of a billowing cape is a styled shot, not the default state.
A second caution: stiffener and humidity do not get along. If you live somewhere damp, a starched shape can soften within days. Display the figure in a closed case or re-set the folds before every shoot.
And the frayed edges? Part of the look. Not a defect. If you dislike loose threads, trim them with small scissors or dab a fray-stopper on the edge, but know that a perfectly clean hem would look less hand-sewn in close-up photos.
Care, Fraying, and Repair
Steam removes most wrinkles. For stubborn creases, dampen the spot, reshape it over a rolled paper form, and let it dry for several hours. Store the cape loosely draped over the figure or flat in a bag, never folded tight in a drawer for months.
If you add hidden wire, note that it can poke through the cloth after repeated bending. That is a result of the DIY addition and not a feature of the cape itself. Re-thread or replace the wire if it kinks.
Fraying will spread slowly. A dot of fabric glue at the worst corner stops it.
Is the Saitama Caped Baldy Cosplay Figure Cape Worth It?
At $36.25, you are paying for handwork and a texture that plastic cannot copy. For shelf display of a standing figure, a stock cape is fine. For photographers, diorama builders, and anyone replacing a lost or torn cloak, a cloth piece gives more to work with.
I would buy it for the look and accept the shaping effort. If shaping sounds tedious, buy something rigid instead.
Ready to compare? See the Saitama cape for 6-inch figures and check the measurements against your own figure.

