


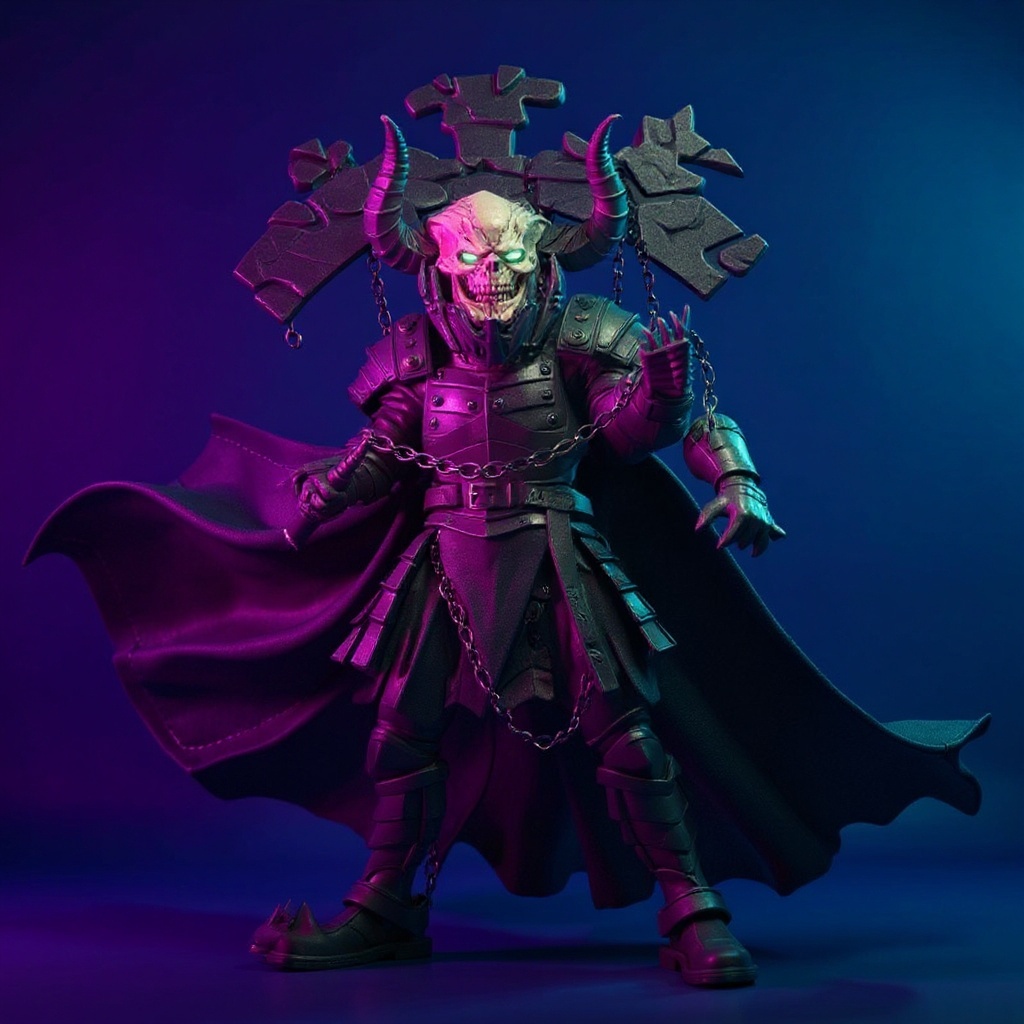
After making 12 capes for my own 6.5-inch shelf, I can tell you the biggest myth about a DIY cloth cape for action figures is that it's a quick weekend craft. It's not. It's fussy, small-scale sewing work that rewards patience and punishes rushing. But when it works, a wire-shaped cape draped over a figure's shoulders looks nothing like the stiff plastic capes that ship from the factory.
A proper DIY cloth cape for action figures starts with the right fabric, moves through a wire armature build, and ends with hand-finished stitching that holds a billowing, mid-motion pose. You'll need lightweight woven material, 24-gauge floral wire, sharp scissors, and basic sewing skills. That's it. No sewing machine required, though it helps.
Most factory capes are rigid plastic that can't hold dramatic poses. A cloth cape with an internal wire armature lets you shape windswept effects, battle stances, or a cape frozen mid-flow — the kind of thing that makes a dark, flowing cape in deep black or muted purple-red tones look like it's caught in a gust of wind rather than glued to a figure's back.
What Fabric Actually Works for 1/12 Scale Capes
Scale matters more than you'd think. Heavy fabrics like canvas or thick cotton look bulky on a 6.5-inch figure. Light cotton, silk, or cotton-polyester blends drape better without overwhelming the figure's proportions. Every DIY cloth cape for action figures I've built with the wrong fabric weight ended up looking like a tarp, not a costume piece.
Cotton broadcloth weighs about 3-4 ounces per yard, which is close to ideal for this scale. Silk drapes even softer but costs three times as much and frays if you look at it wrong. Polyester microfiber works too, though it can throw a shine under display lighting that reads as "toy" instead of "miniature textile."
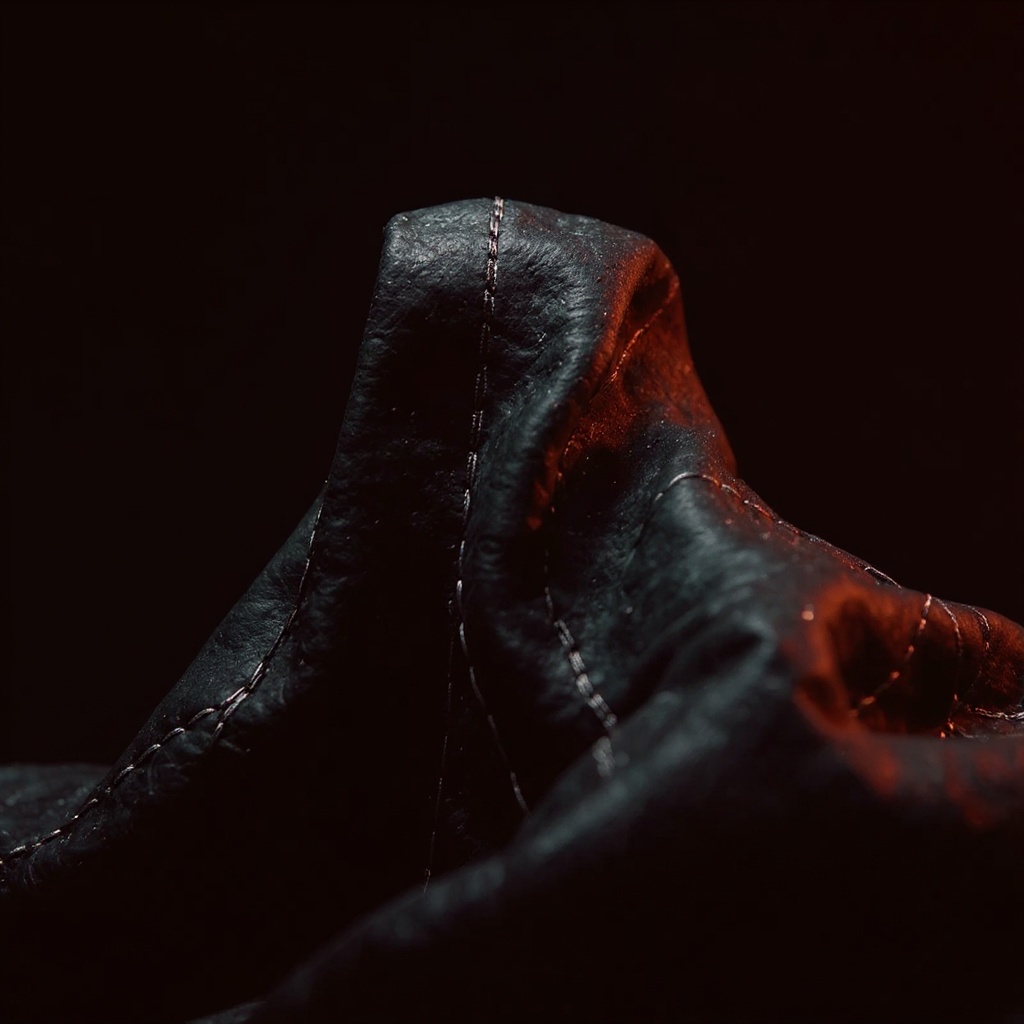
Avoid satin. Avoid anything with high sheen. Real fabric texture reads better in photos than synthetic-looking material does, especially against a clean, minimal background where the cape's silhouette is the whole point of the shot. Matte finishes photograph in a way that glossy fabric simply can't match — the light sits on the surface instead of bouncing off it.
Test fabric drape before you cut anything. Hold a 4-inch square between two fingers. If it folds under its own weight, naturally, without standing rigid, it'll work for a wire-shaped billowing pose. If it holds a shape like cardboard, put it back on the shelf.
Honestly, if you live in a humid climate, skip silk entirely — it clings, wilts, and loses its crease within a week on my display shelf in July. Cotton broadcloth held its shape through an entire summer in the same room.
Wire Selection and Placement for Posable Capes
Floral wire comes in gauges from 16 (thick) to 30 (thin). For cape edges on a 6.5-inch figure, 24-gauge gives enough structure without turning stiff. You can bend it dozens of times before it snaps, which matters when you're chasing the right billowing angle.
22-gauge works for longer capes that need more support. 26-gauge is too flimsy — it won't hold a pose past a day or two. Craft and hardware stores sell 24-gauge wire in 18-inch lengths for around $0.75 per piece, and you'll go through two or three per cape once you count mistakes.
Run wire along the cape's bottom hem and outer edges. Skip the top. You don't want bulk around the neck attachment point. Create a U-shape that follows the cape's perimeter, leaving about 2 inches unwired near the attachment so the fabric can still move with the figure's shoulders.
| Wire Gauge | Best Use | Pros | Cons |
|---|---|---|---|
| 20-gauge | Heavy battle capes | Very strong pose retention | Too bulky for light fabric |
| 22-gauge | Standard capes | Good pose retention | Slightly visible through thin fabric |
| 24-gauge | Most 6.5" figure capes | Nearly invisible, bendable | May not hold extreme poses |
| 26-gauge | Lightweight capes | Completely hidden | Loses shape within days |
| 28-gauge (paired, doubled) | Detail edges only | Fine control on small curls | Weak alone, needs pairing |
Some customizers mix wire gauges — 22-gauge for the main structure, 24-gauge for detail areas near the edges. More work. Better results, most of the time.
Cutting and Sewing Techniques That Don't Look Homemade
Start with a paper pattern before you touch fabric. Trace your figure's shoulders, then extend the cape shape outward on paper. Most capes for a 6.5-inch figure need 4-5 inches of width and 3-4 inches of length, though a longer dramatic sweep can run a bit past that.
Here's the sewing sequence I follow on every DIY cloth cape for action figures I build now:
1. Cut the pattern from paper first — never freehand cut fabric 2. Pin the pattern to fabric and cut with sharp scissors, not dull ones 3. Finish raw edges with a pinking shear or a narrow zigzag stitch 4. Fold a wire channel along the bottom hem and outer edges 5. Insert pre-shaped wire into the channel before closing the seam 6. Hand-stitch the attachment point at the shoulders for tension control 7. Test shoulder movement on the figure before you call it finished
Cut fabric with sharp scissors. Dull blades create frayed edges that look amateur, and there's no fixing that after the fact. French seams hide wire better than a regular seam does — fold the fabric over the wire, then sew a narrow channel so the wire stays hidden and can't poke through the front.
Hand-stitching the attachment point beats machine sewing at this scale. You get finer control over fit. You can adjust tension by feel. Use buttonhole thread; it's stronger than standard sewing thread and won't snap when the figure gets repositioned for the fortieth time.
Action figures need capes that don't fight the arm joints. Test the attachment point by moving the figure's shoulders through a full range before you finalize any stitching — I've had to rip out and redo an attachment point three times on a single cape because I skipped this step the first two.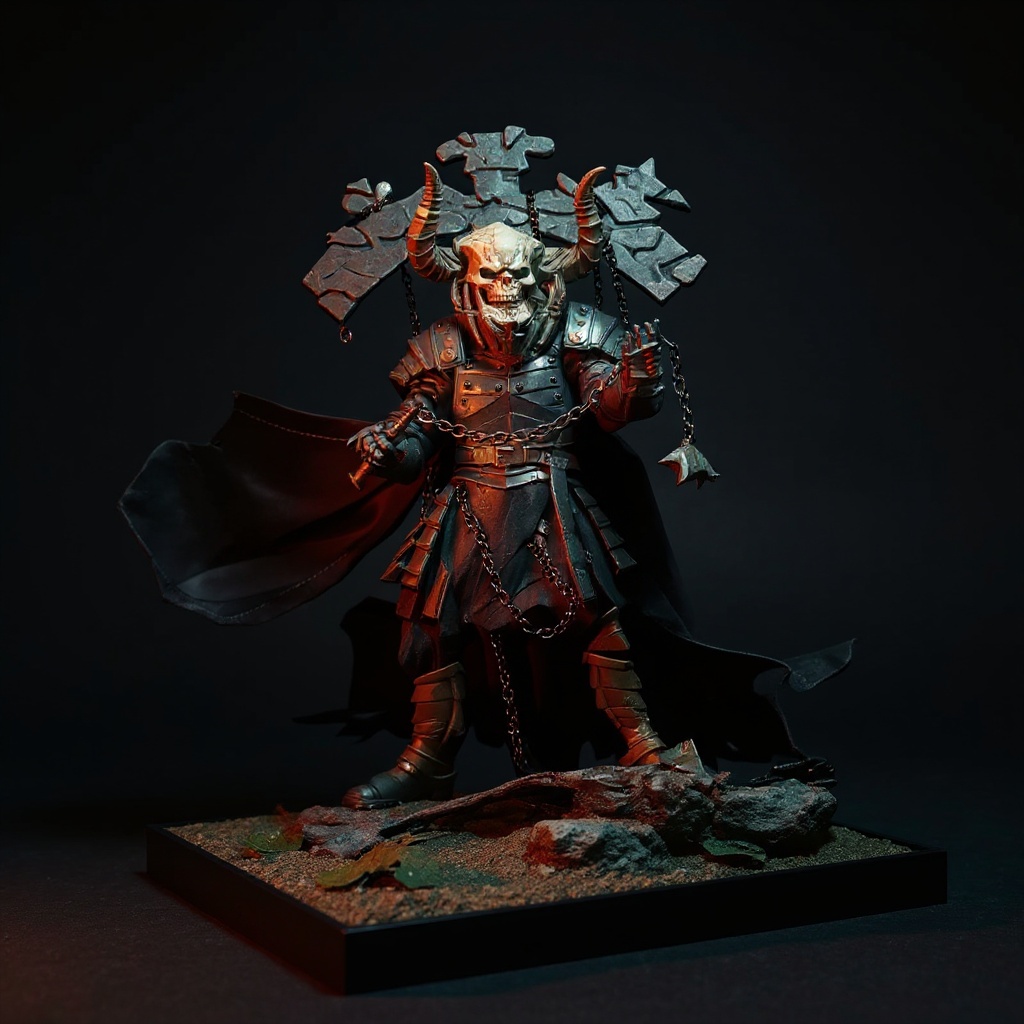
How to Shape Wire for Dynamic Poses
New wire holds memory. It wants to return to straight. Pre-shape it with gentle curves before inserting it into the fabric channel, or the cape will look artificially stiff no matter how good the fabric is.
Shape in sections: outer edge first, then bottom hem. Work in small increments instead of forcing one sharp bend. Sharp bends create stress points that crack the wire's coating and eventually snap.
For a windswept effect, curve the wire so one side extends forward while the other flows back. Asymmetrical shapes read as more natural than a perfectly symmetrical mirror image — real fabric never billows evenly on both sides.
1. Bottom edge curved up — creates the sense of the cape lifting off the back 2. One side pulled forward — suggests a wind direction 3. Gathered sections — adds texture and bulk variation along the hem 4. Twisted corners — keeps the cape from reading as flat 5. Slight S-curves — hides the wire line so it doesn't look mechanical 6. Varied heights — one side higher than the other reads as more dynamic 7. Forward tilt at the collar — suggests the figure is moving into action, not standing still
Wire softens with handling over time. Build in more curve than you think you need at first, because it will relax within a few weeks of shelf display.
Common DIY Mistakes and How to Fix Them
Oversized proportions kill the effect fast. Beginners often make capes too large, assuming bigger reads as more dramatic. On a 6.5-inch figure, less fabric almost always looks better.
Wrong attachment methods cause real problems down the line. Velcro adds bulk you can see under the fabric. Snaps work but need reinforcement or they'll tear free. Simple ties or small hooks work best for this scale, full stop.
Poor wire placement shows through fabric as a visible ridge. Run wire slightly in from the edge, not right along the seam line, to prevent that.
Many people skip prewashing the fabric. A mistake. Cotton shrinks 3-5% after its first wash, and shrinkage after the cape is assembled can snap the internal wire or pull the seams crooked.
Thread tension matters more on small items than on full-size sewing projects. Tight stitching puckers the fabric. Loose stitching leaves gaps. Test tension on a fabric scrap before you commit to the real piece.
When to Buy Instead of DIY
DIY works if you enjoy the process and have the time for it. Figure 4-6 hours for a first cape, pattern-making and fit-testing included — mine took closer to 9 hours the first time, and it still wasn't quite even on both sides.
Buying makes more sense when you need consistent quality across multiple figures, or you just want a finished dark, flowing cape without the trial-and-error phase. Professional makers keep pattern libraries and already know which fabric weights hold a wire-shaped pose without sagging.
One option worth a look: the 6.5 Inch Action Figure Replacement Cape, which ships with a pre-shaped wire armature and a fabric weight already tested for this scale. If you'd rather browse finished pieces than build a wire channel from scratch, our cape and accessory collection covers a wider range of tones and lengths, and our wire armature basics guide goes deeper into the bending techniques touched on above.
| Aspect | DIY Approach | Commercial Option |
|---|---|---|
| Cost | $15-25 in materials | ~$59 ready-made |
| Time | 4-9 hours, first attempt | 0 hours |
| Customization | Full color and shape control | Limited to listed options |
| Quality consistency | Varies with skill level | Standardized across units |
| Wire work | Learning curve, some failures | Pre-engineered armature |
| Fraying risk | High if edges aren't finished | Low, factory-finished |
Commercial advantages: consistent sizing, reinforced attachment points, fabric that won't fray after a few handling sessions. DIY advantages: custom colors, a personalized fit, and the satisfaction of having made the thing yourself. Both are valid. Neither is objectively "better" for every collector.
Frequently Asked Questions
How do you turn fabric into a cape?
Cut fabric to size, finish the edges, sew a wire channel along the perimeter, insert 24-gauge wire, and attach the cape to the figure's shoulders with small ties or hooks.How do you make a DIY superhero cape for a small figure?
Use lightweight cotton in a solid, dark tone, keep the proportions smaller than a full-scale costume cape would suggest, add wire along the edges for posability, and finish the hems cleanly so nothing frays.What can you use instead of a cape?
Cloth scarves, fabric strips, or modified doll clothing all work as substitutes. Some customizers use thin leather or pleather for an armor-style look instead of soft fabric.What is the best fabric to make a cape out of?
Cotton broadcloth in the 3-4 ounce weight range offers the best balance of drape, durability, and scale-appropriate thickness for a 6.5-inch figure.What is the best fabric for 1/12 scale capes specifically?
Lightweight cotton, cotton-poly blends, or silk work best. Skip heavy fabrics like canvas, and skip anything with a high-sheen finish like satin — it looks unrealistic once photographed against a plain background.What are the best places to buy a 1/12 wired cape?
Etsy has many independent makers, though quality swings widely from shop to shop. Specialized figure-accessory sellers tend to offer more consistent wire work. Reddit's action figure communities share seller recommendations regularly, and threads on fabric sourcing turn up occasionally on general sewing forums too.What fabric do experienced customizers recommend for figure capes?
Most experienced customizers land on cotton broadcloth or a cotton-polyester blend in the 3-4 ounce range. It drapes without adding bulk, and it takes a hand-stitched hem well.Has anyone tried wired soft-goods capes on McFarlane-style figures?
Yes. Many customizers use wired capes on McFarlane figures, and the scale works fine. You may need to adjust the attachment method since McFarlane figures use different shoulder construction than Marvel Legends figures do.How long does a handmade wire cape actually last with regular repositioning?
In my experience, a 24-gauge wire cape holds a pose through roughly 30-40 repositions before the wire starts to soften noticeably. After that, it still looks fine standing still — it just won't snap back into a sharp curve anymore.Can I use a hair dryer or steam to help shape the cape fabric?
A light steam pass helps set folds after wire shaping, but keep it brief. Too much heat on cotton broadcloth can flatten the texture you were trying to preserve in the first place.What I'd Actually Recommend
DIY cloth capes reward patience and punish rushing. If you're committed to learning the wire work, start with cheap cotton practice pieces before you touch your good fabric. Master the channel-and-insert technique first.
For most collectors, buying a proven cape saves both time and frustration. The wire engineering alone takes real trial and error to get right, and a few ruined squares of fabric before you get there.
That said, DIY gives you full creative control over color, texture, and the exact curve of a billowing pose — things no catalog can fully match. The choice comes down to whether you value the process or just the finished piece on your shelf.
If you'd rather skip the learning curve, browse our 6.5 Inch Action Figure Replacement Cape to see the wire integration and fabric choice done already. Sometimes the smarter DIY decision is knowing which parts to hand off.

