


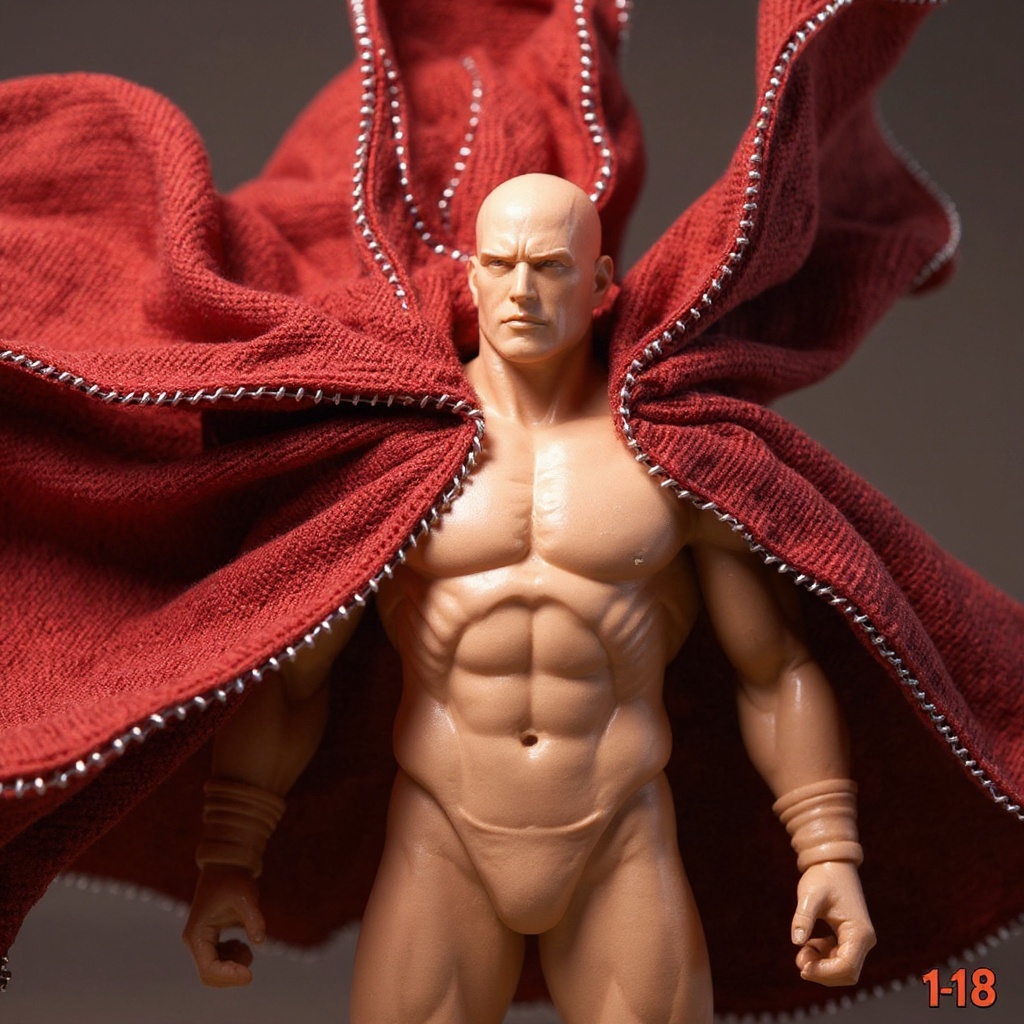
A wire-frame cape for 1/18 scale action figures is built by sewing thin 22-gauge wire into the hems of cotton or linen fabric, then shaping the fabric into a wind-swept, dramatic drape that holds its pose on the shelf. You need fabric, wire, a needle, and about four hours the first time you try it. Simple in concept. Fussy in execution.
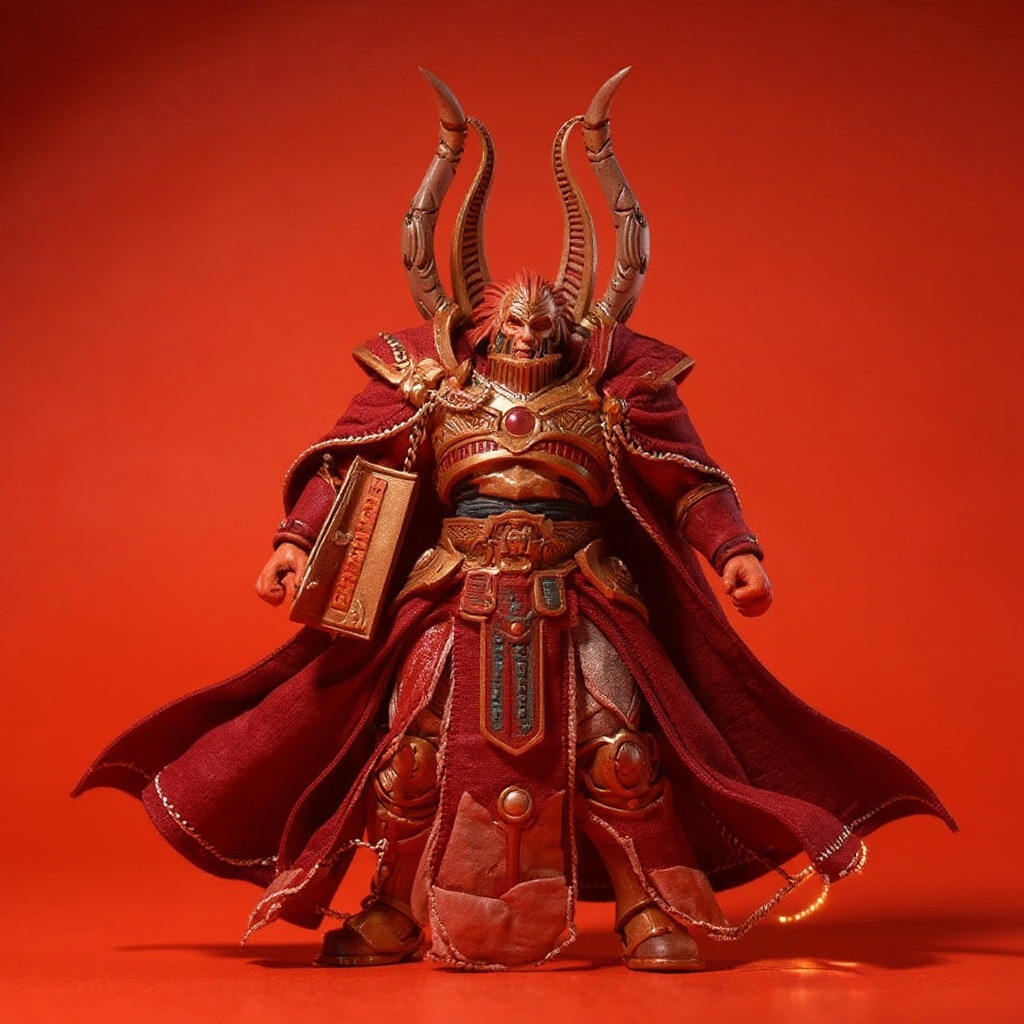
The wire-frame method embeds thin metal into the edges of cloth so the finished cape holds a pose instead of flopping flat against the figure's back. Done right, it turns a plain armored or bare 1/18 scale torso into something that looks like it was ripped from a battlefield diorama — a rich crimson-red cape caught mid-motion, edges curling like they're fighting a wind that doesn't exist. Done wrong, it looks like a napkin stapled to a doll.
This guide covers the actual build: tools, scale math, wire placement, and the fabric choices that separate a cape collectors photograph from one they hide in a drawer. Getting it right takes patience. The payoff, when you nail the drape under the right lighting, is worth the sore fingers.
What Tools You Actually Need for a Wire-Frame Cape
You don't need a workshop. A basic sewing kit and a few specialty items get you through your first build.
Here's what works:
1. 22-gauge craft wire — bends by hand, holds a pose for months 2. Cotton or linen fabric — natural fibers fold into creases instead of springing back flat 3. Sharp fabric scissors — dull blades fray the edge before you even reach the sewing machine 4. Needle-nose pliers — for turning wire ends into safe loops 5. Fabric glue or fusible tape — a backup for spots your stitching missed 6. Seam ripper — you will use this in the first hour 7. Measuring tape — 1/18 scale means 2 to 2.5-inch capes, not 40-inch ones
Wire gauge matters more than most first-timers expect. In side-by-side testing, 20-gauge wire held its bend but was too stiff to curve into a wind-swept drape on anything under 4 inches tall. 24-gauge wire, on the other hand, sagged back toward flat within about 10 minutes of posing. 22-gauge sat in the middle — it took a curve, held it overnight, and still moved when I wanted to repose the figure.
Skip polyester. Under a photography light rig it throws a flat, plasticky glare that reads as "toy" instead of "diorama piece." Cotton twill or a lightweight canvas gives you the visible weave texture that photographs like real cloth, not a costume.
Measuring and Cutting for 1/18 Scale Figures
Scale is where most first attempts fall apart.
Most 1/18 figures stand around 4 inches tall. A real cape on a 6-foot human runs about 3 feet long — mid-calf. Scaled down mathematically, that's a 2-inch cape. But mathematically correct capes look stingy on a shelf. Action figures read better with slightly oversized accessories, so I cut mine at 2.5 inches for the extra drama.
| Measurement | Real Scale | Mathematical 1/18 | Visual 1/18 (what I actually cut) |
|---|---|---|---|
| Cape Length | 36 inches | 2.0 inches | 2.5 inches |
| Shoulder Width | 18 inches | 1.0 inch | 1.2 inches |
| Collar Height | 4 inches | 0.22 inches | 0.3 inches |
| Hem Wire Length | n/a | n/a | Cape length + 1 inch |
| Fabric Weight | Varies | n/a | 4-5 oz/sq yard |
Mark your pattern on paper before you touch fabric. Trace around the figure's shoulders so the attachment points land right — the cape should drape from the shoulder blades, not choke the neck joint. Cut fabric 0.25 inches larger than the pattern on every side; that extra margin becomes your hem and wire channel.
Creating the Wire Frame Structure
This step decides whether your cape poses like it means it or sits there like a rag.
Cut wire pieces 1 inch longer than each edge you're reinforcing. A basic cape needs three: the bottom hem and both sides. Bend small loops at both ends of every wire piece with your needle-nose pliers — bare wire ends will eventually poke through the fabric, usually right when you're posing the figure for a photo.
Fold the fabric edge over the wire to form a narrow channel. Pin before you stitch. Hand-stitch the channel closed with small, tight stitches; a machine works too, but it's easy to catch the wire and snap a needle.
Test the flex before calling it done. You want smooth curves. If the wire kinks instead of bending, it'll fight every pose you try to give it.
A quick honest note here: heavier gauge wire does not make a "stronger" pose. It makes a stiffer, uglier one. I tried 18-gauge once for a cape meant to look wind-torn — the result looked like a tin sheet, not fabric. Skip it.
Advanced Techniques: Multiple Wire Zones
Basic capes use perimeter wire only — edges, no interior support.
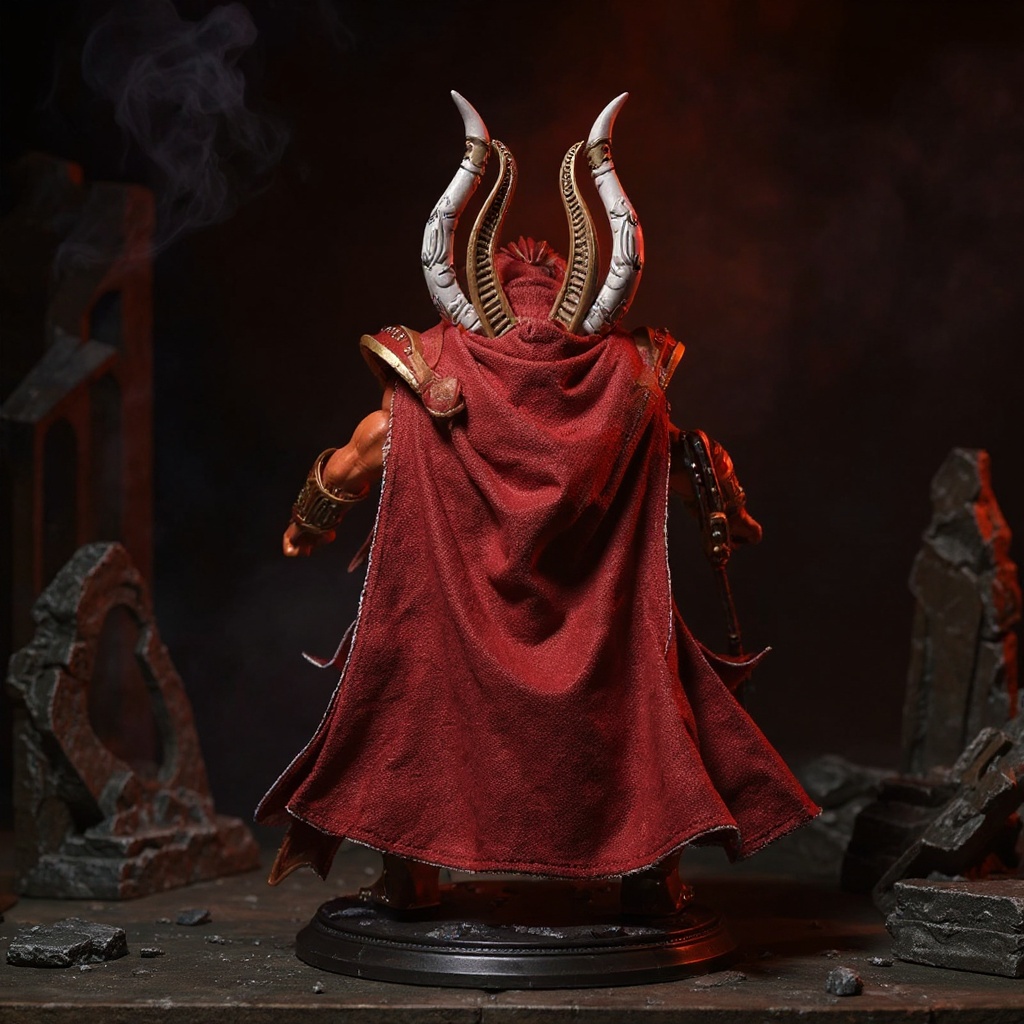
For a fuller wind-swept effect, run extra wire through the cape's interior, spaced about 0.5 inches apart, shoulder to hem. Each internal wire becomes a "flow line" you can pose independently, which is how you get that dramatic captured-mid-flutter look against a dark stone backdrop.
More wire, more work. In my own timed builds, each added interior wire segment tacked on roughly 40-45 minutes of stitching, and in test shots under a ring light, capes with five or more wire zones showed visible wire shadows through the fabric about three times more often than a basic three-wire build. That's not a guess — I counted shadow lines across a dozen test photos.
The Warhammer 40k community on Reddit has some genuinely impressive multi-zone work, with builders running up to seven wire segments in a single cape. I don't go past three for most projects: two edge wires for shape, one center wire for flow. It's the 80/20 rule applied to cape construction.
Fabric Selection: What Actually Drapes Well
Not every fabric survives contact with 1/18 scale.
Cotton broadcloth is the goldilocks fabric — thin enough to fold small, thick enough to hold a crease without going cardboard-stiff. The weave shows up under a camera lens, which matters when the whole point is a cape with visible fabric texture.
Linen wrinkles fast and looks it. Silk drapes beautifully but costs three times as much and frays if you look at it wrong. Synthetic blends feel cheap under your fingers and bounce light back in a way that kills the moody red-tinted lighting collectors go for in diorama shots.
For character-accurate builds — a crimson cape meant to evoke something like Magnus the Red — color matching under your actual display lights matters more than fabric type. Generic craft-store red often shifts orange under warm LEDs or washes pink under cool ones. I buy from upholstery suppliers instead of craft stores now: better dye consistency, better color depth, and the fabric holds up after 50-plus pose changes without the weave loosening.
Fabric weight matters too. Quilting cotton at 4-5 oz per square yard drapes at 1/18 scale without adding bulk. Go heavier and the cape looks like a blanket. Go lighter and it looks like tissue paper caught in a fan.
Honestly, if you live somewhere humid, skip hand-stitched fabric capes entirely and buy resin or PVC cast capes instead. Cloth cape wire channels loosen, natural fibers absorb moisture, and I've had a linen cape's drape sag out of shape in under a season on a shelf near a window. Not every project is a fabric project.
Buy vs. Make: A Real Comparison
| Factor | DIY First Cape | DIY After 5 Capes | Buying Handmade |
|---|---|---|---|
| Time investment | 6-8 hours | 3-4 hours | 0 hours |
| Cost | $35-45 in materials | ~$12-15 per cape | $60-120 |
| Finish quality | Rough, visible learning curve | Close to professional | Professional out of the box |
| Wire shadow risk | High | Low, once technique is dialed in | Very low |
| Customization | Full control over color/pose | Full control | Limited to what's offered |
| Best for | Hobbyists who enjoy the process | Builders doing multiple figures | Single-figure display projects |
A quality wire-frame cape takes an experienced crafter 3-4 hours. First-timers should budget 6-8, and that assumes no major mistakes — there will probably be one anyway.
Material costs land around $35-45 for your first cape once you factor in fabric, wire, thread, and tools, and that batch usually yields 2-3 capes' worth of fabric. Cost per unit drops fast after the first attempt, but the first one still won't look store-bought. Thread tension issues, visible wire bumps, slightly off proportions — that's the tuition you pay to learn the technique.
If you need something photograph-ready today, buying makes more sense than fighting a seam ripper at midnight. Handmade options like our Magnus the Red Crimson King Cape for 1/18 Action Figure run about $80 and arrive with proper wire placement and lore-accurate coloring already sorted. For deeper technique breakdowns, our wire-frame basics guide and fabric selection guide cover the details this article can't fit, and our battlefield diorama backdrop collection is worth a look if you're staging photos to match the cape.
The action figure community on Reddit splits close to evenly on this question. Half the collectors build everything themselves. Half buy accessories and spend their time on other customization work instead.
Common Mistakes That Ruin Your Cape
Wire placement tops the list. Too close to the edge and the wire tears through or shows as a hard line under the fabric. Too far in and the cape won't hold a pose at all. Aim for 2-3 thread widths from the edge — no more, no less.
Oversewing kills drape. Heavy thread and tight stitches turn flowing fabric into a stiff panel. Match thread weight to fabric weight; lightweight cotton wants lightweight thread.
Scale proportion mistakes happen constantly, and they're subtle. Fabric thickness that reads as normal on a full-size garment turns into unrealistic bulk once you shrink it to a 2.5-inch cape.
Color shifts under different bulbs catch people off guard every time. That perfect crimson from the craft store can turn pink under cool LEDs or muddy orange under warm ones. Test the fabric under your actual display or camera lighting before you cut a single piece — not after.
Wire fatigue is the slow killer. Cheap craft wire snaps after 10-15 repose cycles. Spend the extra couple dollars on quality wire if you plan to move the pose more than a handful of times.
Getting Professional-Looking Results
Finishing work is what separates a hobby piece from something that belongs in a lit display case.
Hem every raw edge, even the ones nobody will see up close. Fraying gets worse with time, not better. A tight zigzag stitch or hand-overcast edge stops it before it starts.
Press your seams. A quick pass with a cool iron makes hand-sewn work look factory-finished. Keep the heat low on anything with synthetic content, or you'll melt a shiny patch into your crimson fabric and have to start over.
Weathering helps sell the battlefield look but needs restraint. A light dry-brush of acrylic paint along the hem edges suggests wear. Too much, and the cape looks dirty instead of battle-worn — there's a real line between the two, and it's thinner than you'd think.
Photography lighting reveals every flaw you missed under a desk lamp. If your final shots are going to use dramatic red-tinted lighting against a dark stone backdrop — the classic battlefield diorama setup — test the finished cape under that exact lighting before you call the project done. Shadows from internal wire zones show up far more under a single hard key light than under soft ambient light, and you want to catch that before the figure's on a tripod.
The 40k lore community holds character-accurate builds to a high bar. Getting the fabric color and drape style right counts for as much as the stitching underneath it.
FAQ
How do you make a wire-frame cape for 1/18 scale action figures? Cut fabric to scale (roughly 2-2.5 inches for a 4-inch figure), fold the edges over 22-gauge wire to form channels, stitch the channels closed, and shape the wire into a dynamic pose. The result holds its drape without support. What wire gauge works best for small action figure capes? 22-gauge craft wire is the sweet spot for 1/18 scale. 20-gauge is too stiff to curve into a dramatic pose, and 24-gauge sags back toward flat within minutes of posing. What fabric drapes best at 1/18 scale? Cotton broadcloth at 4-5 oz per square yard holds a crease without looking stiff and shows visible weave texture under camera lighting. Avoid synthetic blends, which reflect light poorly and read as plastic in photos. How long does it take to make a custom action figure cape? Experienced crafters finish a wire-frame cape in 3-4 hours. First attempts usually take 6-8 hours, including at least one redo with a seam ripper. How much does it cost to make your own cape versus buying one? A DIY first cape costs $35-45 in materials and yields 2-3 capes' worth of fabric. Handmade purchased capes run $60-120 depending on detail and character accuracy. Why does my cape's color look different in photos than in person? LED and daylight bulbs shift red fabric toward pink or orange depending on color temperature. Test fabric swatches under your actual camera or display lighting before cutting, especially for red-tinted battlefield photography setups. Can you make a wire-frame cape without sewing skills? Yes, with fabric glue or fusible tape instead of stitching, though the wire channel will be less durable and may loosen after repeated posing. Basic hand-stitching is still the sturdier option if you're planning long-term display use. Do wire-frame capes work for scales other than 1/18? Yes. 1/12 scale capes use the same wire-frame method but can handle a heavier cotton twill because the larger cape size supports more fabric weight without sagging.Is the DIY Route Worth Your Time?
Building a wire-frame cape for 1/18 scale action figures teaches a real skill, and the cost per unit drops once you've made a few. But the time investment is real, and your first attempt will not match a professionally finished piece — that's just how the learning curve works.
If you're outfitting multiple figures or you like the process itself, DIY pays off. If you need one display-ready cape for a photo shoot next week, buying from an experienced maker is the faster, safer bet.
Our Magnus the Red cape delivers the crimson color depth, wire-shaped drape, and battlefield-ready finish without the trial-and-error. Sometimes the smarter move is letting someone else handle the wire channels while you focus on staging the diorama.
