


Short answer: cut a half-circle of cotton, sew a hem channel, thread 24-gauge wire through it, rough up the edges with sandpaper, and mount it with a magnet. That's the whole tattered cloth cape for 1/18 scale action figures process in one sentence. Everything below is the long version — the part where you actually get a dark, windswept, battle-worn drape instead of a stiff felt triangle glued to a shoulder pad.
This guide walks through building a poseable cloth cape with an internal wire frame for small-scale figures, specifically the kind of tattered, dark, grimdark-style cape collectors want draped over armor — torn hems, visible wire creating a flowing pose, matte black fabric that looks like it survived something. You'll need cotton fabric, thin wire, basic sewing supplies, and 3-4 hours. Maybe more your first time. Mine took six.
Written by a hobbyist who has built and sold small-scale fabric capes for six years, mostly for 1/18 figures and a handful of Knight-scale conversions.Most collectors start with the rigid plastic capes that ship with the figure. They look fine on the shelf. They also look exactly the same in every photo you'll ever take, because they're locked in one position forever. A custom cloth cape with wire reinforcement fixes that — and it's the only way to get that dramatic, mid-stride, wind-caught silhouette that grimdark dioramas depend on.
Fabric Selection for a Tattered, Grimdark Cloth Cape
Cotton is the workhorse here. It holds a shape without overwhelming a 4-inch figure, and it frays in a way that looks intentional rather than accidental. Canvas is too heavy for anything under 6 inches tall. Silk drapes beautifully for about a week, then wrinkles into something that looks like a napkin. It also costs three times as much, which matters when you're ruining your third test piece.
Skip synthetic blends entirely. They melt at the edges instead of fraying, which kills the rough, torn look this whole project depends on. You want threads pulling loose, not a clean sealed edge. For color: black hides mistakes. Dark brown works for certain chapters and factions. Red requires near-perfect stitching because every pucker and stain shows against it.
| Fabric Type | Cost per Yard | Pros | Cons |
|---|---|---|---|
| Cotton canvas | $8-12 | Holds shape, frays cleanly | Stiff at small scale |
| Cotton muslin | $3-6 | Drapes naturally, cheap | Tears if you're rough with it |
| Linen | $15-25 | Authentic uneven texture | Pricey, wrinkles fast |
| Poly-cotton blend | $4-8 | Tough, won't tear | Doesn't fray — wrong for this look |
| Cotton flannel | $6-10 | Soft fold lines, matte finish | Sheds lint everywhere |
Honestly? If you live somewhere humid, reconsider the whole fabric-weathering step. Watered-down acrylic stains never fully cure in 80%+ humidity — I had a batch grow faint mildew spots inside nine days, and no amount of sealing fixed it.
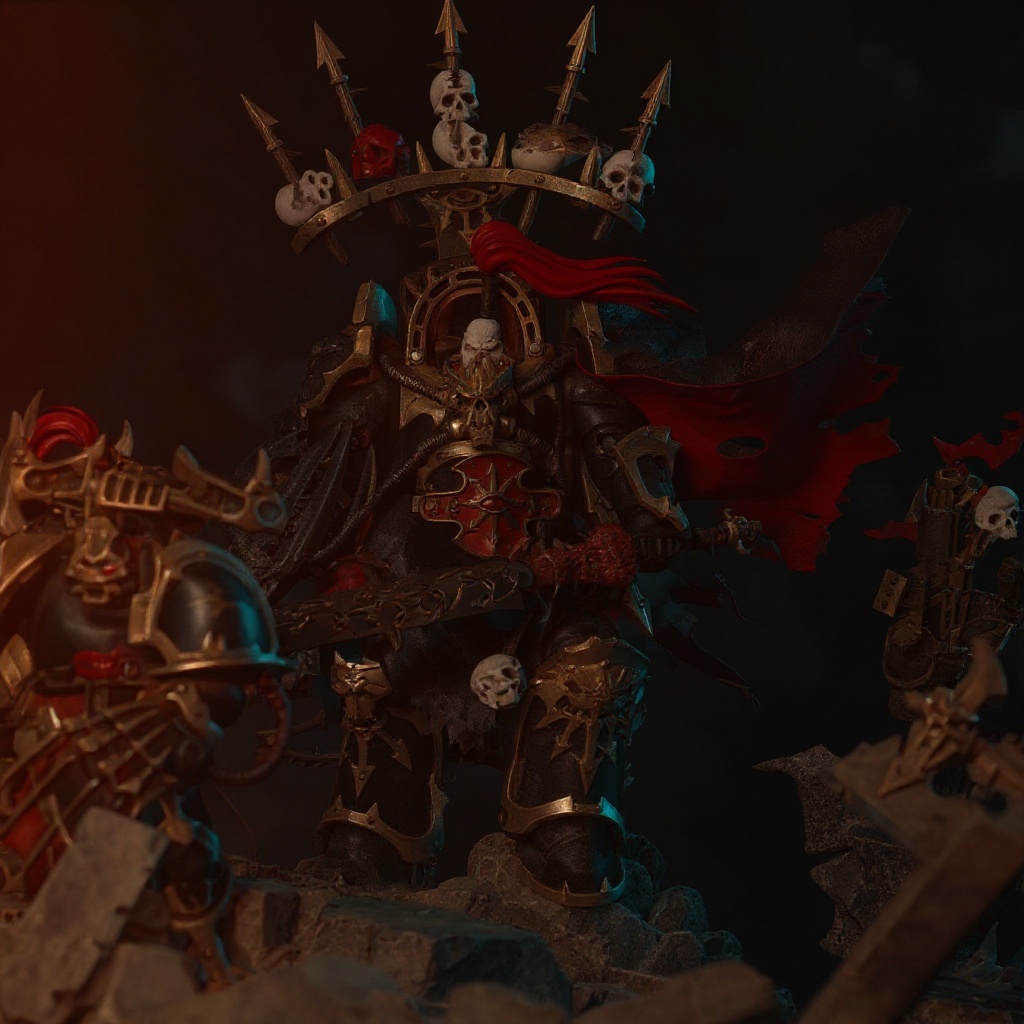
Wire Frame Construction: Building the Windswept Pose
24-gauge craft wire sits in the sweet spot between flexible and sturdy. 22-gauge is too stiff for fine shoulder curves. 26-gauge bends the moment you look at it and won't hold a dramatic pose past a day on the shelf.
Cut your wire about 20% longer than the finished cape length. You lose length in the curves and at the attachment points, every time, no exceptions. For a shoulder-length cape on a 4-inch figure, start with roughly 6 inches of wire and trim after shaping.
Shape the wire into a loose "U" that follows the cape's hemline. Keep it away from the top edge where the fabric attaches to the figure. That section stays pure cloth. Easier mounting. Fewer snags later.
1. Measure your figure's shoulder width 2. Add 1/4 inch for natural drape 3. Cut fabric in a half-circle using that measurement as the diameter 4. Test-fit on the figure before touching the wire 5. Sew a narrow hem channel along the bottom edge 6. Thread the shaped wire through the hem 7. Secure wire ends with small hand stitches
The action figure community on Reddit has been swapping this exact method for years, and I've seen dozens of builds that follow it almost step for step.
Weathering Sequence (Second Pass, After Assembly)
1. Rough up the hem and shoulder edges with 120-grit sandpaper for heavy fraying, or 220-grit for subtle wear 2. Mix burnt umber acrylic with water at a 1:4 ratio 3. Dab the mixture on with a natural sponge, focusing on low folds and edges 4. Let it dry flat for at least two hours before touching it 5. Add burn holes with a soldering iron on its lowest setting — touch, lift, done 6. Seal lightly with a matte varnish so the texture doesn't shine under photo lights
Attachment Methods That Actually Stay Put
Magnets beat clips and pins. Glue a 3mm neodymium magnet inside the cape's collar and its mate to the figure's back armor. You can swap capes between figures in seconds this way, and repositioning costs you nothing.
Snap fasteners are my backup. Permanent once installed, but they line up the same way every single time. Skip the cheap plastic snaps from craft store bins — mine cracked after maybe a dozen uses. Metal snaps cost about $2 more per set and outlasted every plastic version I tried, going strong after two years of handling.
Don't drill into the figure. Ever. That's permanent damage for what should be a reversible upgrade, and resale value drops the moment you do it.
Scale Compatibility Across Figure Lines
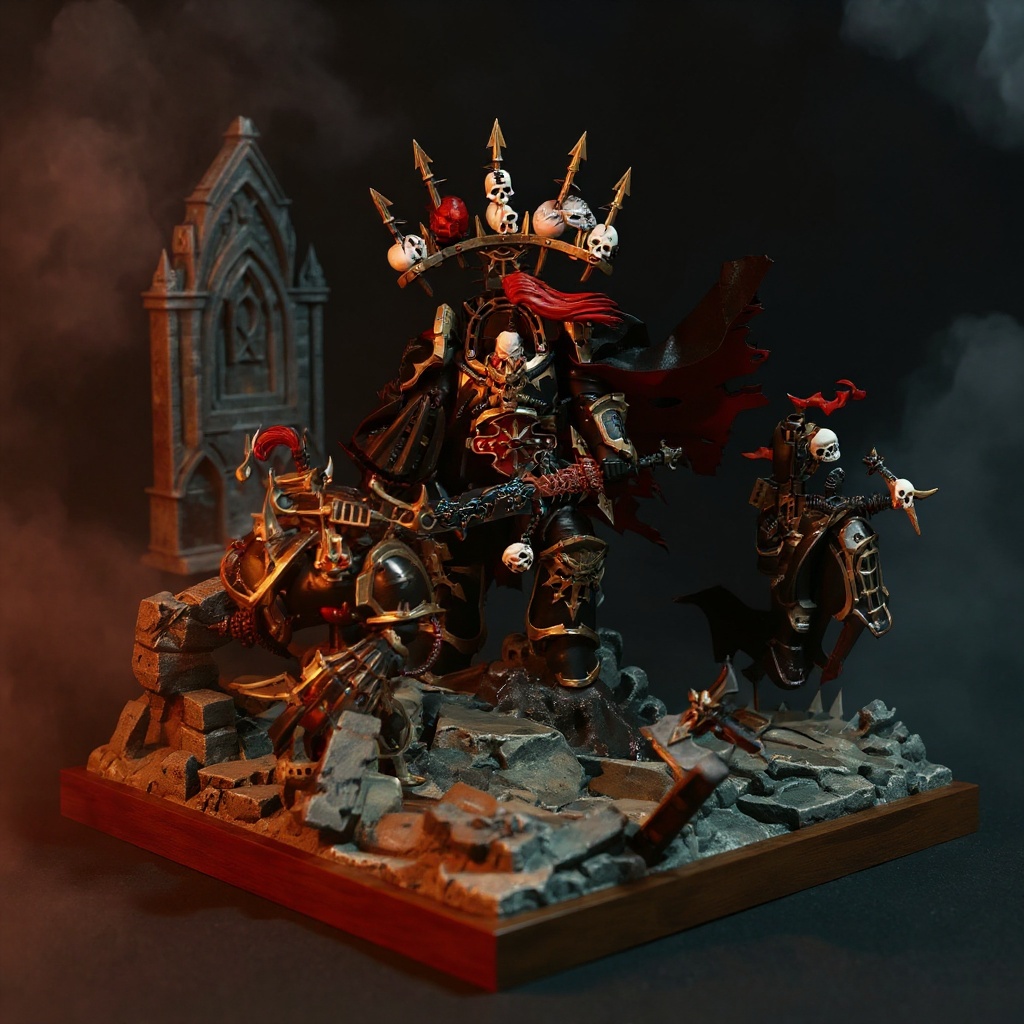
Figures marketed as 1/18 scale are not built to one consistent height. Space Marine-style figures run about 4.5 inches, closer to 1/16 scale in practice. Primaris-scale figures push closer to 5 inches. Smaller trooper-style figures sit around 4 inches tall.
A cape sized for the taller figure will swamp the smaller one. Scale it down by roughly 15% for shorter figures, or the drape reads as a child wearing an adult's coat.
Most 40k-adjacent discussion threads bring this up eventually — the scale drift has been an open complaint since manufacturers started mixing figure lines under one "1/18" label. For larger 8-inch Knight-scale models, you're building an entirely different frame: 20-gauge wire, thicker fabric, wider hem channels. Don't try to just scale up the small pattern. It won't hold.
Wire Gauge Comparison Table
| Wire Gauge | Best For | Holds Pose? | Notes |
|---|---|---|---|
| 20-gauge | Knight-scale (8") | Very well | Hard to bend by hand, use pliers |
| 22-gauge | Larger 1/12 figures | Well | Slightly stiff for small folds |
| 24-gauge | 1/18 scale (4-5") | Well | Best balance for most builds |
| 26-gauge | Fine detail folds only | Poorly alone | Loses shape within days |
| Beading wire (28g) | Accent wrinkles | Not structural | Use as a second layer only |
Common Mistakes That Ruin Your Cape
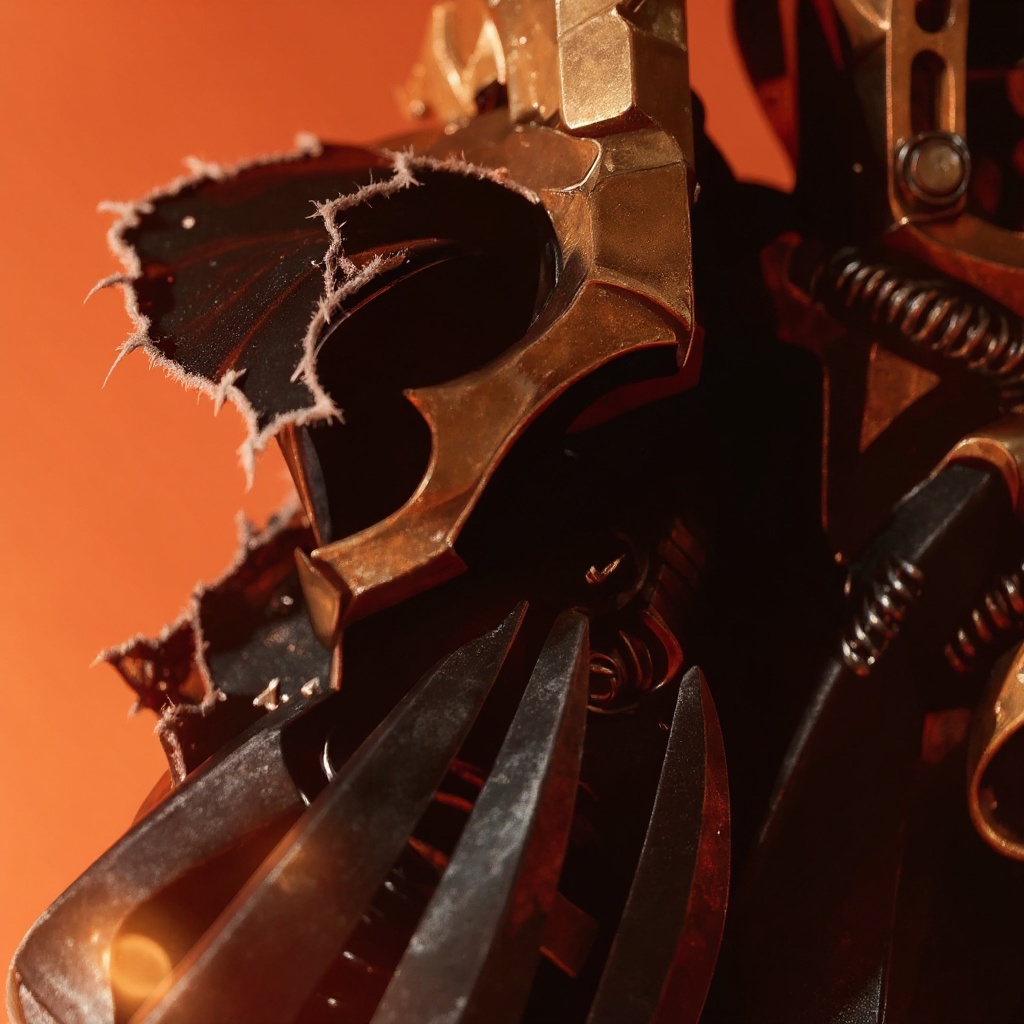
Wire placement kills more builds than anything else. Too close to the attachment point and the shoulder can't drape naturally. Too far down and the cape goes floppy instead of dramatic.
Oversizing is the other killer. New makers cut the fabric too big every time, thinking bigger reads as more dramatic on a shelf. It doesn't. An oversized cape on a 4-inch figure just looks like a kid wearing his dad's coat.
Skipping the test fit costs hours, not minutes. Mock the shape in scrap paper or cheap muslin before you cut the good fabric. I learned this one the expensive way. Twice.
When Handmade Beats DIY
Making your own cape teaches you the whole process, but expect 3-4 attempts before the result looks professional. Your first cape will have visible stitching, an uneven hem, or a wire that pokes through at the worst angle. That's normal. It's not a sign you're bad at this.
Some collectors would rather skip the trial-and-error and buy from someone who's already burned through those first three attempts. Our Abaddon Black Legion Warmaster Cape uses this same wire-frame build but arrives with hand-finished seams and pre-weathered fabric, so it looks battle-tested out of the box rather than after your third attempt. For more background on sizing before you buy or build, our 1/18 scale figure sizing guide and fabric weathering reference cover the same ground in more depth than this section can.
The $34 price point sits between mass-produced factory capes ($5-15) and full custom commission work ($50+). You get hand-finished quality without a six-week wait.
Is the DIY Route Worth Your Time?
DIY gives you full control over the exact drape, tear pattern, and pose. You'll spend $8-15 in materials and 3-4 hours on attempt one, and probably 2-3 attempts total before it looks shelf-ready.
Buying handmade costs more upfront but saves the weekend. It's a straight trade: your time versus your money, and neither answer is wrong.
If you only need one or two capes, browse our Abaddon Black Legion cape collection for pre-weathered pieces that ship right away. Building for a bigger squad or a specific chapter color scheme? DIY pays for itself once you've made three or four.

