


Making a DIY cloth cape for action figures involves cutting fabric to scale, adding wire for posing, and fitting it to your figure's shoulders. You'll need fabric, thin craft wire, thread, and basic sewing tools. The real challenge isn't the construction. It's getting the proportions and drape right at 1/12 scale, where a half-inch error looks like a costume malfunction.
I've made about a dozen of these capes over the past two years, mostly for figma-scale figures that needed that tattered, weathered ranger-cloak look. Some worked. Some ended up looking like a napkin someone glued to a shoulder.
Why a DIY cloth cape for action figures is harder than it looks
Fabric that drapes beautifully on a human-sized cloak turns stiff and cardboard-like at six inches tall. What reads as "battle-worn wolf pelt" at full scale reads as "crumpled paper towel" in miniature if you pick the wrong material or cut it wrong.
Honestly? If you're going for a dark, tattered aesthetic and you've never sewn anything before, skip the ambitious wire-and-drape approach on your first try. Practice on scrap muslin first. Save yourself the tears.
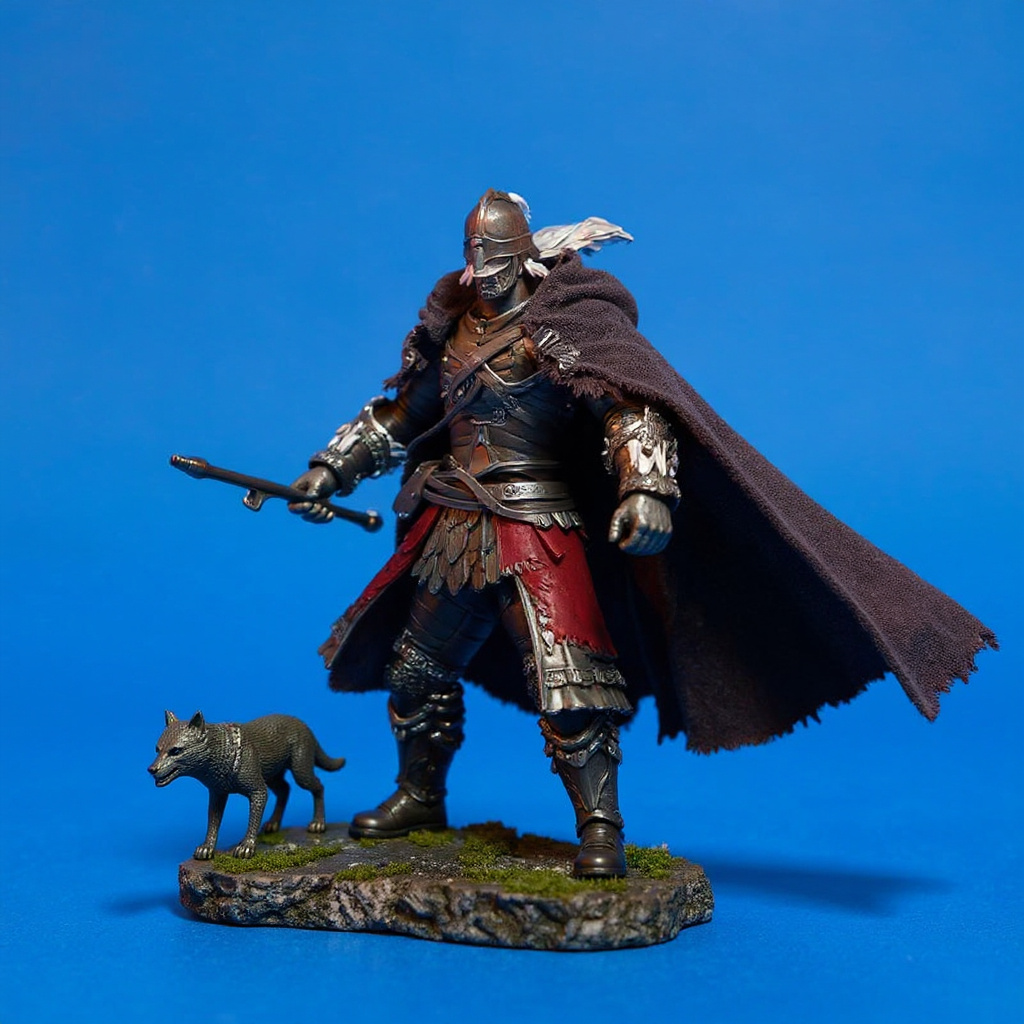
What fabric works best for a DIY cloth cape for action figures
Cotton twill and lightweight canvas give the best balance of drape and durability. Avoid thick materials like denim. They look bulky and won't fold properly on a 6-inch figure. Felt works too, but it won't drape the way woven fabric does — it sits flat instead of falling into natural folds.
Here's what I've found works, based on capes I've actually built and photographed under moody lighting to check the drape:
| Fabric Type | Weight (oz/sq yd) | Pros | Cons |
|---|---|---|---|
| Cotton twill | 3-4 oz | Drapes well, takes weathering | Frays at cut edges |
| Lightweight canvas | 4-5 oz | Holds shape for years | Looks stiff if too heavy |
| Felt | 2-3 oz | No fraying, easy to cut | Flat, uniform drape |
| Muslin | 2-3 oz | Cheap for practice patterns | Tears if handled roughly |
The key is scale. What looks heavy and dramatic on a full-size cloak becomes stiff at 1/12. Go thinner than you think you need.
Wire gauge comparison for cape edges
| Wire Gauge | Bendability | Holds Pose? | Best Use |
|---|---|---|---|
| 20 gauge | Stiff, resists bending | Yes, very well | Large capes, heavy fabric |
| 22 gauge | Balanced | Yes | Most figma-scale capes |
| 24 gauge | Bends easily | Somewhat | Thin fabric, delicate folds |
| 26 gauge | Very flexible | Poorly, sags over time | Not recommended for capes |
Cutting and measuring for a DIY cloth cape for action figures
Start by measuring your figure from shoulder to where you want the cape to end. For a full-length cape on a figma, that's usually 3-4 inches. Add 0.5 inches for hemming.
Most capes need a semicircle or three-quarter circle cut. Here's the math: if you want a 3-inch cape length, your radius is 3 inches plus seam allowance. The neck opening depends on your figure's shoulder width, typically 0.75 to 1 inch diameter for figma-sized figures.
Cut a paper pattern first. Test it on the figure. Adjust. Repeat. I can't count how many times I cut fabric too short because I eyeballed it instead of doing this step.
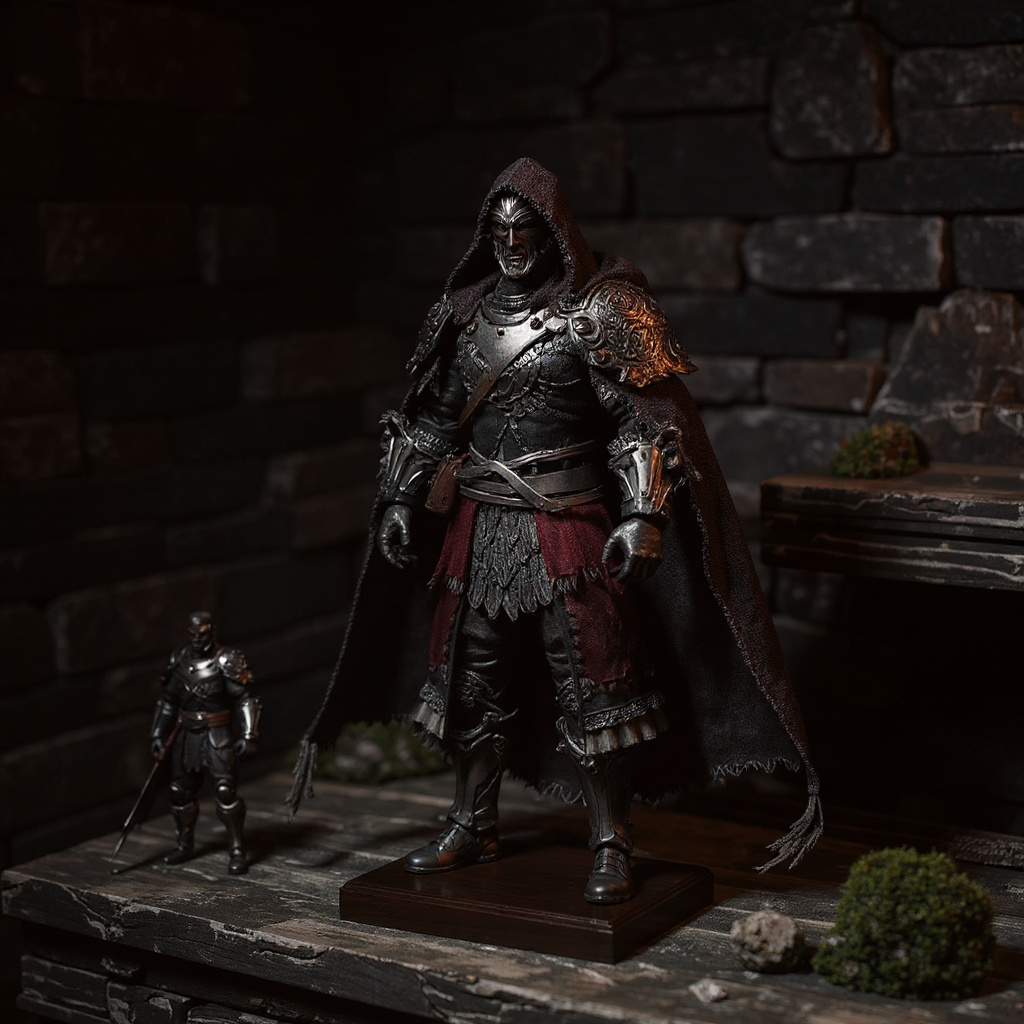
Adding wire for poseable edges
Thin floral wire (22-24 gauge) works best for cape edges. Thicker wire fights the fabric and creates lumps at the seams. Thinner wire breaks after a few bends — I learned that one the hard way on a cape I'd already sewn shut.
1. Cut wire pieces 1 inch longer than each cape edge 2. Fold fabric edge over wire, creating a narrow hem 3. Stitch close to the wire, not through it 4. Leave wire ends extending at corners for easier bending 5. Trim excess wire after sewing
The wire goes in the outer edge only. Don't wire the neck opening, or you'll make it impossible to fit properly. Some people wire the entire perimeter. That creates a stiff collar that fights articulation instead of helping it.
For game-accurate pieces styled after something like the Elden Ring Raging Wolf armor, you're aiming for that weathered, frayed-edge look — a matte cloth finish that looks like it survived a few battles, not a costume shop.
Getting the neck attachment right
This is where most homemade capes fail. The neck opening needs to sit on the figure's shoulders without bunching. Or sliding off mid-photo.
For figma figures, a 0.8-inch diameter opening with a small slit in back works best. The slit lets you slip it over the head, then closes with a tiny snap or velcro dot. Don't use ties. They look bulky and wrong at this scale, full stop.
Test the fit constantly. Fabric stretches, and what fits snug when cut might be loose after handling for a week. I usually cut the neck opening 0.1 inches smaller than measured, then trim as needed.
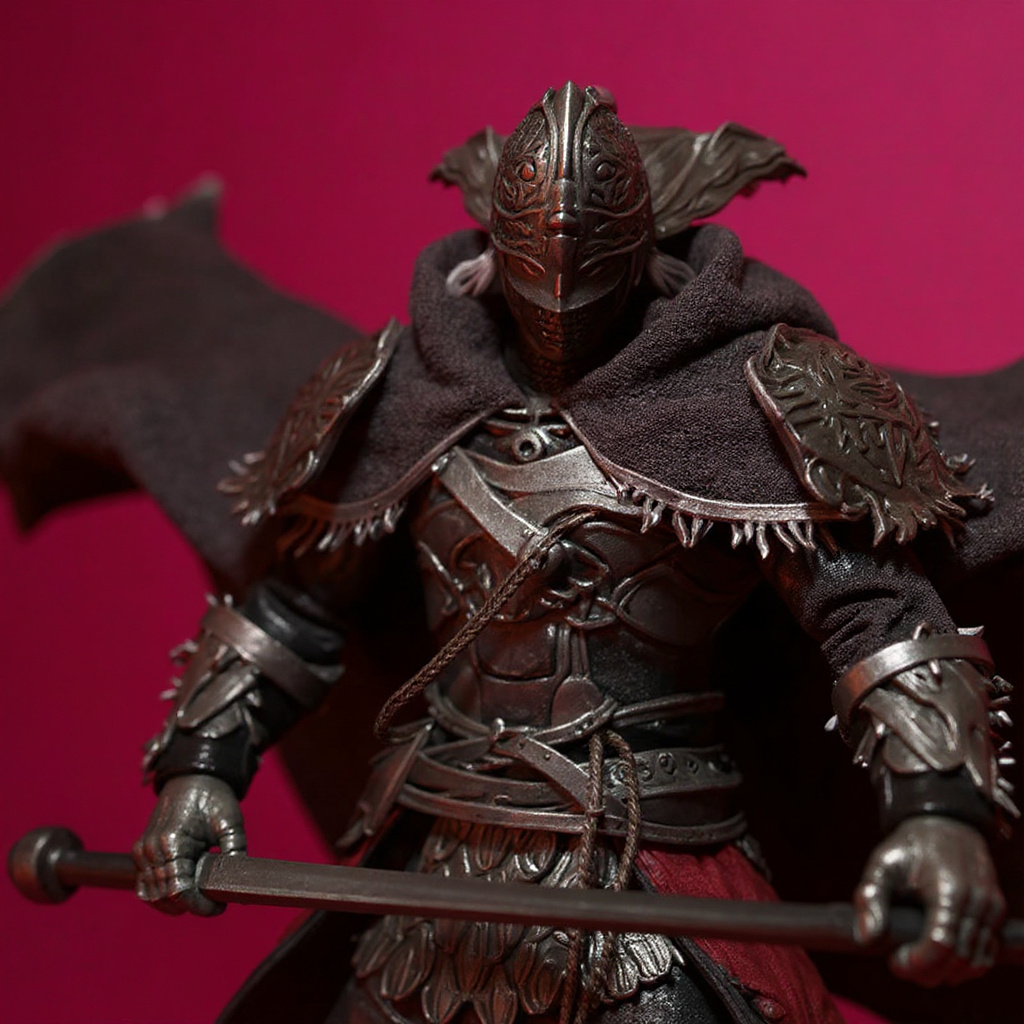
Weathering and finishing techniques for that worn look
New fabric looks too clean for most fantasy figures. Here's how to age it:
1. Tea staining: Brew strong black tea, soak fabric for 30 minutes, air dry 2. Sandpaper distressing: Light rubbing on edges creates worn spots 3. Fray edges intentionally: Pull threads at hem and collar for battle damage 4. Dry brushing: Acrylic paint in brown/gray, barely any paint on the brush 5. Heat fraying: Carefully singe synthetic fabric edges with a lighter, in a ventilated space
Go light on weathering. What looks subtle in photos often looks overdone in person, especially under the harsh light most people photograph figures under.
Tools you actually need (and what you don't)
Required tools: - Sharp fabric scissors - Sewing needle or machine - Thread matching your fabric - 22-24 gauge craft wire - Small pliers for wire bending
Optional but helpful: - Pinking shears for edges that won't fray - Fabric marking pencil - Small ruler or measuring tape - Thimble if hand-sewing
You don't need a serger. A basic sewing machine handles cape fabric fine. Hand-sewing works too. It just takes longer, and your fingers will remind you of that around hour three.
Common mistakes that ruin a DIY cloth cape for action figures
Fabric choice kills more DIY capes than poor sewing does. Shiny fabrics like satin look cheap under display lighting. Thick fabrics create bulk that overwhelms small figures.
Scale problems show up everywhere. Normal hem widths (0.25-0.5 inches) look enormous on 6-inch figures. Keep hems to 0.1 inches max.
Wire placement matters too. Wire too close to the neck creates a collar that won't lay flat. Wire in the wrong spots makes posing harder, not easier — the exact opposite of what you're trying to achieve.
Measurement errors compound at small scales. A 0.2-inch mistake becomes obvious when your cape is only 3 inches long total. There's nowhere to hide it.
Is making your own cape worth the time?
Making cloth capes takes 4-6 hours for decent results, including pattern-making, cutting, sewing, and finishing. Material costs run $8-12 for fabric and notions. That's a real chunk of a weekend for one accessory.
For reference on sewing techniques that translate well to miniature work, Threads Magazine's fabric guides cover drape and weight in more depth than most hobby tutorials. If you want to see how a professionally finished version compares, browse the Elden Ring Raging Wolf Cape to check proportions against your own pattern before cutting fabric.
If you're making one cape for the experience, DIY makes sense. If you need several, or want something that matches official proportions without three failed attempts first, that's a different calculation — and only you know which one you're solving for.

