


Making a posable cloth cape for action figures requires wire framework, proper fabric selection, and careful stitching — but sometimes buying a professionally crafted replacement beats DIY entirely. You'll need 20-22 gauge wire, lightweight cotton or linen fabric, and about 3 hours of work for a basic version.
Materials That Actually Work for Miniature Capes
The fabric choice makes or breaks your cape project. Cotton voile works best for 1/18 scale figures — it's thin enough to drape naturally at small scale but won't fray like silk. Avoid felt (too thick), polyester (looks plastic), or anything heavier than quilting cotton.
You'll need these specific materials:
1. 20-22 gauge craft wire (thinner breaks, thicker won't bend smoothly) 2. Cotton voile or lightweight cotton (¼ yard maximum for one cape) 3. Thread matching your fabric color (polyester thread, not cotton) 4. Fabric scissors (paper scissors will fray edges) 5. Small needle (size 9 or 10 universal) 6. Wire cutters (nail clippers work in a pinch) 7. Fabric glue or fray check (Dritz Fray Check is $4 at craft stores)
The wire forms your cape's "skeleton." Most tutorials suggest floral wire, but that's too soft. You want enough stiffness to hold dramatic poses without springing back. Electrical wire works if you strip the coating, but craft wire comes pre-sized and costs about $3 for 10 feet.
Building the Wire Framework That Holds Poses
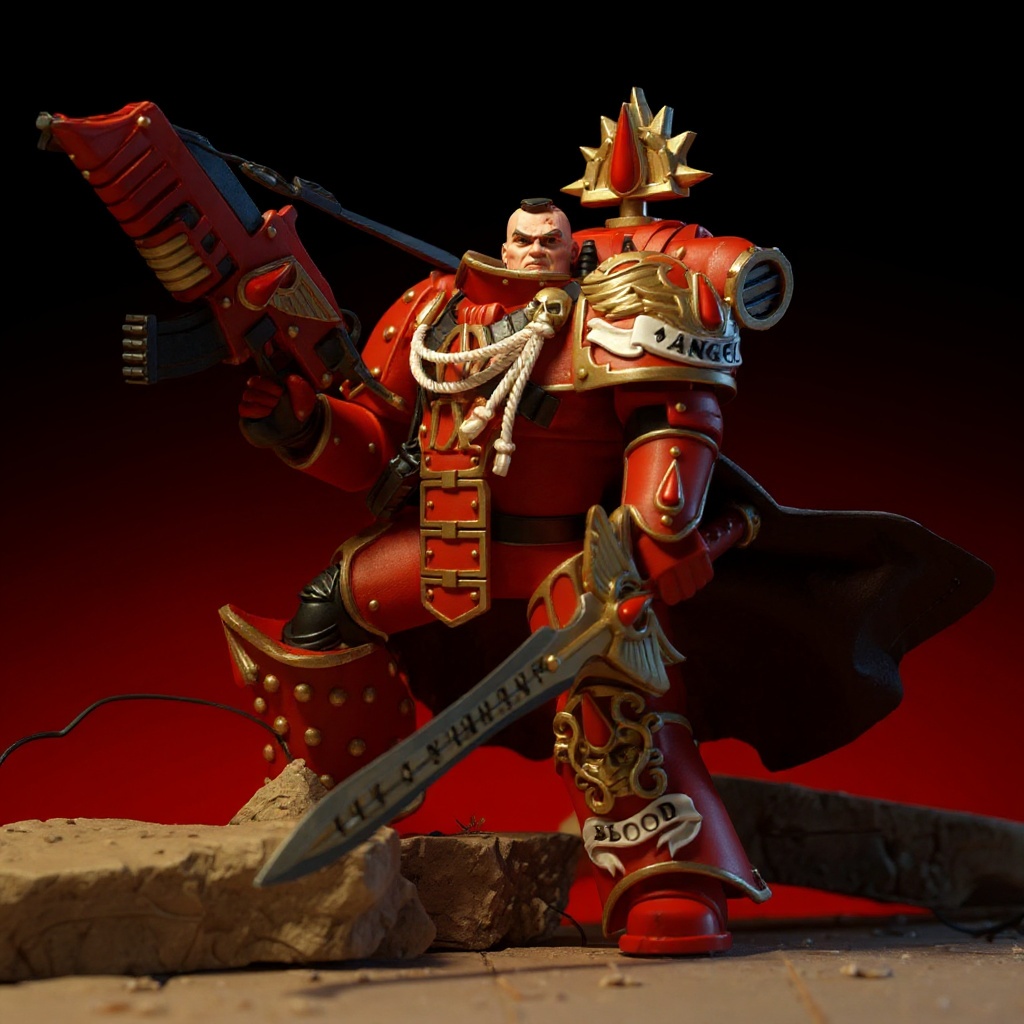
Start with a 12-inch wire piece for the main structure. Bend it into a rough "U" shape — this becomes your cape's top edge where it attaches to the figure's shoulders. The wire should measure roughly 1 inch across for 1/18 scale figures.
Create the flowing edge with a second wire piece. This one needs to be 18-20 inches long to give you dramatic cape movement. Don't make it perfectly smooth — real fabric has natural curves and folds.
Attach the flowing edge to your shoulder wire using small loops. Twist the connections 3-4 times, then trim excess. The joint should be tight enough that it won't slip during posing but loose enough that you can adjust the cape's silhouette later.
Test your framework on the figure before adding fabric. The shoulder wire should sit naturally without forcing the figure's arms into weird positions. If it's too wide, the cape will stick out like wings. Too narrow and it'll bunch up against the torso.
Cutting and Sewing Techniques for Small Scale
Cut your fabric 2 inches wider than the wire frame on all sides. This gives you seam allowance plus enough extra fabric to create realistic draping. For a standard 1/18 cape, you're looking at roughly a 4x6 inch fabric piece.
Hem the edges first, before inserting wire. Use a ¼-inch fold, then another ¼-inch fold to hide raw edges completely. This double-fold method prevents fraying without adding bulk. Stitch close to the inner fold edge.
Create wire channels along the cape edges by folding fabric over the wire and stitching a narrow seam. Leave the channel slightly loose — wire that's too tight in fabric won't bend smoothly. You want about 1/16-inch of wiggle room.
The shoulder attachment needs reinforcement. Add a small fabric patch behind the connection point, or the wire will eventually tear through during repeated posing. This is where most DIY capes fail after a few months of use.
Color Matching for Warhammer and Superhero Themes
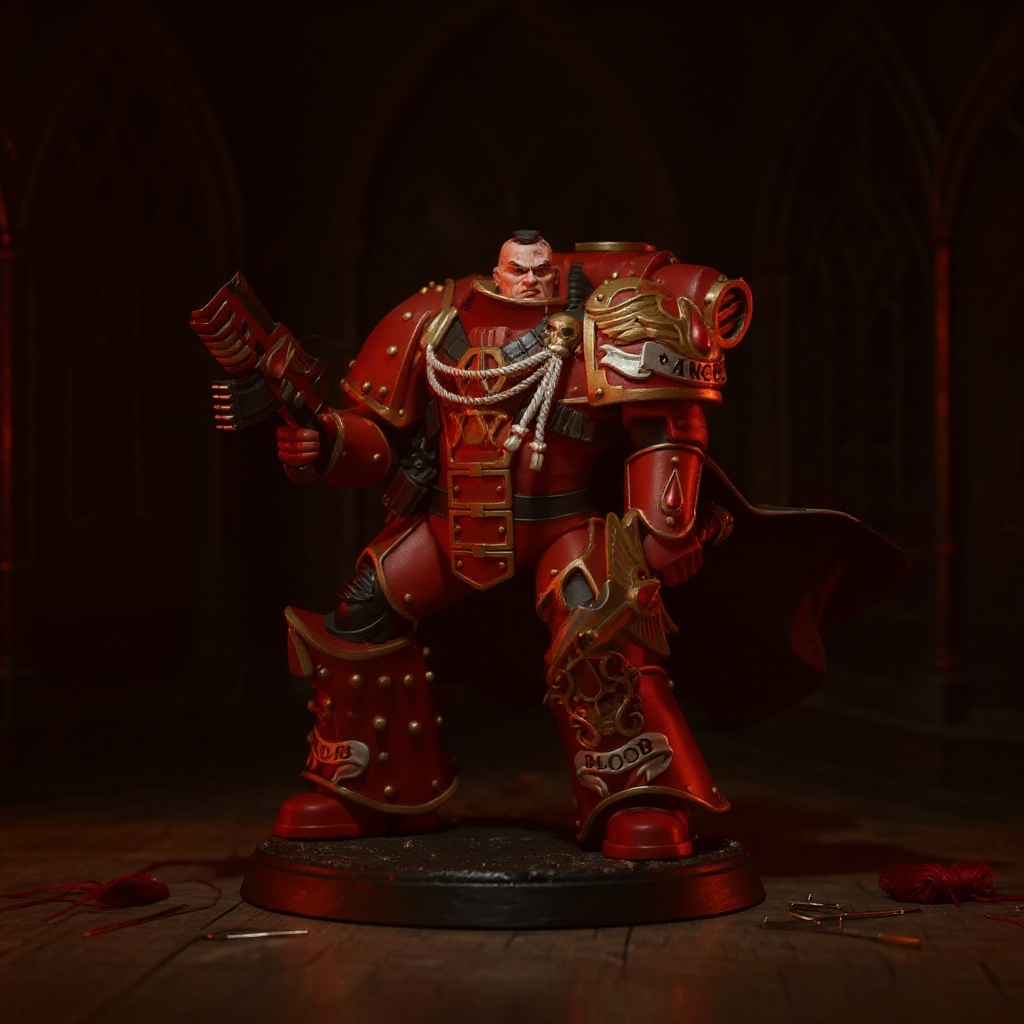
Deep crimson works for Blood Angels chapters, but the exact shade matters more than you'd think at 1/18 scale. Bright red looks cartoonish under display lighting. You want a color that reads as "rich" rather than "loud" — think burgundy-tinged red rather than fire engine red.
For superhero themes, navy blue beats bright blue for Batman-style capes. Black works but shows dust and fingerprints easily. Dark gray gives you the dramatic look without the maintenance headaches.
Fabric dye isn't reliable at small scales — the color often looks different once sewn and posed. Buy fabric in the final color you want rather than trying to dye it. Craft stores carry limited colors, but online fabric retailers have hundreds of options for $8-12 per yard.
Purity seals and insignia should be painted on after construction, not sewn. Tiny fabric patches look bulky at 1/18 scale. Use acrylic paint with a fine brush, or print waterslide decals if you have access to a printer.
Common Problems and How to Fix Them
Wire showing through fabric happens when you don't leave enough channel room or use fabric that's too thin. Fix it by adding a fabric strip over the wire path, essentially doubling the fabric thickness in that area.
Fraying edges plague most DIY attempts. Cotton and linen naturally fray, even with careful cutting. Apply fray check to raw edges before hemming — it's like clear nail polish but designed for fabric. Don't skip this step thinking hemming alone will prevent fraying.
Capes that won't hold poses usually have wire that's too thin or connections that are too loose. You can't fix thin wire easily, but loose connections can be re-twisted tighter. Sometimes adding a tiny drop of super glue to wire joints helps, but this makes future adjustments impossible.
Proportion issues are the hardest to fix. A cape that looks perfect flat often looks wrong on the figure. It might be too long, too wide, or hang at the wrong angle. This is where experience matters — and why professional replacements often look better than DIY attempts.
Professional vs. DIY: Cost and Quality Breakdown
| Approach | Time Investment | Material Cost | Quality Result | Skill Required |
|---|---|---|---|---|
| Full DIY | 3-4 hours | $8-12 | Variable | Intermediate |
| Kit Assembly | 1-2 hours | $12-18 | Good | Beginner |
| Professional | 0 hours | $7.50-20 | Consistent | None |
| 3D Printed | Variable | $5-15 | Rigid | CAD skills |
Mass-produced plastic capes cost $3-5 but lack the fabric texture that makes 1/18 figures look realistic. They're fine for army-building or background figures, but they won't photograph well or survive detailed inspection.
The 1/18 Scale Blood Angels Cape Replacement hits a sweet spot at $7.50 — handmade quality with built-in wire framework and accurate chapter colors. It saves you the trial-and-error process of getting proportions right.
Premium third-party accessories run $12-20 but often come with compatibility issues. They're designed for specific figure lines, and measurements can be off by millimeters — which matters a lot at 1/18 scale.
When to Choose Handmade Over DIY
DIY makes sense if you're planning to make multiple capes or want very specific customization. The learning curve means your first attempt probably won't be great, but by the third or fourth cape, you'll have the technique down.
Skip DIY if you only need one cape and want guaranteed results. The time investment alone makes professional options reasonable — 3-4 hours of work at even $10/hour exceeds most ready-made cape prices.
Consider your skill level honestly. Sewing at miniature scale requires steady hands and patience. If you struggle with regular-sized sewing projects, 1/18 scale work will be frustrating.
Compatibility matters more than cost for many collectors. A $7.50 cape that fits perfectly beats a $20 cape that requires modification to work with your figure.
FAQ
What is the best material for a superhero cape? Cotton voile or lightweight cotton works best for 1/18 scale. It drapes naturally and takes paint well for insignia. Avoid synthetic fabrics that look plastic under display lighting. How do you turn a piece of fabric into a cape? Cut fabric 2 inches larger than your wire frame, hem all edges with double folds, create wire channels by folding fabric over wire and stitching narrow seams, then reinforce attachment points. How do you DIY a superhero cape? Start with 20-22 gauge wire bent into shoulder and flowing edge pieces. Cut lightweight fabric with 2-inch margins, hem edges, insert wire into fabric channels, and reinforce connection points with extra fabric patches. What is a superhero cape supposed to look like on a figure? Proportionally, the cape should reach mid-thigh to ankle depending on the character. It should drape naturally without sticking straight out, and the color should read as rich rather than bright under display lighting. Does the Blood Angels cape come with a figure? No, cape accessories are sold separately as upgrade pieces. You need to own a compatible 1/18 scale figure body to use cape replacements. What size action figures fit a 1/18 scale cape? 1/18 scale figures are typically 3.75-4 inches tall. This includes most G.I. Joe, Star Wars Black Series 3.75", and similar lines. 6-inch figures (1/12 scale) need different cape proportions. Can a posed wire cape be reshaped later without breaking? Yes, if you use 20-22 gauge wire and don't over-bend it. The wire can handle dozens of pose changes, but sharp bends or repeated flexing in the same spot will eventually cause metal fatigue. Why does my DIY cape fabric fray at the edges? Cotton and linen naturally fray when cut. Apply fray check to raw edges before hemming, use sharp fabric scissors (not paper scissors), and consider a double-fold hem to completely enclose cut edges.Is the DIY Route Worth Your Time?
Building posable cloth capes teaches valuable customization skills and costs less per cape if you're making several. But the learning curve is steep, and your first few attempts likely won't match professional quality.
For single cape needs, especially chapter-specific pieces like Blood Angels accessories, ready-made options often deliver better results. The handcrafted Blood Angels cape with purity seals includes details that would take hours to paint by hand, plus the wire framework is already proportioned correctly for 1/18 figures.
Your time has value. Three hours of careful work might save you $5-10, but if you value display quality over cost savings, browse our selection of ready-made cape upgrades instead of wrestling with miniature sewing challenges.

