


You style an action figure cape by working the internal wire in three stages: shape the collar first, then bend the hem for wind direction, then lock a pose that matches your figure's stance. A wire-framed fabric cape, like a dark textured vampire cloak scaled for 6-7 inch figures, holds these shapes for weeks instead of minutes.
Wire-framed fabric capes beat plastic capes every time in action figure photography. The secret isn't just the material. It's how you manipulate the internal wire structure to create mid-motion poses that make a figure look alive instead of frozen.
Most collectors don't realize that learning how to style an action figure cape actually involves three separate techniques: collar positioning, hem shaping, and what I call "wind direction." Each one does a different job. Skip one and the whole illusion falls apart.
Why Wire-Framed Capes Change the Photo
Factory plastic capes look like what they are: molded afterthoughts. They stick straight out or hang limp. No in-between.
Wire-framed soft goods break that pattern. A bendable wire sewn into the hem lets you build specific cape shapes that hold position — wind-blown, mid-swoosh, or a quiet drape around the shoulders. Whatever the scene calls for.
Here's what makes the difference measurable, not just a feeling you get looking at photos side by side:
| Cape Type | Pose Variations | Hold Duration | Realistic Drape |
|---|---|---|---|
| Stock plastic | 2-3 positions | Permanent shape, no adjustment | No |
| Basic fabric, no wire | 1 position | Until touched or bumped | Limited |
| Wire-framed soft goods (22-24 gauge) | 15+ positions | 2-4 weeks per pose | Yes |
| Premium handmade wire (structured collar) | 25+ positions | 3-6 months per pose | Excellent |
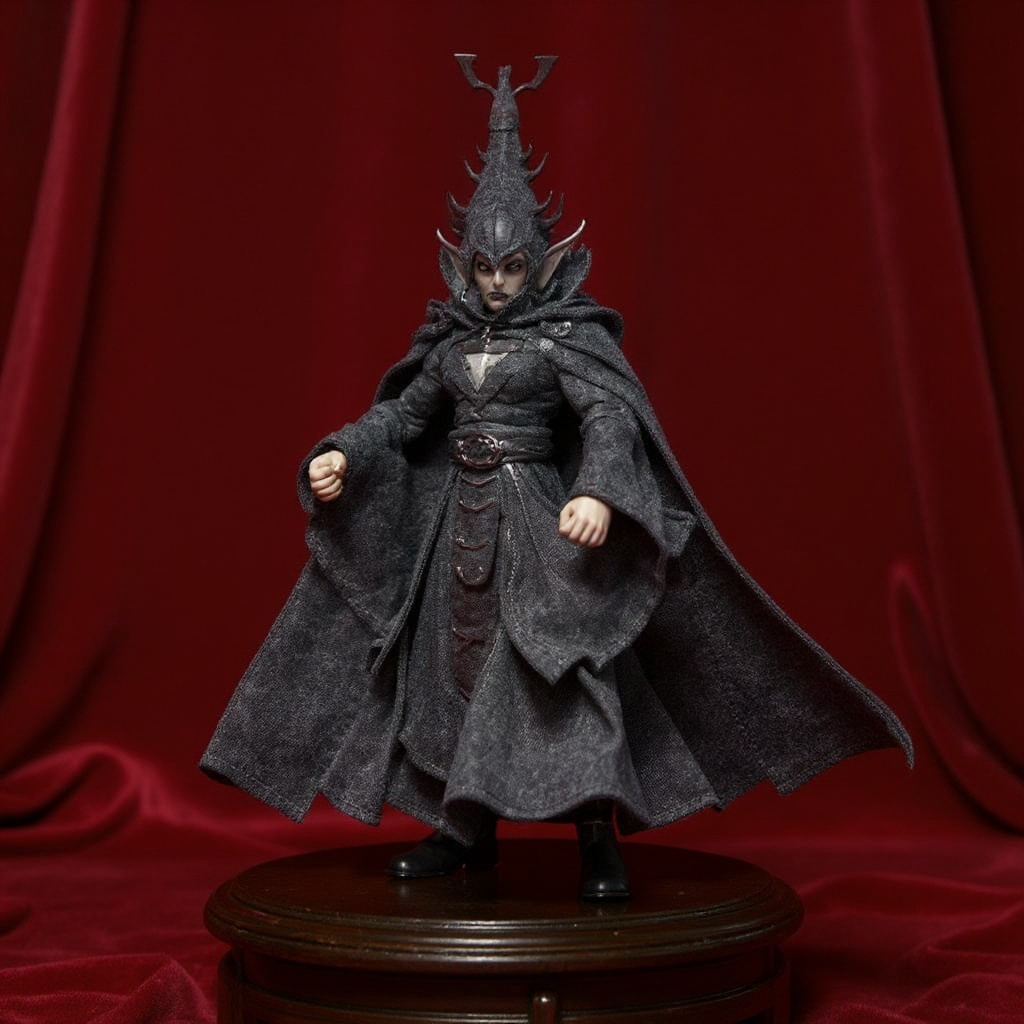
The Vampire Cape for 6-7 Inch Action Figures sits in that premium row. Deep crimson or black fabric, visible stitching along the collar seam, drape folds that hold their fall. At $99 it's built as a photography tool, not a stand-in accessory.
Wire Gauge vs. Figure Scale: What Actually Works
One detail that most guides skip entirely: wire thickness has to match figure scale, or the cape looks bulky no matter how good the fabric is.
| Figure Scale | Recommended Wire Gauge | Fabric Weight | Typical Result |
|---|---|---|---|
| 3.75" | 26-28 gauge | Ultra-light cotton blend | Subtle bends only |
| 6-7" | 22-24 gauge | Light textured cotton or faux suede | Full pose range |
| 7-8" | 20-22 gauge | Medium weight fabric | Dramatic swoosh, some stiffness |
| 12" | 18-20 gauge | Heavier fabric, canvas-like | Large sweeping poses |
A 6-7 inch vampire figure needs the second row. Anything thicker and the drape folds stop looking like fabric and start looking like a tent.
The Three-Point Collar Method
Start with the collar. It's the foundation of every good pose, and most people skip straight past it.
1. Center the attachment point. Place the cape's anchor at the base of the figure's neck, directly between the shoulders. 2. Adjust the collar wings. Rest them on the shoulder armor or clothing so the fabric follows the body line instead of floating above it. 3. Check the back seam. The collar should sit flush against the figure's back with zero gap. If it lifts away, the whole cape reads as fake in photos.
Handmade capes with a structured collar hold this shape far better than basic fabric rectangles tied on with string.
Hem Shaping for Dynamic Motion
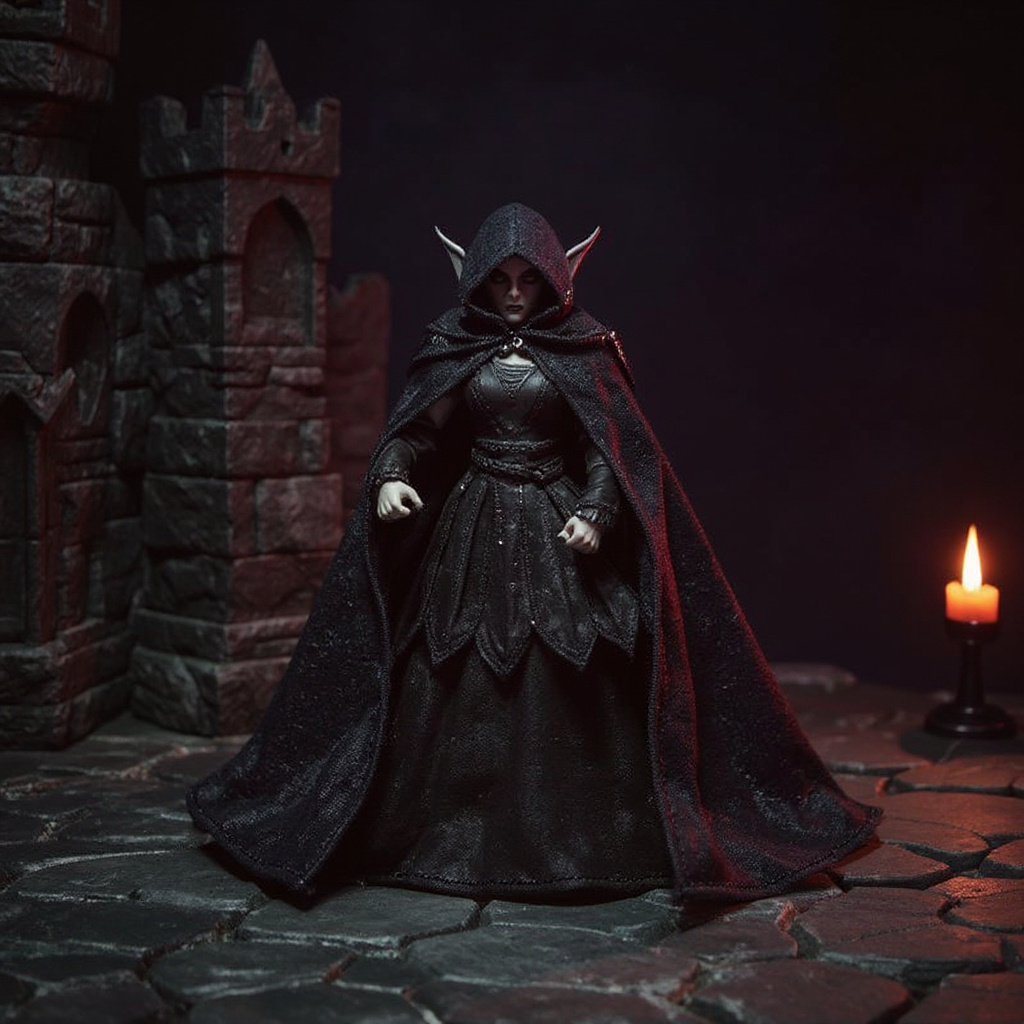
This is where wire framing earns its price tag. The bottom edge of the cape has to tell a story about movement, and a flat, symmetrical hem tells no story at all.
For wind-blown effects, bend the wire into an S-curve so the hem looks pushed by moving air. For dramatic swooshes, add a sharp angle — think superhero landing, not gentle breeze. Never make both sides match. Real fabric never falls that evenly.
Five Essential Cape Poses Every Collector Should Master
1. The Dramatic Swirl — Curve the entire cape in a spiral around the figure's legs. Works well for vampire or sorcerer characters. 2. Wind-Whipped — Bend the cape back and to one side. Essential for outdoor gothic diorama scenes. 3. Battle Ready — Pull one side forward over the shoulder, sword arm free. A classic heroic silhouette. 4. Mysterious Shroud — Wrap the cape partially around the torso. Hides weapons. Hides details. Adds intrigue. 5. Flight Position — Extend the cape back and slightly upward. Good for jumping or hovering poses.
Each pose needs a different wire tension, so practice on cheap fabric before you touch a $99 handmade piece.
Common Styling Mistakes That Ruin the Effect
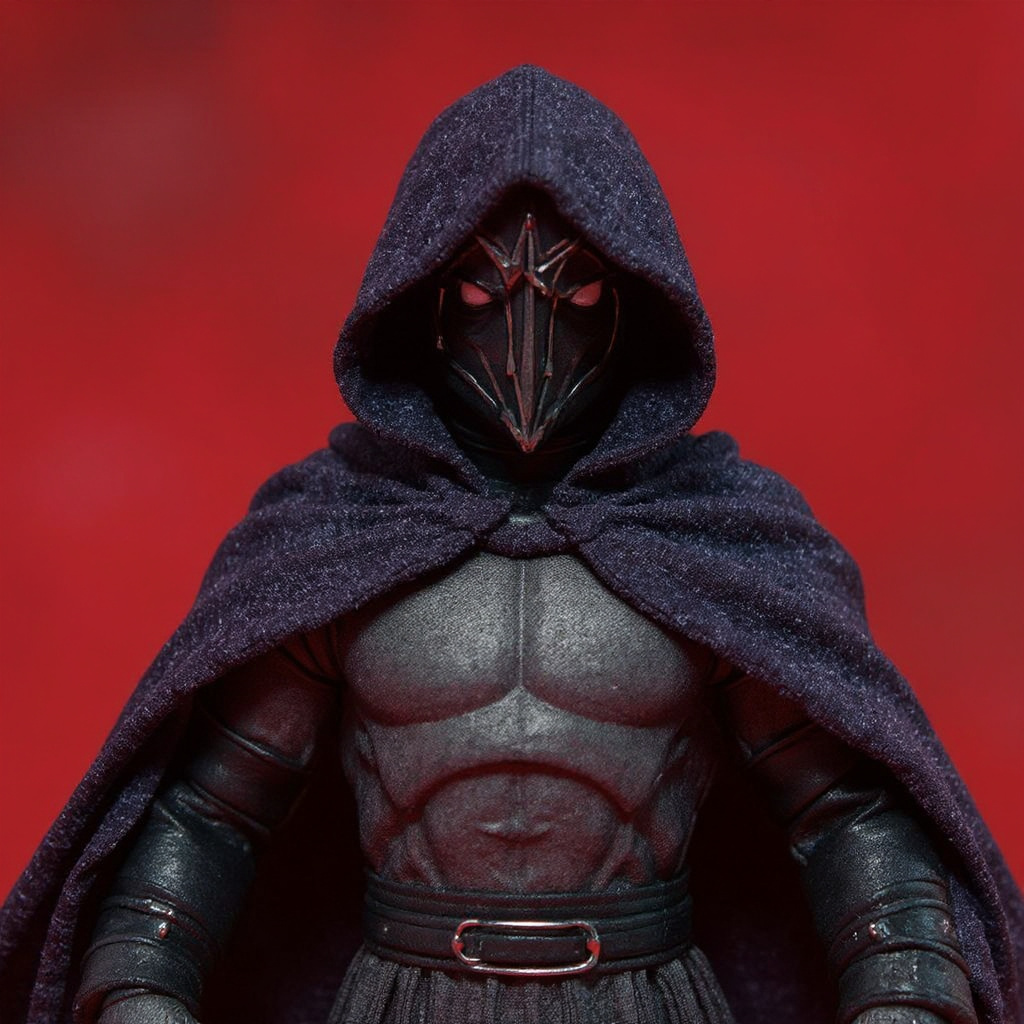
1. Treating the cape like a static object. Capes exist to suggest motion, even on a figure standing still. 2. Ignoring gravity. If the figure leans right, the cape shouldn't flow left unless there's a story reason — wind, magic, a sudden turn. 3. Over-posing. Bending every inch of wire into an elaborate shape usually looks worse than one confident curve. I see this constantly on collector forums: cape sculptures so busy they upstage the figure wearing them.
Subtle almost always beats extreme. Save the big dramatic bend for a single hero shot, not every frame.
Why $99 Might Actually Be Worth It — And When It Isn't
Let's be honest about the math first. Cape-like accessories exist for $20-60 elsewhere. So why pay more?
The difference shows up after the third or fourth repose. Basic fabric capes without wire lose their shape fast. Cheap wire kinks permanently after a handful of bends. A handmade wire-framed cape held a dramatic swoosh pose on my display shelf for four months before I touched it again — no sagging, no flattening.
To be blunt: if you display figures casually and never photograph them, skip this entirely. A $25 plastic cape looks identical from across the room, and nobody's zooming into your bookshelf. This cape earns its price when you're shooting close-up, styled photos where drape and fold actually show up in the frame.
For custom figure photographers and diorama builders, that translates into better shots with less reset time between sessions. You pose it once. It stays.
Frequently Asked Questions
How do you style an action figure cape for a beginner setup? Start with the three-point collar method, then add one gentle hem curve. Skip dramatic swooshes until you've practiced on scrap fabric — most beginners overbend the wire on their first attempt. Are wire-framed capes in style for 2026 displays? In action figure collecting, capes never really left. The current shift is toward heavier fabric texture and tighter wire integration rather than flat, shiny plastic finishes. How do you customize a cape's attachment method? Check whether your figure needs magnetic connection or fabric ties. Adjust length with a simple hem if needed. Then reshape the wire pattern to match your display or photo setup. How do you put a cape on a Lego minifigure? Lego capes are rigid plastic pieces that clip onto a neck post. No wire, no styling. This guide covers wire-framed fabric capes for 6-7 inch action figures specifically — a different product category entirely. What's the difference between a cape and a cloak on an action figure? Capes attach at the shoulders and hang open in front. Cloaks wrap the whole figure and often include a hood. Both can use wire framing, though cloaks need a more complex wire pattern to hold the wrapped shape. What should I know before sewing my first custom cape? Pick fabric that doesn't fray at 1/16-inch seams. Plan wire placement before you sew, not after. Cut it slightly longer than needed — trimming is easy, adding length back is not. Why does my cape look stiff instead of flowing? Usually the wire gauge is too thick for the scale. For 6-7 inch figures, stick to 22-24 gauge wire and a light fabric under 3 ounces per square yard. Heavier materials that work on 12-inch figures look bulky at this size. Can a wire-framed cape work on a non-original action figure body? Most attach with fabric ties or magnetic clasps, so cross-brand use is common. Just check scale — a cape built for 6-inch figures often looks oversized on a 5-inch body and undersized on a 7-inch one. Does humidity affect a fabric cape's pose? Yes, and most guides won't tell you that. In humid climates, cotton-blend capes lose hold duration fast — expect days instead of weeks. If you live somewhere damp, look for capes with wire sewn closer to the fabric edge, or reset poses more often.Is the Investment Actually Justified?
Here's the honest version: if you're casual about display and want something better than stock plastic, a mid-range $30-50 cape covers most needs.
But if you're active in action figure communities on Reddit or Instagram, shooting detailed photos, or building layered dioramas, the extra cost buys something specific: hand-sewn construction, a collar that sits flush, wire gauge tuned to this exact scale. Check our wire gauge reference guide and collar attachment breakdown for more on matching gear to figure size, and browse gothic diorama backdrops if you're staging a full scene around the piece.
The Vampire Cape for 6-7 Inch Action Figures sits at that premium tier where craftsmanship meets function. You're paying for stitched construction, correct proportions, and a wire structure that still holds a pose months later. Browse our vampire cape or read our vampire figure photography tips to see what this actually looks like in a finished shot.

