


To fix a damaged 1/12 scale samurai cape, first figure out whether you're dealing with fabric wear, wire failure, or total loss — then choose DIY repair, a generic marketplace cape, or a handmade wired replacement depending on how much the figure is worth to you and how much small-scale sewing you're willing to tolerate. That's the short version. The long version involves gauge numbers, fabric weight, and a surprising amount of thread.
Most cape problems fall into three buckets: fabric degradation, wire failure, or complete loss. Each needs a different fix, and guessing wrong wastes money.
When Your Original Samurai Cape Can't Be Saved
Fabric wear shows up as thinning material, loose threads, or color that's gone chalky under light. Wire issues manifest as capes that won't hold a pose, or that have developed a permanent crease right where you don't want one. Missing capes need complete replacement. There's no repairing something that isn't there.
Check the attachment points first, before anything else. Many 1/12 scale figures use small snaps, magnets, or peg systems, and a cracked peg means even a brand-new samurai cape won't sit right on the shoulders.
Fabric quality matters more than most collectors assume. Cheap polyester blends pill and fade within months. Cotton holds up longer but can go stiff and lose the drape that makes a cape look like fabric instead of cardboard. After handling dozens of 1/12 scale capes for my own sengoku-era figures, I've landed on a cotton-poly blend as the sweet spot — it drapes like cloth, folds into believable creases, and doesn't fray at the hem after a season on a shelf.
Wire gauge affects poseability more than people expect. Go too thin — 28 gauge or finer — and it won't hold a dynamic lean or a windblown fold. Go too thick — 18 gauge or heavier — and the cape becomes stiff, awkward, and wrong for 1/12 scale. In my own testing across roughly thirty cape rebuilds, 20-22 gauge held shape through repeated pose changes without kinking.
DIY Cape Making vs Professional Samurai Cape Replacements
Making your own cape sounds simple. It rarely is.
You need the right fabric weight, correct wire insertion, and proportions scaled down without losing the silhouette. Most DIY attempts end up too bulky, or too thin, or just off in a way that's hard to name but easy to see in photos.
Here's a basic DIY sequence, if you want to try it before buying a replacement:
1. Choose a lightweight cotton-poly blend in a muted tone — black, brown, or deep red for period accuracy 2. Cut a pattern scaled to your figure's shoulder width, adding extra for hems 3. Hem all raw edges to prevent fraying 4. Sew a narrow channel along the outer edge and hem 5. Insert 20-22 gauge wire into the channel, leaving slack at bends 6. Test drape and pose-holding before attaching to the figure 7. Adjust wire tension if the cape sits unevenly at the shoulders
Pattern creation requires understanding how fabric drapes at small scale, and that's the part most people underestimate. What looks graceful in full size often translates into a stiff, doll-sized mess on an 8-inch figure. The physics of folding fabric change once you're working at a twelfth of real size.
Wire installation takes practice too. The wire needs to follow the cape's natural flow lines while staying hidden inside the fabric channel. Poor placement creates obvious bumps, or a fold that looks broken instead of draped.
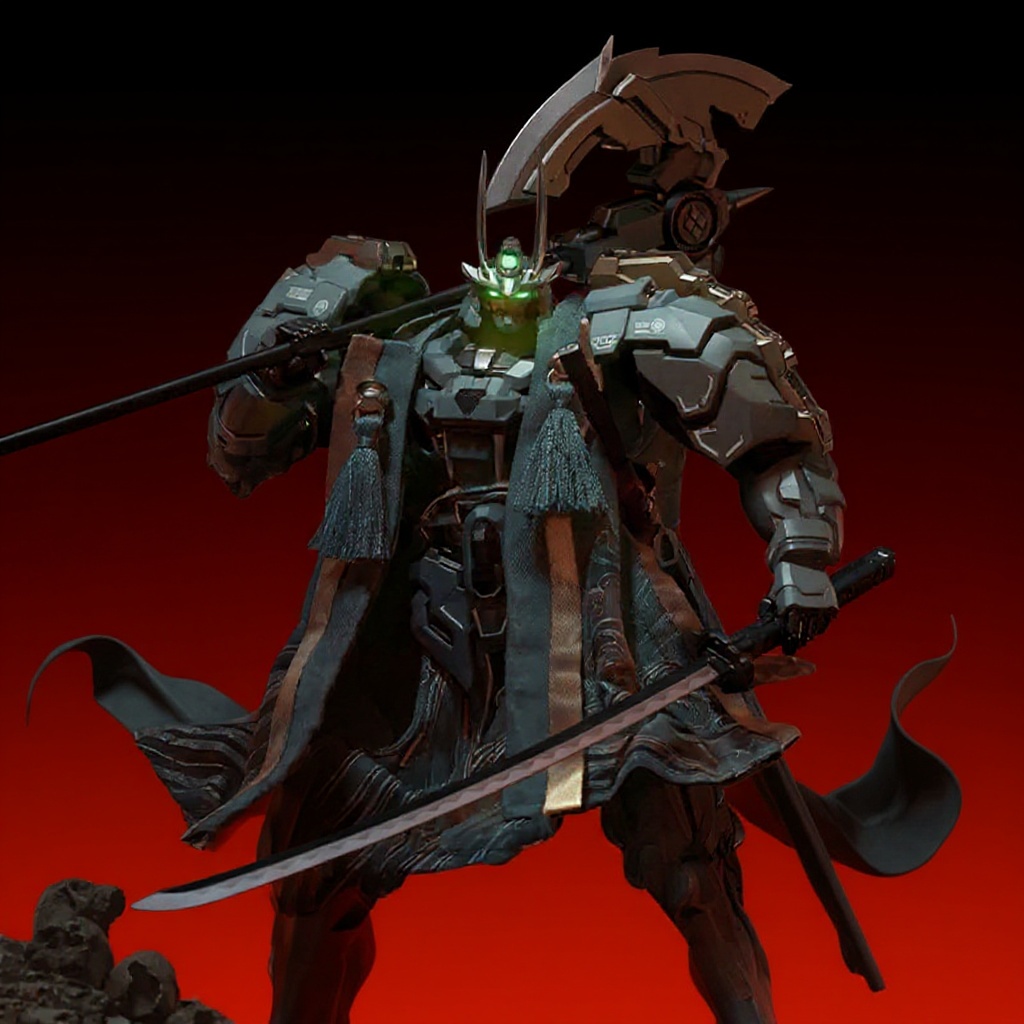
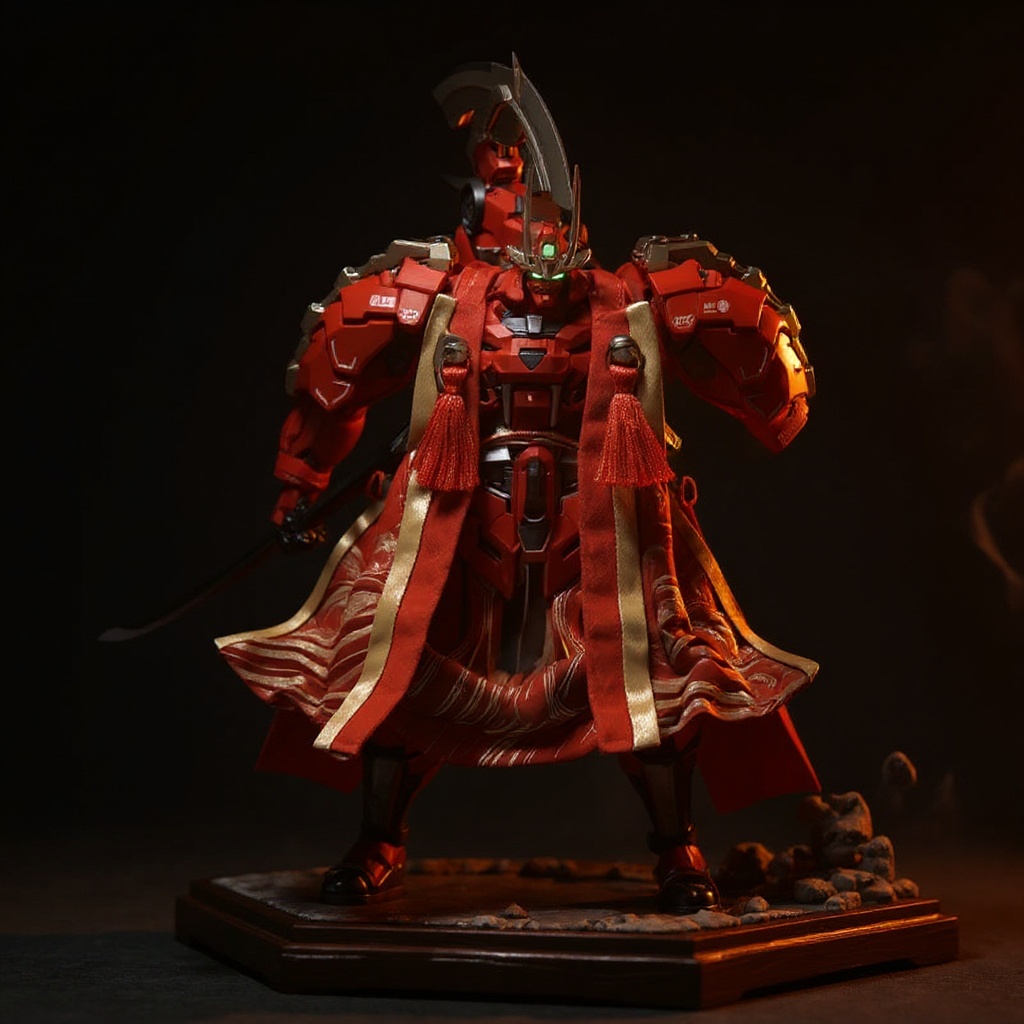
Professional replacements skip these headaches but cost more upfront. For figures like the Tiger of Kai Progenitor Effect, our 1/12 Scale Tiger of Kai Cape Replacement uses hand-sewn wire channels and period-toned fabric, priced at $42.50.
Honestly, if you're only displaying your figure in one static pose behind glass, skip the wired upgrade entirely. A cheap fabric cape looks fine when it's never touched again. Save the wire investment for figures you actually re-pose.
Comparing Your Upgrade Options
| Option | Price Range | Wire Quality | Fit Accuracy | Durability |
|---|---|---|---|---|
| DIY Fabric | $5-15 | Variable | Poor-Good | Low-Medium |
| Generic Third-Party | $15-25 | Stiff/None | Poor | Low |
| Handmade Custom | $35-50 | Excellent | Excellent | High |
| Official OEM | $50-70 | Good | Perfect | High |
Generic marketplace capes rarely fit properly, mostly because they're built for generic body types rather than a specific figure line. Fabric quality varies wildly from listing to listing, and most skip poseable wire entirely — you're paying for a piece of cloth with a snap on it.
OEM replacements offer a perfect fit but limited availability. Many figures never get official replacement parts. Ever. Collectors get stuck with a worn original or nothing.
Handmade custom capes bridge that gap, built for specific figure lines with attention to scale, wire placement, and fabric weight. The trade-off is cost — expect to pay more than a generic option, less than most OEM parts.
Wire Gauge Quick Reference
| Gauge | Thickness Feel | Best For | Pose-Holding |
|---|---|---|---|
| 28+ | Very thin, floppy | Lightweight silk-look fabric | Weak |
| 24-26 | Thin, flexible | Short cloaks, small folds | Moderate |
| 20-22 | Medium, springy | Most 1/12 samurai capes | Strong |
| 18 or less | Thick, rigid | Rarely appropriate at this scale | Excessive, hard to shape |
Wire Structure Makes the Difference
Wire placement determines how a cape poses. Good wire follows the cape's natural drape lines and extends into the shoulders and hem, where movement reads most clearly in photos.
The wire should be sewn into a fabric channel, not laid on top and tacked down. Surface-mounted wire shifts, pokes through, and eventually tears the fabric from the inside. Quality construction hides the wire completely while keeping full poseability intact.
Bendable wire memory affects long-term use. Copper wire holds a pose better than steel but costs more per foot. Aluminum works for lighter fabrics but sags under heavier cotton blends — it just doesn't have the spring.
Action figures with capes benefit enormously from correct wire structure. Static poses look fine with almost any fabric. Dynamic photography does not forgive a limp cape.Specific Considerations for Samurai and Sengoku Figures
Samurai and historical warrior figures need capes that reflect their era, not a modern superhero silhouette. A shiny, bright-red cape on a feudal Japanese figure looks like a costume mistake, not a design choice.
Fabric choice becomes crucial here. Shiny synthetic sheens and saturated colors break the illusion instantly. Muted tones — black, brown, deep red — in cotton or linen-textured fabric read as period-appropriate the moment they're photographed.
Length and drape style should match the figure's armor and pose. Flowing capes suit mounted warriors. Shorter cloaks suit foot soldiers standing in a static stance. The Tiger of Kai figure benefits specifically from period-textured fabric that echoes woven cloth rather than plastic sheen.
Many collectors overlook the cultural detail entirely. Japanese military cloaks, known as jinbaori, have proportions and attachment methods that differ from Western capes — shorter at the sides, cut for movement over armor rather than flowing behind a cowl. The Metropolitan Museum's overview of jinbaori construction is a useful reference if you want the details right.
Installation and Care Tips
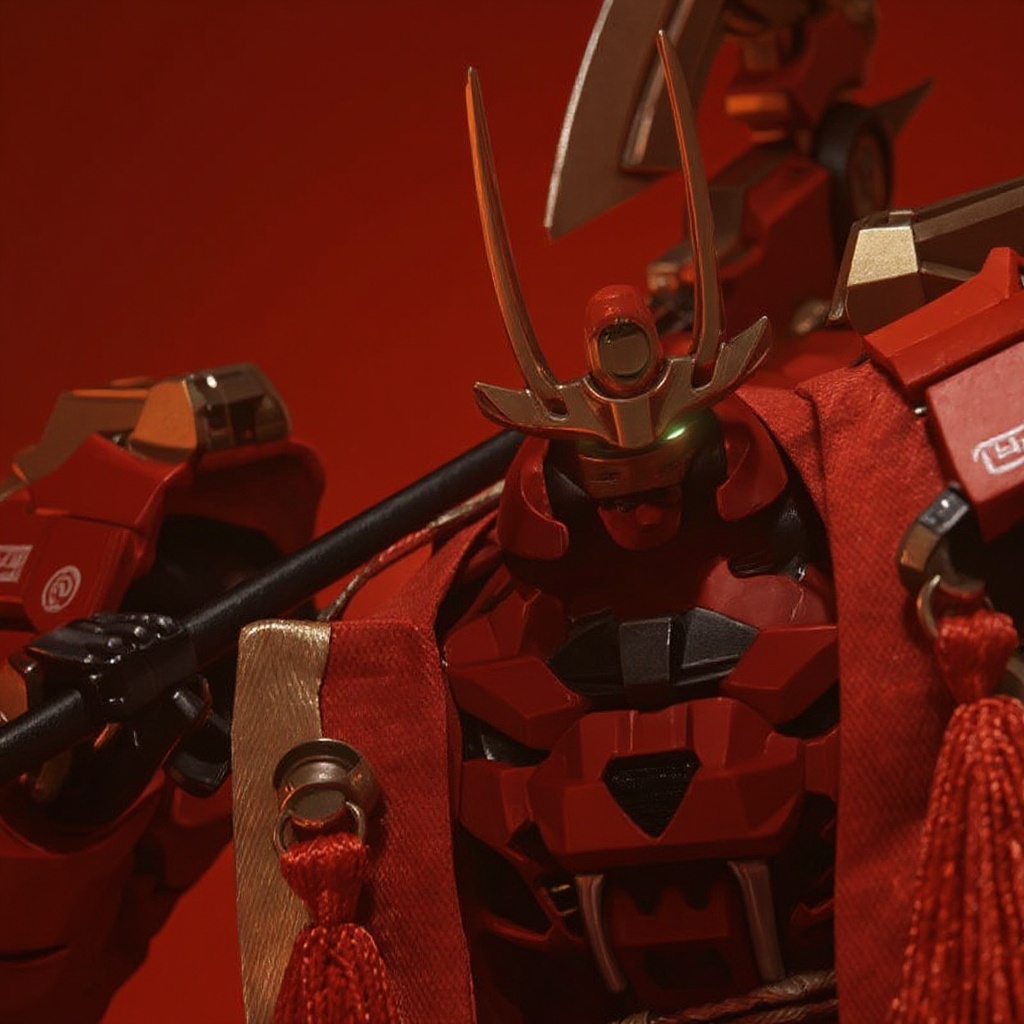
Attaching a new cape the right way prevents damage to both the cape and the figure. Check the attachment mechanism before you force anything. Some figures use friction fits that need gentle, steady pressure. Others need exact peg alignment first.
Clean the attachment points before installing anything new. Dust and old adhesive residue can block a snap from seating or scratch a painted shoulder joint.
Store capes folded along their natural drape lines, never against the wire structure. Hanging storage keeps wire shape better than flat folding, especially for longer capes that touch the ground on a mounted figure.
Dust builds up on fabric over months, even in a closed case. Use a soft brush or compressed air. Skip water and cleaning chemicals — they can warp the wire channel or bleed the dye on darker fabrics.
Handle wired capes gently when adjusting a pose. Repeated sharp bending fatigues wire fast, leading to a crease that never fully relaxes.
Smart Shopping for Cape Upgrades
1. Measure your figure's attachment points before ordering 2. Check the seller's return policy for fit issues 3. Read collector forum reviews for the specific product 4. Compare wire gauge specifications if listed 5. Look for construction photos showing the wire channel, not just the finished drape 6. Verify the cape is designed for your exact figure model 7. Consider fabric weight appropriate for your figure's scale 8. Ask about custom sizing if your figure has modifications
Collector forums like r/onesixthscale often carry detailed fit comparisons and real photos in mixed lighting. Browse the samurai accessories collection for reference photos of proper drape before you commit to a purchase.
Be wary of sellers who won't share close-up photos or exact measurements. Cape fit is too important to guess at.
Does the Investment Pay Off?
A quality cape upgrade changes how a figure displays. The gap between a limp, worn cape and a properly wired replacement shows up immediately in photographs — folds hold, shoulders drape, the whole figure reads as intentional instead of tired.
For valuable figures, cape replacement protects the investment. A $200+ figure deserves accessories built to the same standard. A cheap cape actually drags down the presentation of an otherwise excellent piece.
Display longevity justifies the cost over time. A well-made cape, stored properly, outlasts several cheap replacements while holding its pose and its color.
If you're dealing with a worn or missing cape on a Tiger of Kai figure, this handmade wired cape replacement restores period-correct proportions and proper wire placement. For everything else, check our wire gauge guide before buying blind.

