


What a Good Gothic Cape Looks Like at 1/12 Scale
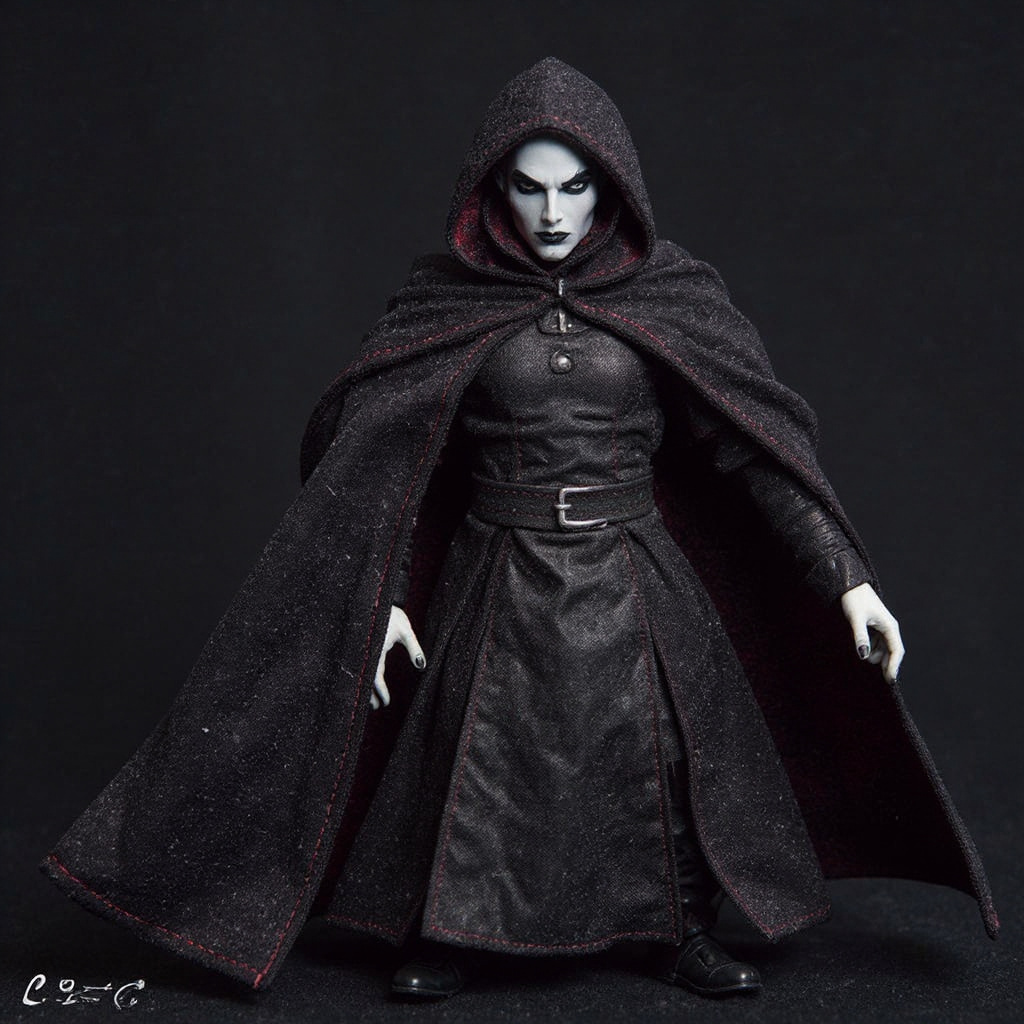
Before comparing materials, agree on the target. A vampire cape for a 6-7 inch figure should show four things.
- Dark, textured fabric. Black or deep crimson, with a visible weave. Flat, glossy cloth looks like a toy. - Visible stitching. Topstitching in gray, charcoal or dark red thread, at 8-10 stitches per inch. It tells the eye this is tailored cloth. - A structured collar. A stand-up collar about 1 inch tall that frames the head. - Drape folds that hint at a frame. Ridges that hold their line at the hem and shoulders because wire sits inside.
Miss one and the cape reads as costume, not cloak.
Why a Posable Wire Cape Action Figure Beats Molded Plastic
Most factory capes are molded plastic or limp printed polyester. Plastic sticks out at one angle, and limp polyester hangs flat. Neither gives you a billowing silhouette. Wire fixes that. A thin metal frame in the hem and collar lets you sweep the cloth sideways, lift one edge, or wrap it across the body, and it stays there. Fabric follows the wire, so folds look like real cloth in motion.
Wire has a cost. It fatigues, and I cover that below.
Wire Types Compared
You want wire that bends under your fingers and does not spring back. Craft-store wire is often too soft. Hardware wire is often too stiff.
| Wire | Gauge (AWG) | Diameter | Bendability | Hold strength | Approx. cost per foot |
|---|---|---|---|---|---|
| Floral wire | 20 | 0.81 mm | Easy | Good | $0.12 |
| Floral wire | 18 | 1.02 mm | Moderate | Excellent | $0.15 |
| Aluminum armature wire | 18 | 1.02 mm | Very easy | Good | $0.21 |
| Craft wire | 22 | 0.64 mm | Too easy | Poor | $0.08 |
| Solid copper electrical wire | 16 | 1.29 mm | Hard | Excellent | $0.18 |
20-gauge floral wire is my default. It supports twill without needing pliers. Armature wire costs about 40% more than 18-gauge floral and about 75% more than 20-gauge floral, but its aluminum core resists rust.
Honestly, if you display figures in a humid basement or bathroom-adjacent room, skip coated steel floral wire. It rusts and can stain pale linings. Use aluminum.
Fabric Weight and Drape Comparison
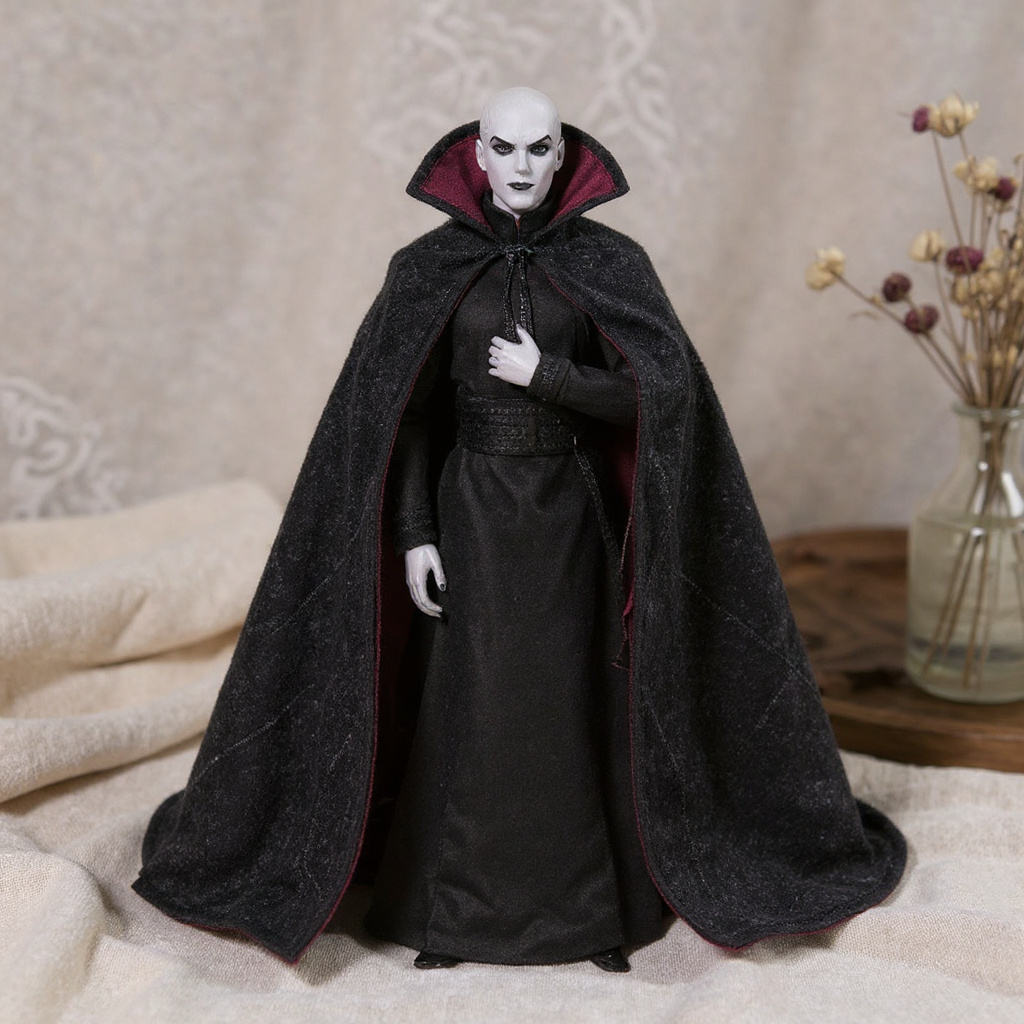
Weight matters more than most guides admit. Heavy cloth looks like a blanket on a 6-inch figure. Light cloth floats, and the wire cannot hold it. Fabric weight is measured in grams per square meter, a standard called basis weight.
| Fabric | Weight (GSM) | Drape at 1/12 scale | Photographs well? |
|---|---|---|---|
| Cotton twill, black | 150-200 | Structured, soft folds | Excellent; weave catches side light |
| Cotton velveteen, crimson | 200-250 | Soft, heavy folds | Excellent, but the nap collects lint |
| Silk dupioni | 80-110 | Crisp, sharp folds | Excellent; frays fast at seams |
| Polyester taffeta | 60-80 | Crisp, holds creases | Good; glare risk under bright lights |
| Chiffon or organza | 30-40 | Floats, ignores the wire | Poor for held poses |
| Canvas | 300+ | Stiff, bulky | Poor; looks oversized |
For a black cape with texture, I pick twill. For crimson, I line a black twill outer with velveteen or cotton sateen. Dark cloth. Rich lining. Done.
Collar and Closure
The collar makes the silhouette. A flat collar lies on the shoulders and hides the neck. A structured one rises about 1 inch behind the head and gives that classic vampire profile.
The collar needs its own closed wire loop of about 5 inches, plus a strip of light fusible interfacing. Without the loop, the collar folds down within a few adjustments.
Neck posts vary by figure line, so measure yours with calipers or a strip of paper. For a neck post about 0.6 inch across (circumference near 1.9 inches), cut the collar band 2.25 inches long. That leaves a 0.35 inch overlap for the closure. Closures that work include:
- 1/8 inch neodymium magnets. Best for swapping capes between figures. - Micro snaps. Secure, but fiddly. - Hook-and-loop dots. Fast, though they can snag fabric. - Thread ties. Most authentic, slowest to change.
How to Build a Wire Cape for a 7-Inch Figure
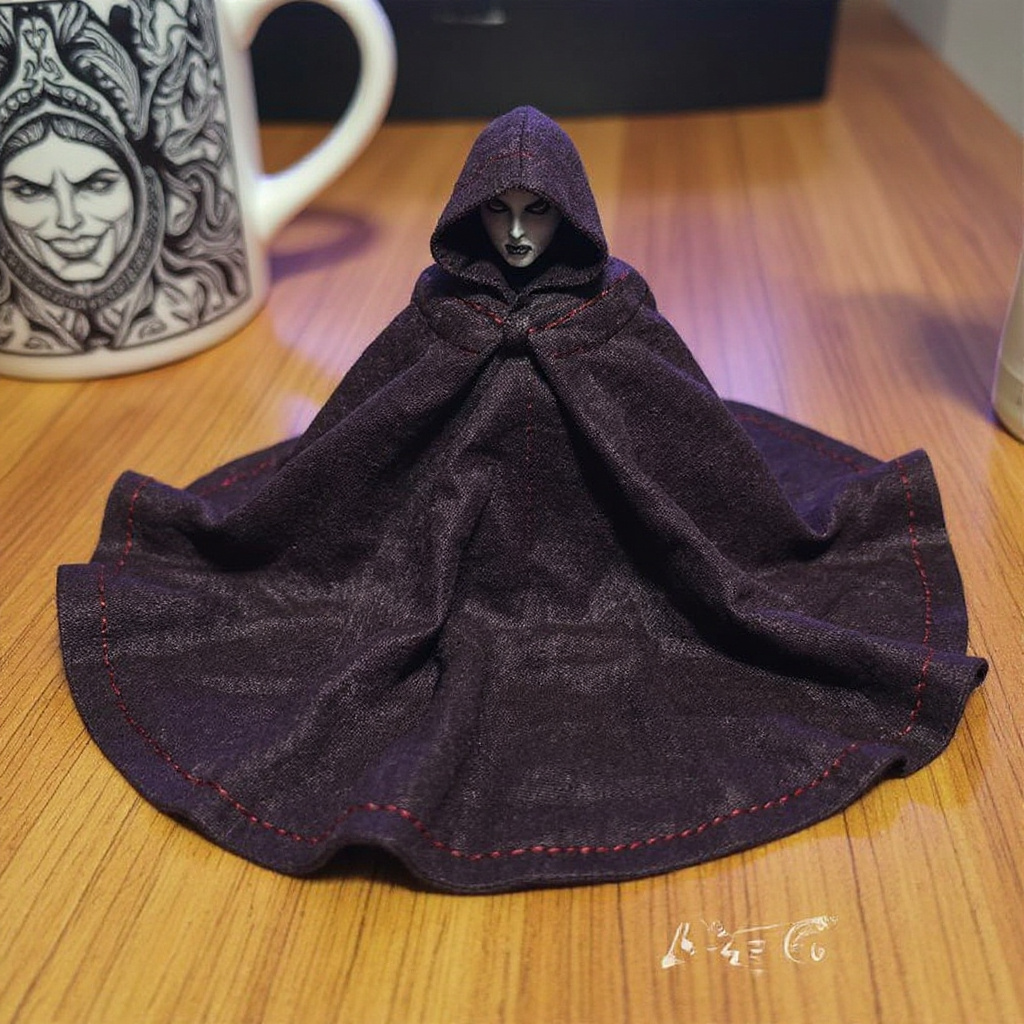
This pattern works for figures roughly 6.5-7.5 inches tall. Cape length from collar to hem is 7 inches. That lets it pool slightly at the feet without blocking leg articulation.
1. Cut the body. Draw a trapezoid: 3 inches at the neck edge, 11 inches at the hem, 7 inches tall. Add a 1/4 inch seam allowance. Cut one from black twill and one from crimson lining. 2. Cut the collar. Cut two rectangles of 2.25 by 1.25 inches. Fuse interfacing to one. 3. Sew the body. Place right sides together and stitch 1/4 inch from the edge, leaving the neck edge open. Clip the corners, turn, and press. 4. Make the hem channel. Topstitch 3/16 inch (5 mm) from the outer edge along the hem. Use a 3 mm stitch length and contrasting thread so the stitching shows. 5. Cut the wire. Cut 13 inches of 20-gauge wire for the hem and 5 inches for the collar. Curl each end with round-nose pliers so it cannot poke through. 6. Thread and seal. Feed the hem wire through the channel with a bodkin or safety pin. Bar-tack both ends. 7. Attach the collar. Sandwich the neck edge between the two collar pieces, insert the collar wire, and stitch closed. 8. Add the closure and test-fit. Sew on magnets or snaps and try the cape on the figure before trimming anything.
Total wire: about 18 inches, or roughly $0.18 in materials.
Posing Sequence for Photography
Bend the wire in a fixed order, because random adjustments produce confused folds.
1. Set the collar first. It anchors the figure's presence. 2. Shape the shoulder drape to point in the direction of motion. 3. Bend the side panels to create depth and shadow pockets. 4. Adjust the hem last, using it to lead the eye. 5. Refine small folds with your fingertips.
Keep wind direction consistent. Real cloth does not billow both ways at once. For black fabric, place a light at a low 45-degree angle to the side so the weave and stitching throw tiny shadows. Backlighting works well for silhouettes, but you lose the texture.
Common Problems
Wire fatigue. Every metal wire eventually cracks from repeated bending, a process explained in this overview of material fatigue). In our bench notes, a 20-gauge floral wire collar corner cracked after about 45 full 90-degree bends. Gentle 45-degree adjustments survived more than 200. Small bends last. Sharp creases don't. Fraying at wire exits. A wire end can wear through the channel. Bar-tack the ends, or add a small fabric patch. Pose memory. If a cape sits in one pose for months, the wire settles into it. Counter-bend the wire slightly past neutral to reset it. Scale mismatch. A cape cut for a bulky figure will swamp a slimmer one. Measure shoulder width and neck post before you buy.It will break eventually. Treat a wire cape as a consumable, not an heirloom.
Buy or Build: Price Tiers
| Tier | Price range | What you get |
|---|---|---|
| Budget | $15-35 | Basic construction, unfinished seams, thin wire |
| Mid-range | $35-70 | Better fabric, cleaner channels, some official soft goods |
| Premium | $80-110 | Reinforced stress points, custom wire shaping, hand-finished hems |
| DIY | $3-8 | Your time, plus fabric and wire |
One premium option is the NECA Dracula cape soft goods for 7-inch figures, a textured cotton-blend cape priced at $99. We sell it, so weigh that when reading our opinion. Manufacturer specs for NECA's figure lines are on NECA's official site.
Is it worth $99? For photographers and diorama builders who reposition figures weekly, maybe. For a shelf display that never changes, a $20 cape or the DIY pattern above gives you 80% of the look.
Frequently Asked Questions
What wire gauge is best for a 6-7 inch cape?
Use 20-gauge (0.81 mm) floral wire. It bends by hand and holds folds. Move to 18-gauge if you use heavy velveteen, but expect stiffer adjustments.What fabric weight works for a vampire cape at this scale?
Aim for 150-200 GSM. Below 80 GSM, cloth ignores the wire. Above 250 GSM, it looks bulky and overwhelms the collar.How wide should the wire channel be?
3/16 inch (about 5 mm) for 20-gauge wire. That leaves enough room to slide the wire without letting it flop around.Will one cape fit Marvel Legends, Mythic Legions and NECA figures?
Not always. Neck posts and shoulder widths differ by line. Measure the neck post, and allow a 0.35 inch collar overlap for the closure.How long does the wire last?
In our bench notes, sharp 90-degree bends cracked 20-gauge wire in about 45 cycles. Soft 45-degree adjustments lasted over 200. Real-world life depends on how often you re-pose.How do I add wire to an existing cape?
1. Open 2 inches of the hem seam with a seam ripper. 2. Cut wire 1 inch shorter than the hem length. 3. Curl both ends. 4. Feed it in, then close the seam with visible stitching.How do I stop black fabric from looking flat in photos?
Use textured twill and place a light at 45 degrees to the side. The weave and stitching then throw small shadows that show detail.Is a $99 cape worth it?
It depends on use. Frequent photography and heavy re-posing favor a premium build. Static shelf displays do not need one.Final Take
A posable wire cape action figure setup succeeds on three things: 20-gauge wire, 150-200 GSM dark twill, and a wired collar loop. Start with the DIY pattern if you want to learn what matters. Buy premium if you photograph weekly and do not want to sew.

