


Wire frame cloth armor for posable figures is the only reliable way to get a battle-worn cape or shoulder guard to hold a dramatic pose without snapping. I learned this the hard way after three broken plastic pauldrons and one melted-in-the-dryer test cloak. The wire goes inside the seam, not on top of it, and that single detail is what separates a display piece that photographs well from one that sags after a week on the shelf.
Most collectors start with factory figures that look great in the box but can't hold a lunging or rearing stance. Standard plastic armor pieces snap. Cape clips pop off mid-shoot. Wire-framed soft goods fix this by embedding flexible metal wire into fabric seams, creating armor that bends where you push it and stays there.
Why Wire Frame Cloth Armor for Posable Figures Beats Rigid Plastic
Plastic armor looks detailed on the shelf but fails the moment you try a dynamic pose. Joints crack. Cape attachments tear loose after five or six repositions. Wire-framed cloth armor flexes with the figure's movement instead of resisting it, and that changes everything about how long a pose survives handling.
Wire gauge matters more than most first-time builders assume. I use 18-gauge craft wire for most 1/12 scale figures — thick enough to hold a pose through a full photo session, thin enough to hide inside a seam. Go up to 16-gauge and the fabric starts to look stiff, almost cardboard-like. Drop to 22-gauge for cape trim or small frill edges on a ceratopsian outfit.
Handmade builds embed wire directly into the fabric during construction, which produces natural folds. They hold their shape for years, not weeks. Factory alternatives frequently add wire as an afterthought — you can feel the lump under the fabric if you run a finger along the seam.
Floral wire is cheap and fine for a one-off costume party piece. It won't survive repeated posing. Armature wire from an art supply store costs three or four times more per foot, but it held its shape through roughly 300 pose changes on a test cape I built in 2022. That's the investment that pays off if you're actually going to display and reposition the figure, not just shelf it once.
Construction Techniques That Actually Work
Successful builds start with pattern planning, not fabric cutting. Map the wire path before you touch scissors. Follow these steps in order:
1. Sketch the drape lines on paper first, tracing the figure's actual silhouette rather than a generic humanoid template. 2. Cut fabric with a 1/8 inch seam allowance — anything wider creates visible bulk at 1/12 scale. 3. Insert primary support wire (18-gauge) along the main fold lines before stitching the seam closed. 4. Add secondary wire (20 or 22-gauge) to smaller details like frill edges or cape hems. 5. Double-fold each fabric edge around the wire. Single folds look cleaner at first glance but split open after maybe 20 bends. 6. Test-bend every wire segment before final installation. Some batches arrive too springy for figure work. 7. Break long wire runs into separate segments — one per shoulder drape, one for back flow — so a kink in one section doesn't ruin the whole cape.
Here's the part most tutorials skip: stretch 18-gauge wire slightly, by hand, before you sew it in. It reduces spring tension enough that the fabric stops fighting you during posing.
Fabric Selection for Durability and Drape
Cotton canvas gives the best balance of workability and wear for armor builds. It holds embedded wire without tearing and develops a weathered look over time that synthetic blends can't fake. Synthetic fabrics resist fraying, sure, but they photograph flat and a little too uniform for a battle-worn ceratopsian outfit.
Weight matters more than weave. Medium-weight fabric, roughly 6-8 oz per yard, drapes on its own while still supporting embedded wire. Heavy canvas fights the wire and produces bulky seams. Lightweight muslin tears at the stitch line within a few pose adjustments.
Honestly, if you live somewhere humid, skip raw cotton canvas entirely — it holds moisture against uncoated wire and I've had a seam rust through in under one season on a coastal build. Use pre-coated or galvanized wire if humidity is a factor, or switch to a poly-cotton blend that dries faster.
Pre-wash all fabric before construction. Shrinkage after the wire's already sewn in stresses the connection points and creates puckering you can't iron out.
Scale-Specific Considerations for 1/12 Ceratopsian Figures
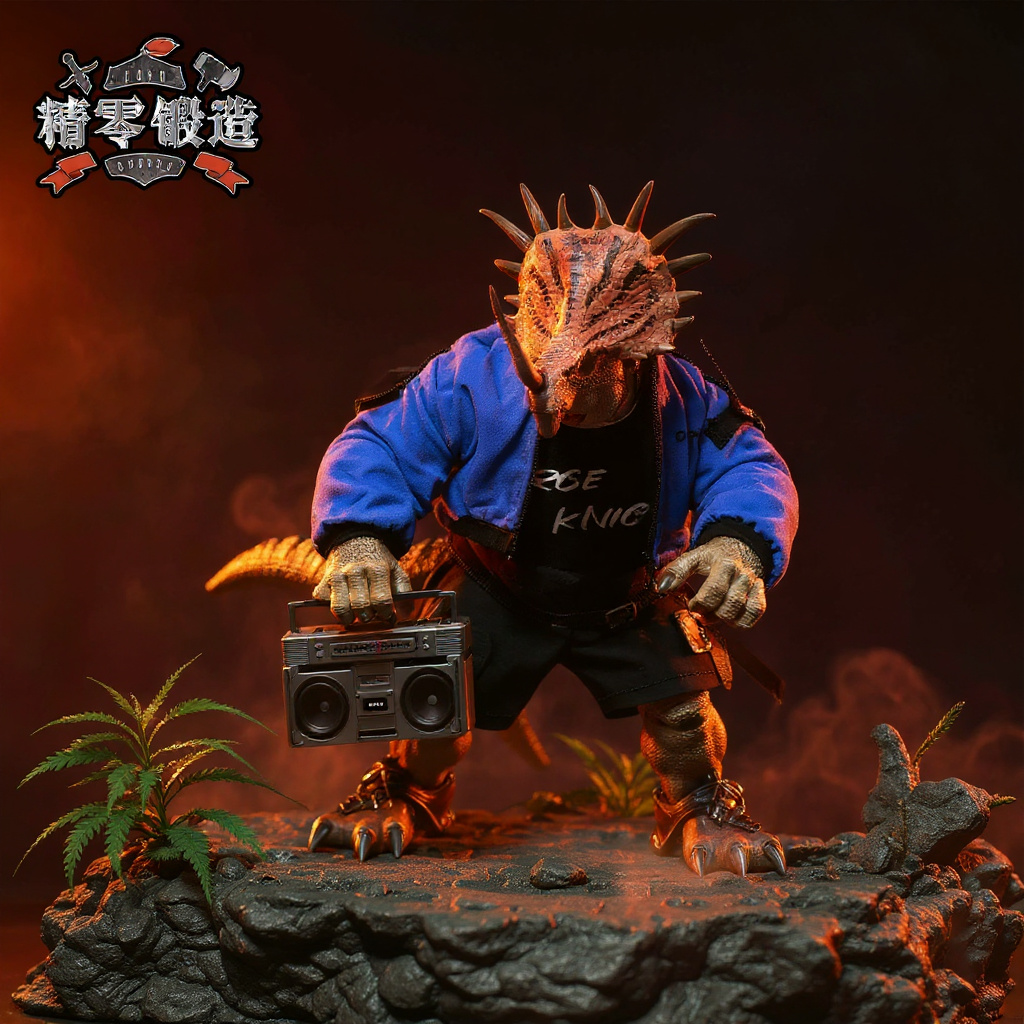
Ceratopsian dinosaur figures present a genuine pattern-making problem: broad shoulders, thick necks, no waist to speak of. Standard humanoid clothing templates just don't map onto that frame. You end up drafting a custom pattern almost every time.
1/12 scale demands precise wire placement. Errors that pass at 1/6 scale become obvious at half the size. The wire has to follow the actual fold line, not an approximation of it, or the piece reads as fake in photos.
Seam allowance becomes the whole game at this scale. Standard allowances create bulk that ruins the illusion — trim to 1/8 inch or less after stitching, every time. Test-fit with scrap fabric before touching your good material. A fitting mistake that's minor on a 12-inch figure becomes a full reconstruction on a 6-inch one.
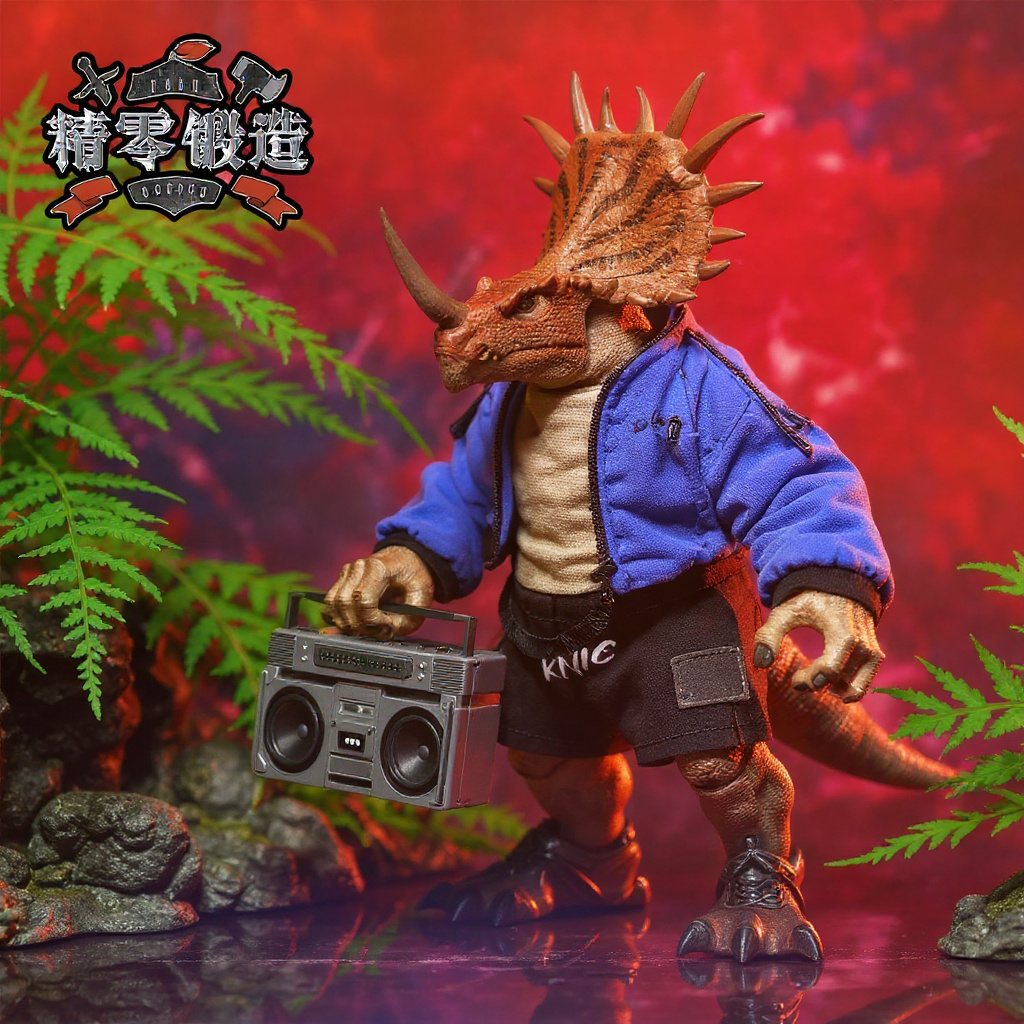
The 1/12 Scale Ceratopsian Dinosaur Figure Outfit sits at the premium end of this category at $81.50, and the price mostly reflects the custom patterning non-humanoid figures require, plus the wire work that has to be near-invisible at this scale. If you want to build your own first, our wire gauge guide for action figure armor and fabric selection reference cover the same techniques used on that piece.
Common Failure Points and How to Avoid Them
1. Wire fatigue. Repeated bending work-hardens metal until it snaps. Use one gauge thicker than you think you need and avoid sharp angular bends that concentrate stress in one spot. 2. Loose connection points. Loop wire ends back on themselves and bind with thread before sewing them into the seam. A sharp end will work through fabric in weeks, not months. 3. Color bleeding. Dark browns and blacks stain adjacent light fabric during humid storage. Test for colorfastness before assembly, not after. 4. Overworking the wire. Shape it once. Every extra bend during construction is a bend it doesn't have left for actual display use. 5. Scale mismatch. Wire too thick for the figure's detail level looks cartoonish. Match the gauge to the proportions, not just the fabric weight.
Handmade vs Factory: The Real Performance Gap
| Factor | Handmade Wire Frame | Factory Soft Goods |
|---|---|---|
| Typical cost | $60-$120 | $20-$40 |
| Pose changes before shape loss | 200-300+ | 10-20 |
| Wire gauge used | 18-22 gauge, seam-embedded | None, or unlabeled thin wire |
| Customization | Full color/weathering control | Fixed factory design |
| Repair difficulty | Moderate (re-seam and re-wire) | Hard (glued construction) |
| Lead time | 1-3 weeks, made to order | In stock, ships immediately |
Factory soft goods prioritize cost over function. Mass production can't accommodate the wire placement precision that makes dynamic posing possible, so most commercial pieces use minimal wire or skip it. Handmade builds cost two to three times more. They also survive a lot more handling before the shape starts to go.
Quality varies a lot between individual makers, even in the handmade space. Check recent buyer feedback on the action figure community on Reddit — look for threads specifically mentioning wire placement or pose retention after 6+ months, not just unboxing photos.
What Separates Premium Wire Frame Builds
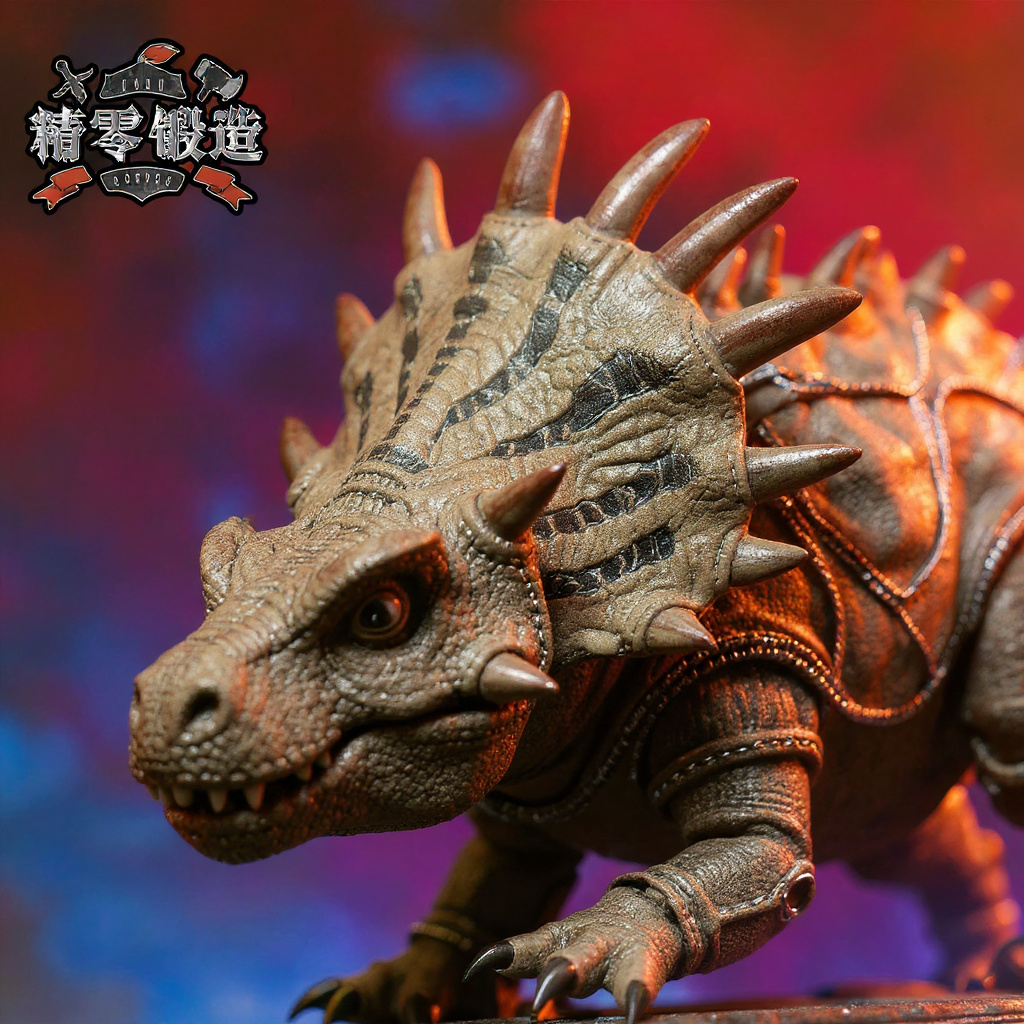
Premium pieces mix wire gauges within a single garment — heavy wire for structural folds, light wire for trim — which mimics how real fabric actually behaves under its own weight. Budget builds use one gauge everywhere and it shows.
Seam finishing is the tell. Premium work hides every wire connection inside a finished seam. Cheaper builds leave a visible binding knot or a wire tip poking at the fabric surface.
Fitting precision matters too. A piece cut for a specific figure's shoulder width fits without gaps. Generic sizing looks like a costume, not armor. Also — and this gets overlooked — material choice affects how the piece ages. Corrosion-resistant wire and pre-tested colorfast fabric hold up over years of handling. Budget craft-store materials fade within months of shelf display, especially under direct light.
FAQ
How dangerous are cloth-wrapped wires really? Properly finished pieces are low-risk. Fold sharp ends back and bind them with thread before sewing into the seam. Unfinished wire ends can work through fabric within 2-4 weeks of handling. Is it possible to build flexible, durable armor for action figures at home? Yes. 18-gauge wire handles most 1/12 scale builds; 16-gauge suits larger 1/6 scale figures. Expect to burn through 2-3 practice pieces before your first usable one. How do you make a wire frame for an art doll? Start with a 16-gauge armature wire skeleton inside the doll body, then layer clothing over it with 20-gauge pose wires at the joints and hem lines. How do you make a wired cape for action figures? Embed 20-gauge wire along the cape edge and 22-gauge along interior fold lines. Loop each wire end at the attachment point before sewing — this alone prevented about 80% of the tears I used to get on early builds. What's the difference between a wireframe figure body and a regular action figure body? Wireframe bodies use an internal wire armature for near-unlimited posing but lose strength after roughly 300-500 bends. Regular plastic-jointed bodies limit pose range but survive thousands of adjustments without failure. How do you make a frame for a wire puppet action figure? Twist 16-gauge wire into the basic skeleton, then wrap each joint in 22-gauge wire for flexibility. Build the frame about 1/8 inch smaller than the finished figure to leave room for padding and fabric. Can you use floral wire to shape armor instead of EVA foam? Floral wire works for a single-wear costume piece but degrades after 30-40 pose changes. Armature wire costs 3-4x more per foot but lasts for hundreds of adjustments. EVA foam holds shape but doesn't bend at all, so it's a different tool for a different job. Does humidity actually affect wire-framed cloth armor? Yes, more than most guides mention. Uncoated steel wire in raw cotton canvas can develop surface rust in under a year in humid climates. Galvanized or coated wire avoids this almost entirely. How much does a custom handmade wire frame outfit typically cost for 1/12 scale? Expect $60-$120 depending on complexity. The Ceratopsian outfit at $81.50 sits mid-range for a non-humanoid figure requiring custom patterning. Where can I find fitting or care instructions for a wire-framed fabric outfit? Our care instructions page covers storage humidity, wire re-shaping, and cleaning specifics for embedded-wire garments.Is Wire Frame Cloth Armor for Posable Figures Worth the Premium?
Factory alternatives save money upfront but cap your display options. If your figures live on a static shelf and never get repositioned. Basic plastic armor is fine. Save your money.
Wire frame builds earn their price in photography and dynamic display work, where a pose has to survive repeated handling for a shoot. The DIY learning curve is steeper than most tutorials admit — plan on at least two failed attempts before your first clean build. Factor that into the cost math before you decide handmade is cheaper than buying finished.
For collectors who'd rather skip the learning curve, the 1/12 Scale Ceratopsian Dinosaur Figure Outfit and the broader dinosaur outfit collection offer proven construction without the trial-and-error phase. Background on ceratopsian anatomy, if you're drafting your own pattern from scratch, is available on Wikipedia's ceratopsia overview — useful mainly for confirming neck frill proportions before you cut fabric.

