


A handmade cape for action figures should use 24-gauge (0.51 mm) craft wire sewn along the shoulder line and hem, cotton-linen fabric at 3-5 oz/sq yd (100-170 gsm), and a tie-front closure. For a muscular 6-inch barbarian, that combination holds a windswept pose for two weeks or more without visible bumps.
That is the short answer. The long one takes some explaining.
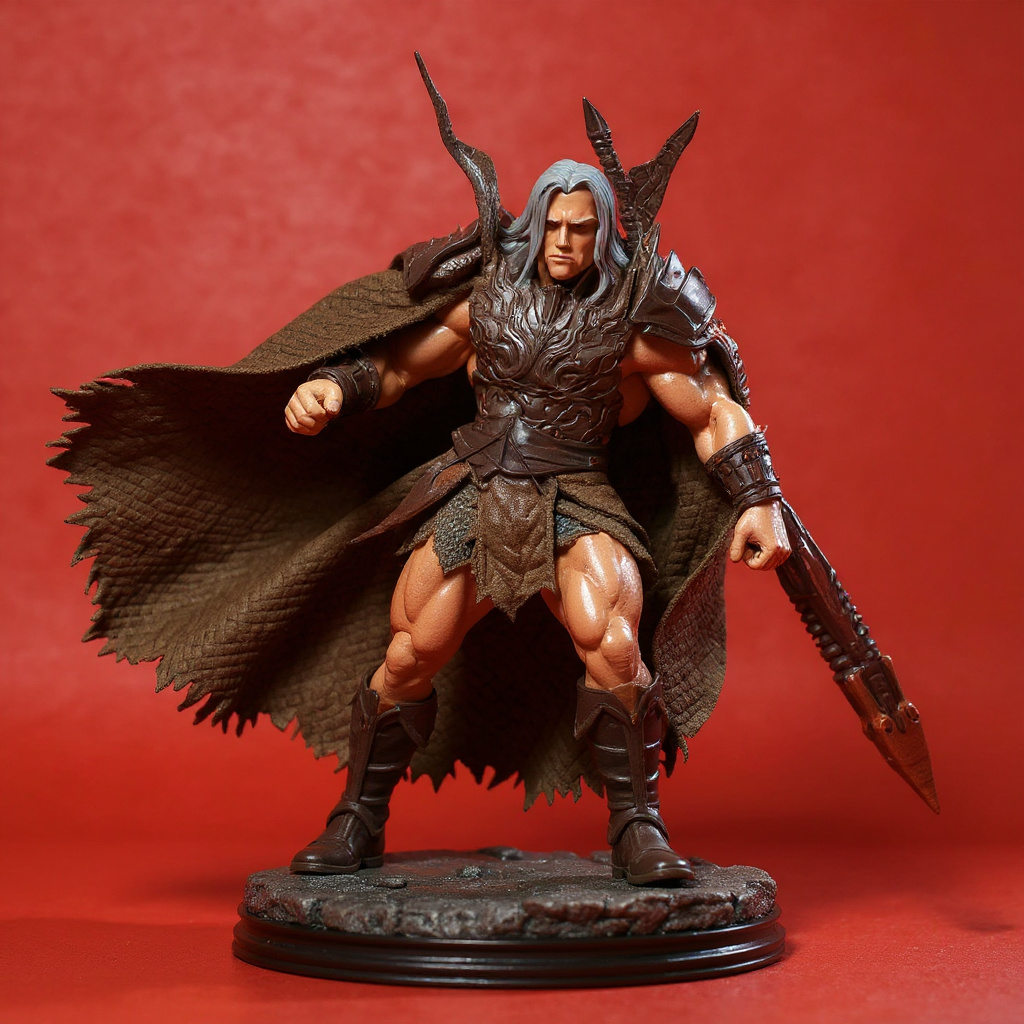
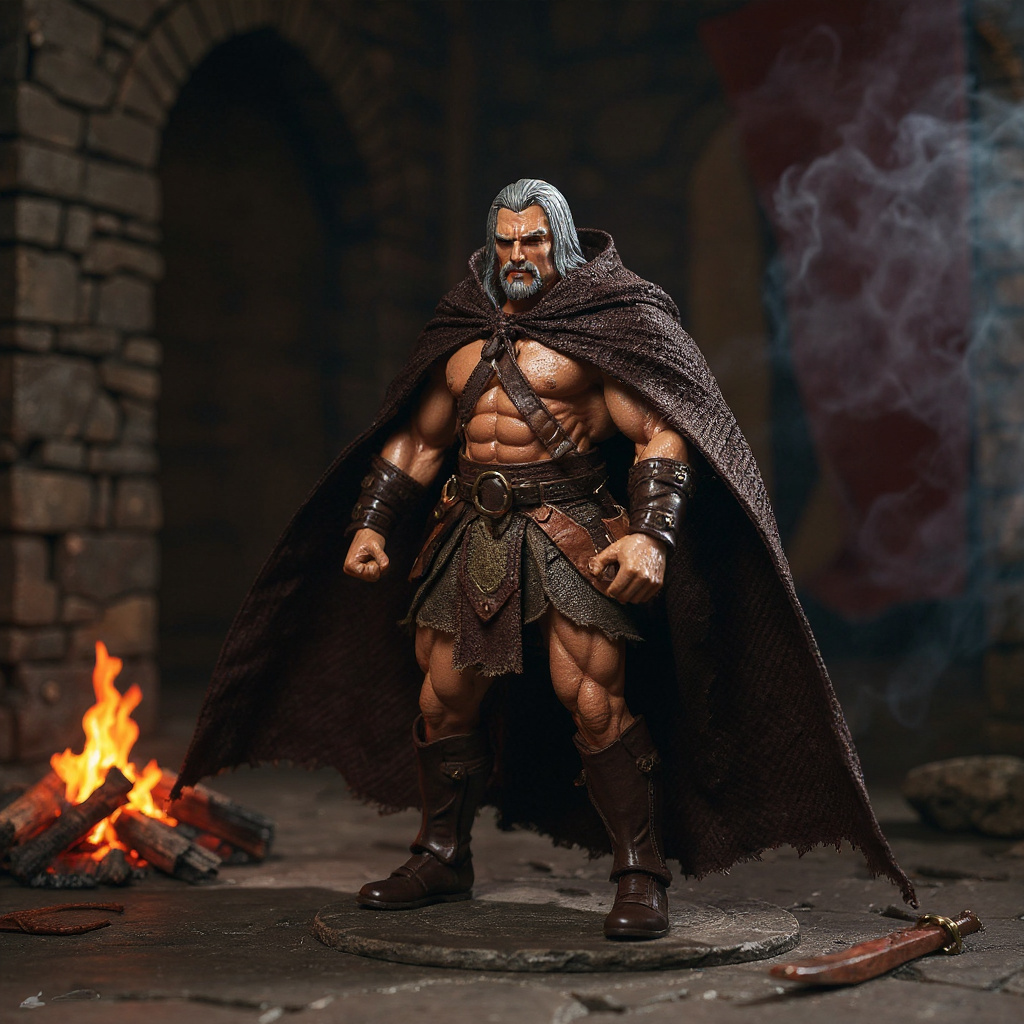
Picture the target: a brown and tan weathered cape with frayed hem edges, draped over a broad-shouldered barbarian, with a hidden wire letting one corner whip out as if a storm just hit. The cloth is matte with a faint natural sheen. The base is a chunk of stone or a plain gray sweep. Factory capes rarely get there. They hang like a wet towel, or they come molded into one rigid shape that fights every pose you try, which is a shame when the figure underneath has a heavy sword arm and a twisted torso begging for cloth that trails behind it.
How I Tested These Numbers
Every figure in the guide is 6 inches (about 150-170 mm) tall, roughly 1:12 scale. I cut nine cape blanks, each about 95 mm long, from cotton-linen fabric dyed with strong tea and instant coffee. Three used 20 AWG wire, three used 24 AWG, and three used 28 AWG. All were soft annealed copper craft wire, sized by the American wire gauge standard. I posed each cape on a muscular barbarian figure, photographed it, and left it untouched on a shelf at room temperature.
This is a nine-sample bench test, not a lab study. Treat the results as a practical baseline. Your fabric, wire brand, and room humidity will shift them.
Why Wire Makes a Handmade Cape for Action Figures Pose Like Real Cloth
Wire is structure, not decoration. Run it along the shoulder line and you control the direction of the wind. Run it through the hem and you control the curl, the snap, the moment of motion. Leave it out of the body of the cape and the fabric still drapes naturally.
Here is what the test showed:
| Feature | Good Implementation | Poor Implementation | Result in My Test |
|---|---|---|---|
| Wire gauge | 24 AWG (0.51 mm) | 20 AWG (0.81 mm) or thicker, or 28 AWG (0.32 mm) or finer | 24 AWG held pose 14 days on 3 of 3 capes. 28 AWG sagged within 24 hours. 20 AWG showed ridges through the fabric. |
| Wire placement | Shoulder line plus hem channel | Random runs through the body | Random runs made flat spots and stiff, unnatural folds |
| Fabric weight | 3-5 oz/sq yd (100-170 gsm) | 6 oz/sq yd (200 gsm) or heavier | Heavy cloth blocked arm raises past roughly 45 degrees |
| Wire securing | Stitched channel with ends folded back into loops | Surface glue or exposed stitching | Glued wire showed lines after three posing sessions |
| Pose retention | Pose intact at 14 days | Visible droop in under 24 hours | Only the 24 AWG samples passed the 14-day mark |
The wire also fatigues. Mine snapped after 18-25 full bend reversals at one spot. Vary your fold points and rest the cape in a neutral shape between sessions.
Choosing Fabric Weight for a 6-Inch Barbarian
Scale is unforgiving. A fabric that looks fine on a 12-inch doll turns into a tarp on a 6-inch frame, because the weave itself is out of scale.
Target 3-5 oz/sq yd (100-170 gsm). A cotton-linen blend works well, and so does fine linen on its own. Cotton voile sits at the light end of that range or just below it, and it drapes beautifully if you want a thinner, wind-caught look. Fabric weight is normally listed by the mill or fabric supplier, so check the product page before you buy.
I tried fleece and denim because collectors keep calling them rugged. Both were a mistake. The fleece cape stood off the figure's back like a bell. The denim one trapped the arms at about shoulder height, and the barbarian looked pinned under a sheet of plywood.
Texture matters more than shine. A slightly nubby, matte weave photographs as aged cloth. Smooth satin reads as costume. A faint natural sheen from linen fibers is enough.
Tie-Front vs. Velcro vs. Magnets
The closure decides whether the cape stays put when you reposition an arm. I ran 25 on/off cycles on each type and then posed the figure in 10 different arm positions.
| Closure | Added Thickness at Neck | Result After 25 Cycles | Posing Result (10 poses) |
|---|---|---|---|
| Tie-front (two 60 mm cotton cords) | About 1 mm | No wear | Stayed on in 10 of 10 |
| Hook-and-loop strip | About 1.5 mm | Lint and fuzz collected | Stayed on in 9 of 10 |
| Mini snap | About 2 mm | Fabric puckered | Stayed on in 8 of 10 |
| 3 mm magnet pair | About 3 mm | No wear | Released in 4 of 10 poses |
Tie-front wins on adjustability and looks. You can cinch it around a thick barbarian neck or loosen it for a slimmer build. The cost is time. Retying takes 40-60 seconds, and the knots are small. If tiny knots make you swear, a snap is a fair compromise.
Tucked behind the shoulders, a tie-front closure disappears entirely, which is why it suits photography.
Frayed Hems: Weathered Look, Not Sloppy Work
Controlled fraying breaks up the fresh-off-the-machine edge that gives away a handmade cape. The key word is controlled.
Good fraying follows the grain and stops at an even line. Bad fraying keeps going every time you touch it. To get the first kind, cut the edge clean, pull single threads from the bottom in short sections, and stop when the fringe reaches 2-3 mm. Then brush on diluted PVA glue (about 1:1 with water) and let it dry matte. In my test, sealed fringes survived 20 handling sessions without lengthening, while unsealed ones grew by about 1 mm each session.
Sew the hem wire channel about 4 mm above the raw edge so the wire never touches the fringe.
Fit: Measure Before You Cut or Buy
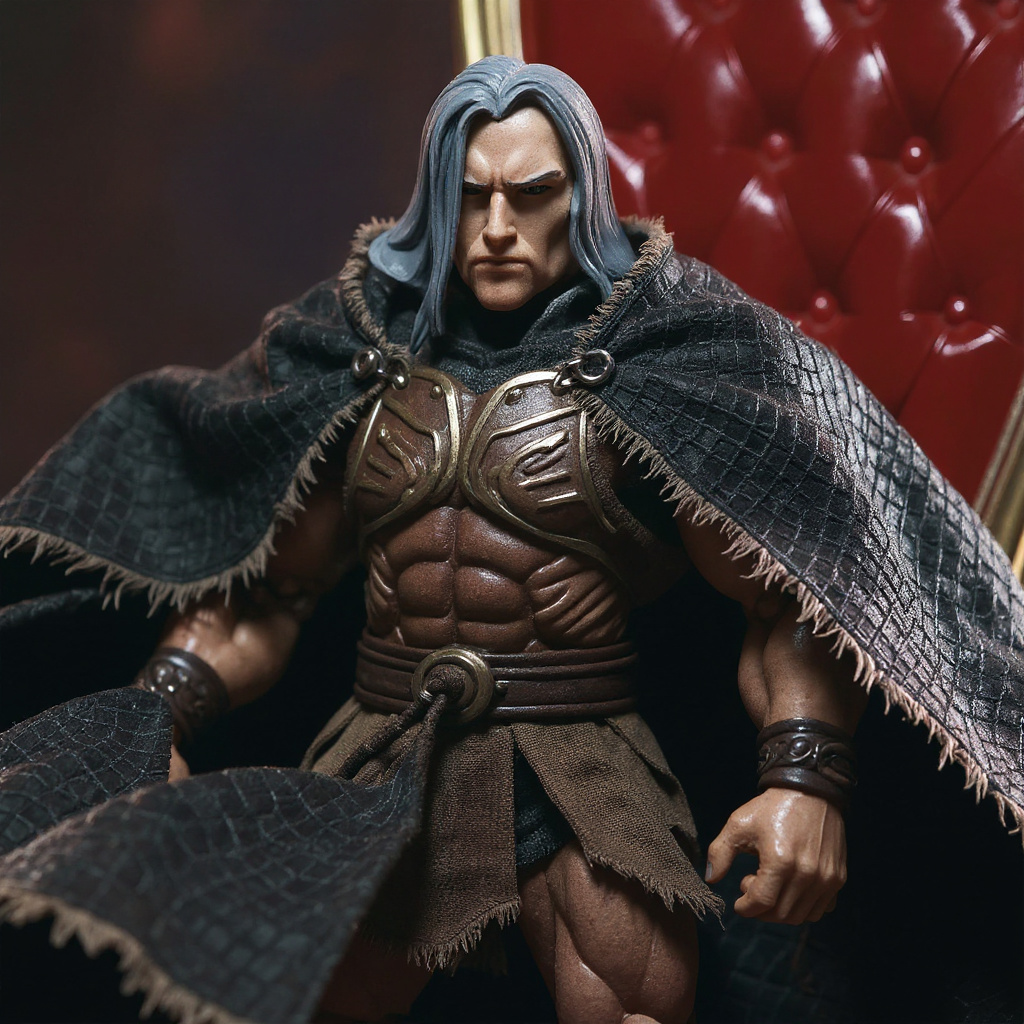
Bodies vary a lot, and manufacturers rarely publish shoulder widths. On the 6-inch figures in my collection, slimmer fantasy bodies measured about 40-44 mm across the shoulders, while muscular barbarian bodies measured 48-55 mm. A cape cut for the narrow body bunches on the wide one. The reverse pulls tight and fights the arms.
For a muscular barbarian, I cut capes about 90-95 mm from neck to hem. That lands at mid-calf, which keeps the cape from dragging on a stone base. Floor length measured about 120 mm and looked fine on tall, slender figures but dragged on stockier ones.
Run through this checklist first:
1. Measure the figure's shoulder width across the deltoids in millimeters. 2. Measure neck joint clearance, since ball joints need more room than simple pegs. 3. Check the arm raise range, because high shoulder poses need looser armhole cuts. 4. Account for armor or clothing layers under the cape. 5. Test the tie length against the neck, with or without a necklace or gorget. 6. Compare the cape length to the figure's leg length, aiming for mid-calf. 7. Check for interference with scabbards, shields, or back-mounted weapons.
I can't give you a return-rate statistic for neck openings. I have no data on that. What I can say is that an opening too small forced me to stretch the fabric over the head, and one cape tore at a seam.
How to Sew a Handmade Cape for Action Figures
This pattern uses a basic half-circle shape with a shoulder line and a hem channel. It takes me about 90 minutes for the first cape and about 45 for later ones.
1. Measure your figure: shoulder width (48-55 mm for a muscular barbarian), neck-to-calf length (90-95 mm), and hem width (100-120 mm). 2. Cut a paper pattern, add an 8 mm seam allowance, and cut the fabric along the grain. 3. Dye the cloth with strong tea or coffee for a brown and tan weathered tone. Dry and iron it flat. 4. Fold and stitch a 3 mm channel along the shoulder line. Repeat for the hem, 4 mm above the raw bottom edge. 5. Thread 24 AWG wire through each channel, cut it 2 mm shorter than the channel, and fold the ends into tiny loops so they can't poke through. 6. Fray the bottom 2-3 mm of the raw edge and seal it with diluted PVA. 7. Sew two 60 mm cotton cords at the neckline for the tie-front closure. 8. Shape the cape flat first, tie it on the figure, and then sculpt the wind-blown pose.
Photographing a Wired Cape
Shape the cape before you set the final figure pose, not after. Wire remembers earlier bends, so start from neutral and build up.
Backlight to reveal texture and make thin areas glow like moving cloth. Side light to carve shadows into the folds. Use a neutral gray sweep when you want the cape to read clearly, or set the figure on a stone or rock diorama base for a battlefield feel. Matte fabric with a faint sheen handles both setups without glare.
For more props and display options, browse the 6-inch figure accessories and 6-inch action figures, or read other builds on the Figure Vault blog.
Build or Buy? Costs and an Honest Warning
DIY materials for several capes (fabric scrap, a spool of 24 AWG wire, thread, PVA) ran me about $12-18 in total. Plastic capes cost $8-15 and look flat in photos. Handmade capes from sellers typically range from $25 to $45.
One example is the Barbarian Eric Replacement Cape at $34.50. It is a weathered brown/tan fabric cape with frayed hem edges, a tie-front closure, and subtle internal wire for a windswept pose on a muscular 6-inch barbarian. It suits collectors who want that look ready-made. Expect handmade variation, such as uneven stitching or a loose thread.
Honestly, if your figures sit on a shelf and you never re-pose them, skip the wire entirely. A $10 vinyl cape will do the job, and you'll keep the other $25. Wire pays off only when you move things around.
The maker's skill matters too. Check that any seller states the wire gauge. Vague listings usually hide thin wire.

