


Scale First: What 1/72 Means for a Cloak for 1/72 Figure Projects
True 1:72 shrinks a 1.8 m person to 25 mm, about one inch (see the general definition of a scale model). Plenty of collectible listings use the label more loosely, and those figures can stand 10 cm or taller. Earlier versions of this guide mixed the two sizes, which was an error. This version gives every dimension as a ratio of figure height (H), with worked examples at 25 mm and 160 mm.
Measure your figure with calipers. Calipers cost less than one ruined cape.
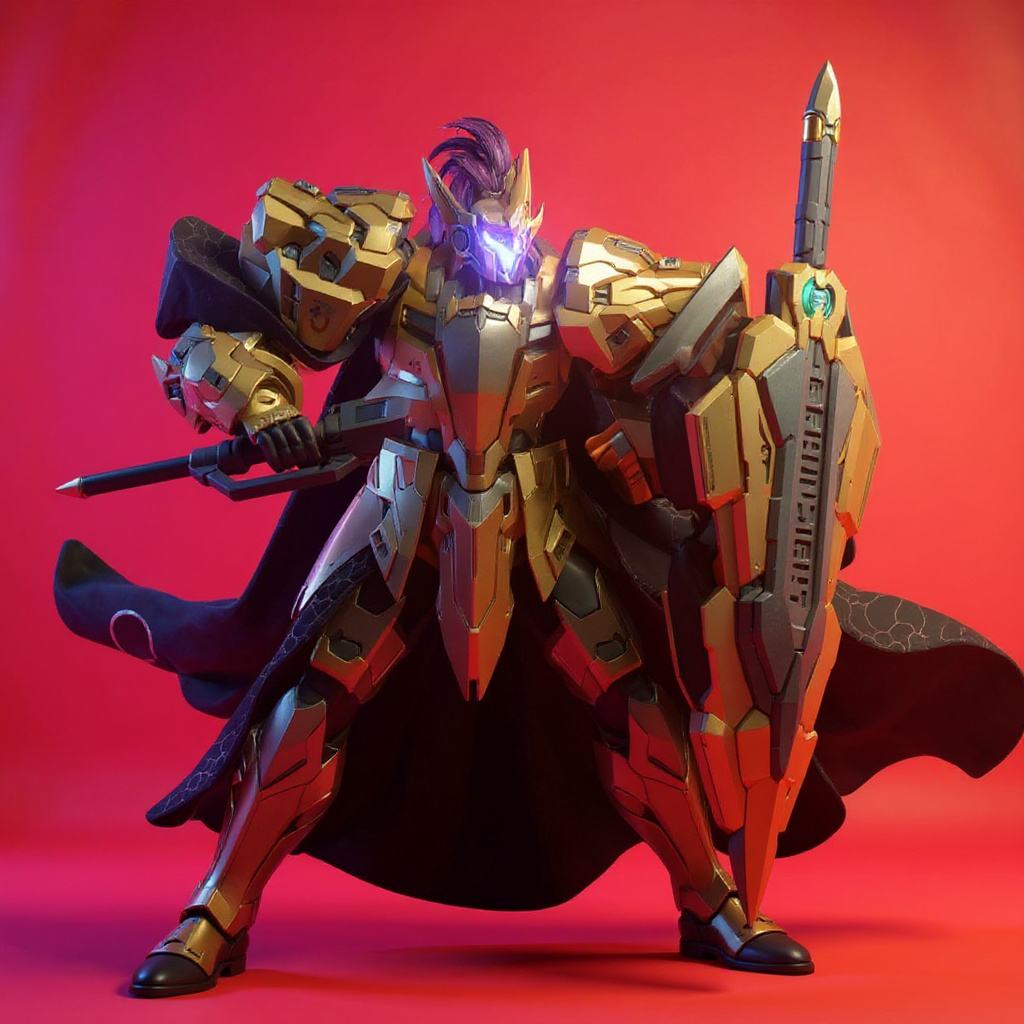
Why a Wired Hem Beats Plain Fabric
Plain cloth on a small figure hangs like wet tissue. The figure has no mass to pull the fabric into folds, so the cape either clings to the back or sticks out at random. A fine wire along the hem fixes both problems. You bend the sweep you want, the fabric follows, and the edge stays a little stiff while the body of the cloth keeps its soft folds.
Wire size matters, and the numbers come from the American wire gauge table:
- 38 AWG is 0.10 mm - 34 AWG is 0.16 mm - 30 AWG is 0.25 mm - 28 AWG is 0.32 mm - 24 AWG is 0.51 mm
The 24-gauge advice you see repeated in craft circles is too thick for both sizes in this guide. Half a millimetre of wire on a 160 mm figure reads as a rope hem. Too thick. Too stiff. Wrong.
Honestly, if your figure is a true 25 mm, skip the wire. Wire under 0.1 mm is miserable to handle, and a cape stiffened with diluted PVA glue usually looks cleaner at that size. Wire earns its place from roughly 80 mm upward. Also know that wire is not permanent. Copper work-hardens each time you re-bend it, and a hem that has been reposed a few dozen times will kink or snap.
Fabric Selection: What Drapes at Small Scale
Folds on a small figure look right only when the fabric is thin enough to bend in a tight radius. Thickness and weave decide that, not price. The weights below are typical manufacturer ranges, and they vary by mill.
| Fabric | Typical weight (gsm) | Drape at small scale | Fray resistance | Wire compatibility | Gold or metallic look |
|---|---|---|---|---|---|
| Metallic organza | 30-40 | Very good, crisp folds | Low | Excellent, wire channel shows faintly | Strong sheen |
| Silk habotai (8 mm), gold-dyed | 25-30 | Excellent, soft folds | Medium | Excellent | Subtle sheen |
| Cotton voile | 50-60 | Good | Medium | Good | Matte, needs dye or foil |
| Polyester chiffon | 30-40 | Very good | Low | Good, slippery to stitch | Moderate sheen |
| Cotton broadcloth | 100-120 | Fair, wide folds | Medium | Fair, bulky hem | Matte |
| Canvas | 200+ | Poor | High | Poor | Matte |
Canvas fails because of weight and weave, not price. A thick weave forces wide, round folds that look oversized on a small body. Velvet hides articulation points. High-gloss satin throws hot white highlights that look like plastic under display LEDs.
For a golden cape with a metallic sheen, metallic organza gives the strongest effect. Gold-dyed silk habotai gives the most refined one. Gold under warm light and gold under cool light are two different colours, so test a swatch under your actual display lamp. Muddy brown is a common result.
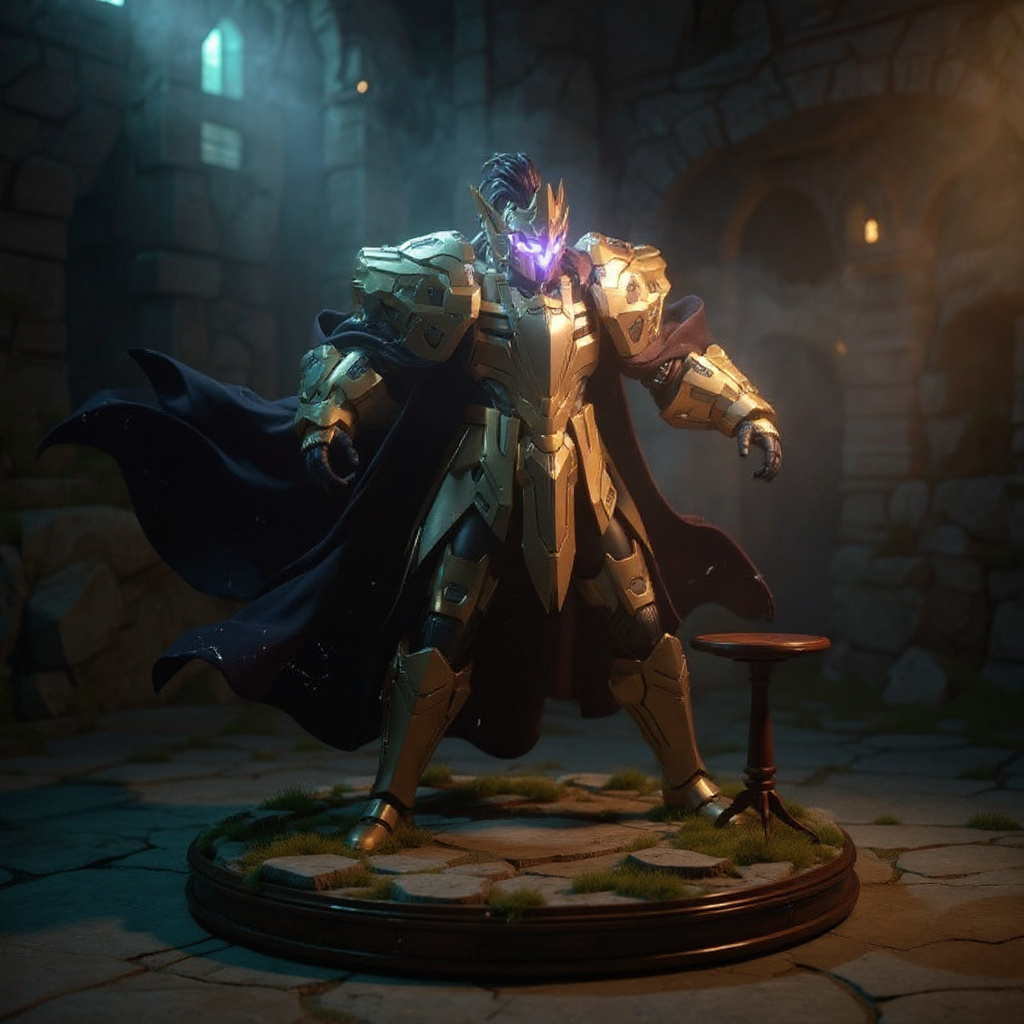
Measurements: Ratios That Scale
A cape that fits at 160 mm will not fit at 25 mm if you simply shrink the numbers by eye. Work from ratios instead. A semicircular or trapezoid cut is a good base, since the semicircle is a long-standing cut for historical cloaks and mantles).
1. Figure height (H): crown to sole, measured with calipers. Examples: 25 mm and 160 mm. 2. Shoulder span (S): measured across the widest point of the shoulders. It is usually near 0.25 x H, so about 6 mm and 40 mm. 3. Cape top width: S + 2% of H, which adds roughly 0.5 mm at 25 mm and 3 mm at 160 mm. 4. Cape length: 55 to 70% of H for action poses (14-17 mm and 88-112 mm). Up to 80% for formal standing display. 5. Neck opening: about 7% of H (1.8 mm and 11 mm). 6. Hem width, laid flat: 2.5 x S for a full sweep (15 mm and 100 mm). 7. Hem wire: 0.10-0.13 mm at 25 mm, if you use wire at all. 0.25-0.32 mm at 160 mm.
These ratios are starting points derived from human proportions, not lab results. Adjust after the first fitting.
How to Make the Cape: Step by Step
1. Measure and record. Write down H, S, and neck width before touching fabric. 2. Draw the pattern on paper. Use the ratios above. Mark the neck notch and a hem allowance of 1% of H. 3. Test in tissue or paper. Drape it on the figure, move the arms, and shorten by 1 to 3 mm if it catches. Small cuts change the look a lot. 4. Cut the fabric along the grain. Seal raw edges on the sides and neck with a thin line of fray sealant or fabric glue. 5. Build the hem channel. Fold the hem allowance over the wire, leaving the wire inset by about 1.5 times its diameter from the folded edge on small sizes, or about 2 mm on 160 mm figures. Stitch or glue the channel closed. Extend the wire the full hem length, not just the corners. 6. Finish the wire ends. Fold the tips back on themselves so they cannot poke through, and add a dab of glue. 7. Attach at the neck. Use thread or 0.1-0.15 mm fishing line for stress points, because regular sewing thread snaps under repeated reposing. If the head is removable, slip the neck opening over the neck post instead of gluing. 8. Pose and adjust. Bend in broad curves, never sharp creases.
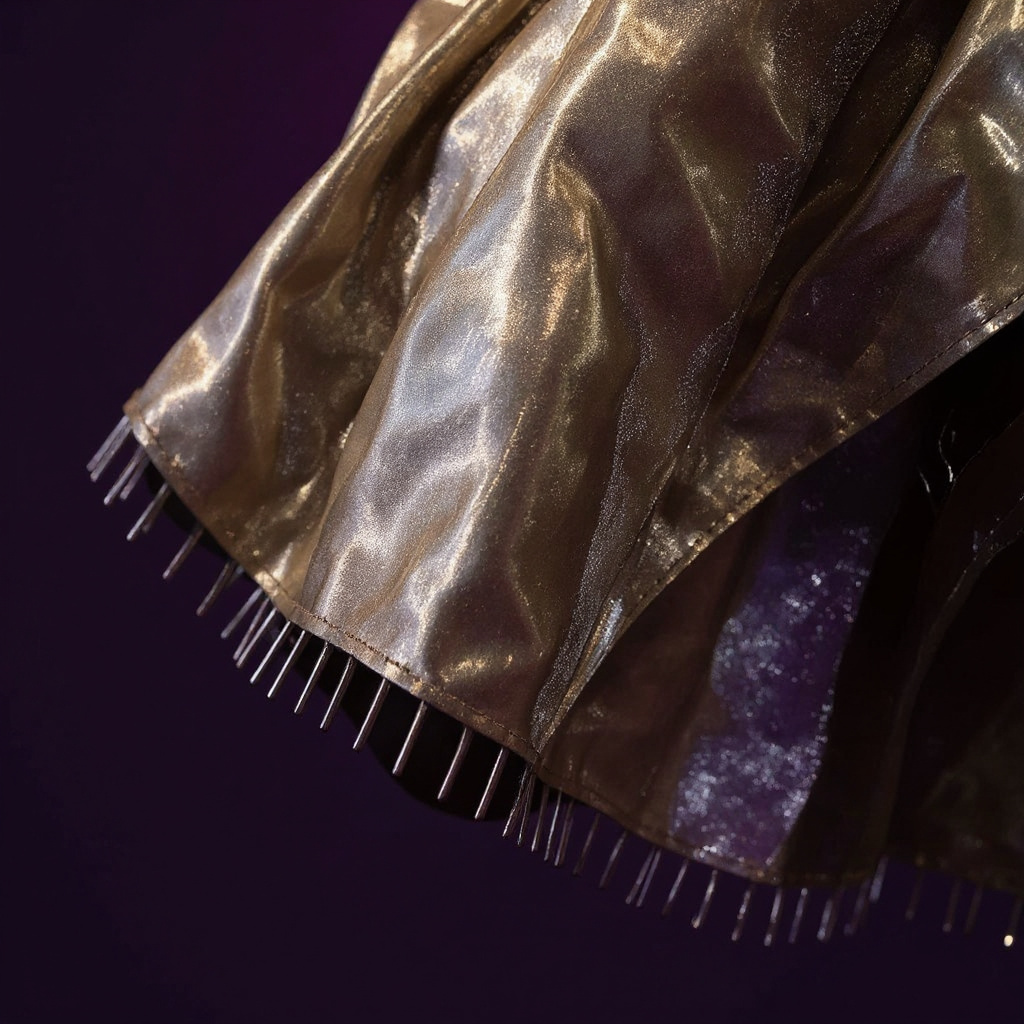
Test Pose-Hold Yourself
We found no published test comparing wire gauges for figure capes, and we will not invent numbers. Here is a 20-minute test you can run:
- Make three hem samples at 0.16, 0.25, and 0.32 mm. - Bend each 45 degrees over a pencil and hold for 10 seconds. - Measure how far each springs back after release. - Repeat 10 times to see how fast the wire fatigues.
Pick the thinnest wire that holds the angle. Thin wire hides better, and thick wire fights the fabric.
Common Mistakes
- Perfect symmetry. Real cloth drapes unevenly. Cut the pattern, then let the posing introduce asymmetry. - Wrong colour under display light. Gold shifts with colour temperature, so test 2700-3000 K against 4000-5000 K lamps. - Wire too close to the edge. It pokes through. Keep the inset. - Skipping the paper mockup. Fabric is expensive per square centimetre when you cut it wrong. - *Overstretched expectations. A wired cape is not a sculpture. It will relax over time.
Make or Buy?
Sewing at this scale takes patience, fine tools, and several failed attempts. Buying a ready-made accessory is a sensible shortcut. The 1/72 Lancelot Gold Cape is one example: a gold-toned fabric cape made for the Progenitor Effect Lancelot figure. It is sold as a cape only, so the figure is a separate purchase. Check the listing for fabric content and dimensions, and compare them with the ratios above, before you order.
Lancelot is the Arthurian knight described on Wikipedia, and he also appears as a Servant in Fate/Grand Order, which is part of why gold-and-armour styling is popular with collectors. You can browse related accessories in the figure accessories collection or start from the Figure Vault home page.
If you enjoy sewing, make your own. If you want a pose-ready result this weekend, buy one. Both are valid.
Final Take
A handmade cloak for collectible figure displays works when three details line up: light fabric, wire sized to the figure, and ratios based on measured height. Skip any one and the cape looks either limp or stiff. Get them right, and a small figure in gold with a knight's silhouette suddenly looks like it is moving.

