


A DIY action figure clothing set for a 1/12 scale karate gi needs thin cotton poplin (about 100 gsm), single-strand embroidery thread, 30-gauge (0.25 mm) wire in the collar and sleeve cuffs, and 1/8-inch (3 mm) seam allowances. Stitch it by hand. Plan 6-8 hours for your first gi and 3-4 hours for later ones. Materials run $8-15 once you own basic tools.
What You Are Building
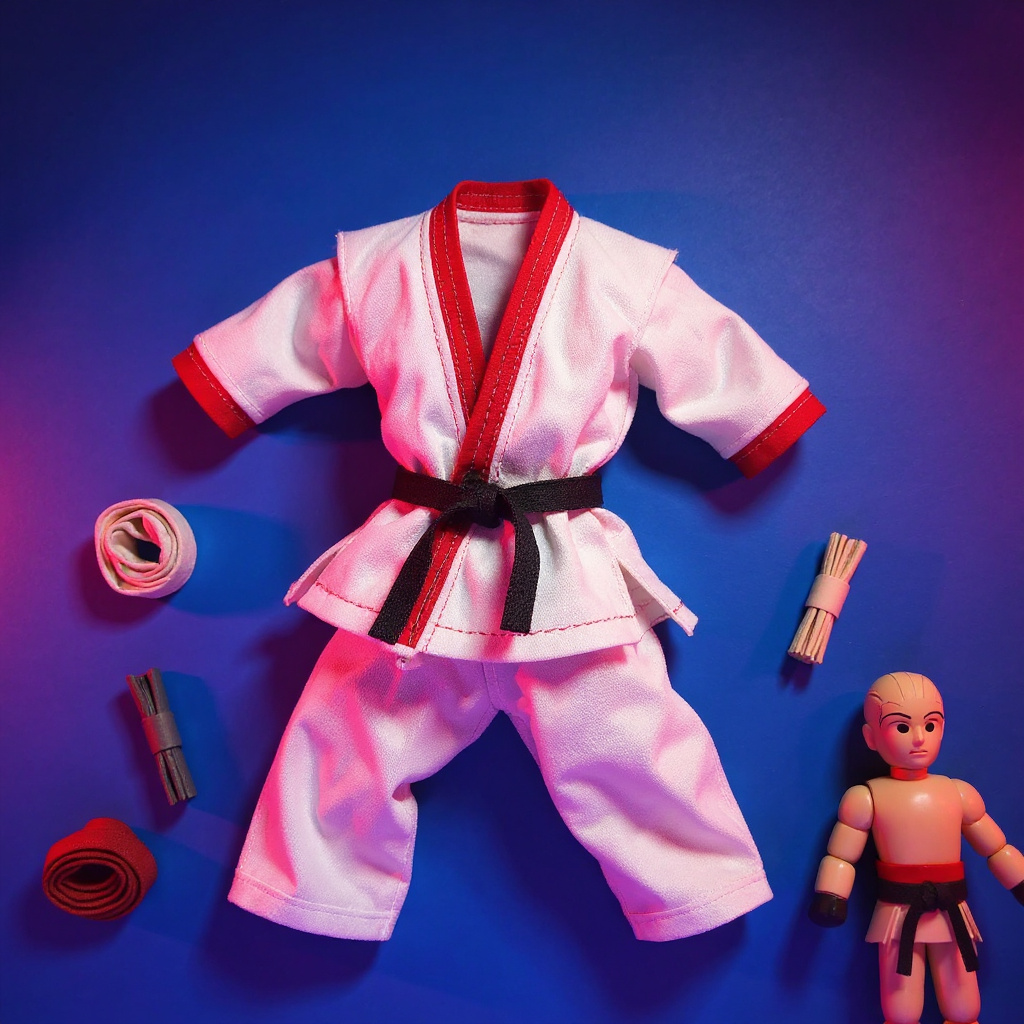
A finished gi is three pieces: the jacket (uwagi), the pants (zubon), and the belt (obi). Folded flat, my jacket measures about 60 × 45 mm, which fits in the palm of your hand. White is the classic color, and red suits a Ken-style build. Contrast thread along the lapel, hem, and cuffs keeps the stitching visible, and wire inside the collar and sleeve cuffs lets the fabric hold a pose.
 Caption: White poplin gi, folded jacket on a grey cutting mat. Cream topstitching runs along the lapel and hem.
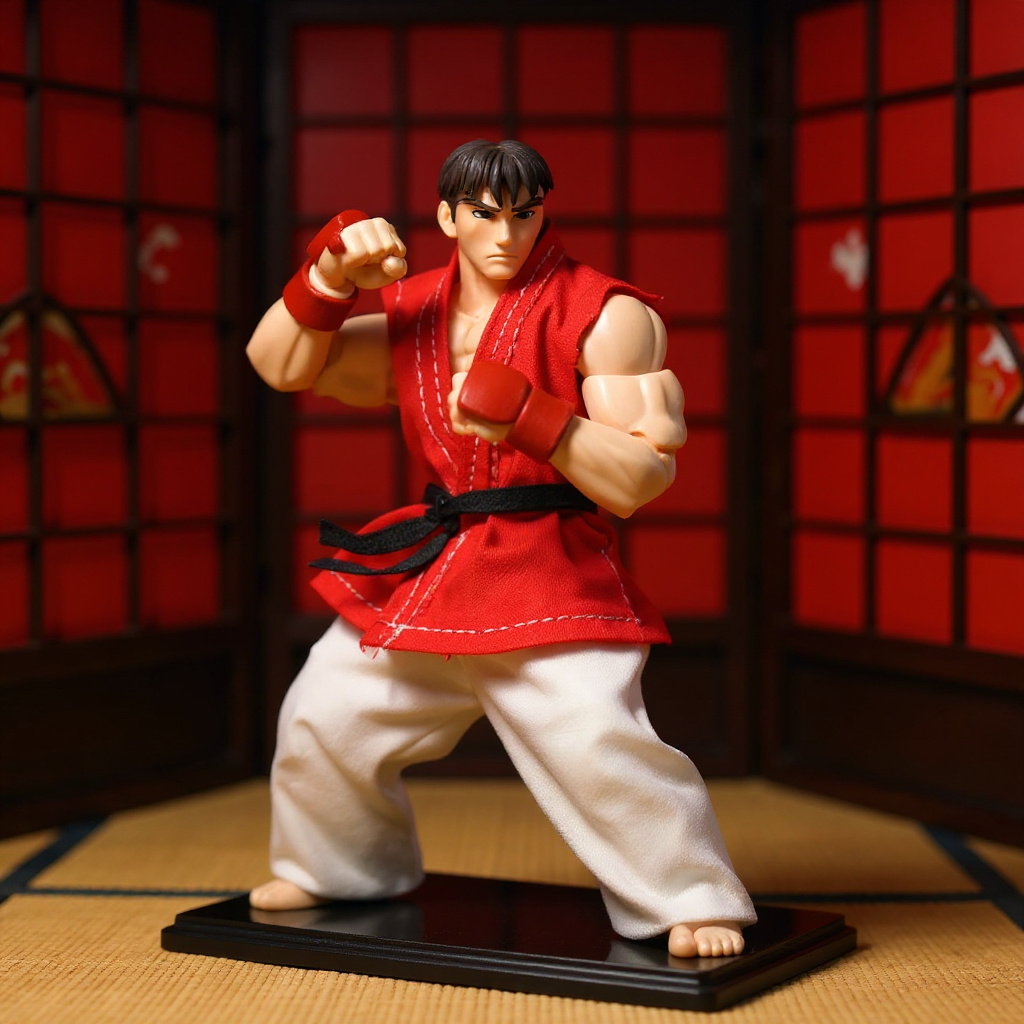
The design follows the traditional keikogi, a training jacket with a crossed front and a belt. For character reference, study the outfits from Street Fighter Alpha 3 and Ryu's gi). Collar width, sleeve length, and belt knot position decide whether the figure reads as the right character.
Why Fabric Beats Sculpted Plastic
Cloth moves. A sleeve wrinkles when the elbow bends, and the collar shifts when the torso twists. Sculpted plastic folds look good in one pose and wrong in every other. The trade-off is durability, because seams split and red dye fades under display lights. For photography and posing, I still pick fabric every time.
Fabric and Thread for a DIY Action Figure Clothing Set
Scale changes how fabric behaves. A weave that looks fine on a 6-foot person becomes a thick board on a 6-inch figure (152 mm). Choose the lightest cloth that still holds a crease.
| Fabric | Approx. weight | Result on a 1/12 gi | Verdict |
|---|---|---|---|
| Cotton poplin | 100 gsm | Crisp collar, holds wire cleanly | Best choice |
| Cotton lawn | 60-70 gsm | Soft drape, frays fast | Good for pants only |
| Quilting cotton | 120-130 gsm | Stiff, seams reach 4 mm | Acceptable for red gi |
| Linen blend | 100-140 gsm | Loose weave, sheds threads | Avoid |
| Denim or fleece | 200+ gsm | Armor-plate bulk | Avoid |
| Polyester satin | 80 gsm | Slips under the needle, glossy | Avoid |
For thread, use one strand separated from six-strand embroidery floss, or 50-weight polyester. Standard sewing thread makes lumpy seams at this size. On a white gi, cream or light grey stitching shows without shouting. On a red gi, dark maroon or gold works better.
Measure Before You Cut
At 1/12 scale, 1 inch equals 1 foot. A 72-inch person becomes a 6-inch figure, and 1 real inch becomes about 2.1 mm. Scaled exactly, a 5/8-inch seam allowance would be 1.3 mm. That is too narrow to hold a hand stitch. For 1/12 scale figures, the practical floor for seam allowance is 1/8 inch (3 mm).
Body dimensions differ between figure lines by several millimeters, so a generic chart will mislead you. Measure your own figure with a paper strip and a millimeter ruler:
- Shoulder width - Chest circumference - Shoulder-to-wrist length with the arm slightly bent - Waist - Inseam
Add 3-4 mm of ease at the chest so the jacket can cross over without pulling.
Step-by-Step: Building the Gi
1. Record measurements in millimeters and draft the jacket, sleeve, and pants pieces on paper. 2. Test the pattern in scrap muslin and fix fit problems before touching good fabric. 3. Pre-wash the cotton in cold water. This matters most for red, which bleeds. 4. Cut pieces with sharp 4-inch embroidery scissors, keeping the grain straight. Dab liquid fray sealant on the cut edges. 5. Sew shoulder and side seams with backstitch at about 2 mm per stitch. 6. Set the sleeves, then close the underarm seams. 7. Fold and stitch the collar strip, leaving a channel for wire (see the wire steps below). 8. Hem the sleeve cuffs with a second wire channel, then add contrast topstitching along the lapel and hem. 9. Sew the pants: inseam first, then the crotch seam, then a folded waistband with a hidden overlap closure. 10. Make the belt from a strip about 6 mm × 150 mm, folded in thirds and stitched down the middle. Press everything flat with a dry iron on low heat.
Adding Wire to the Collar and Sleeves
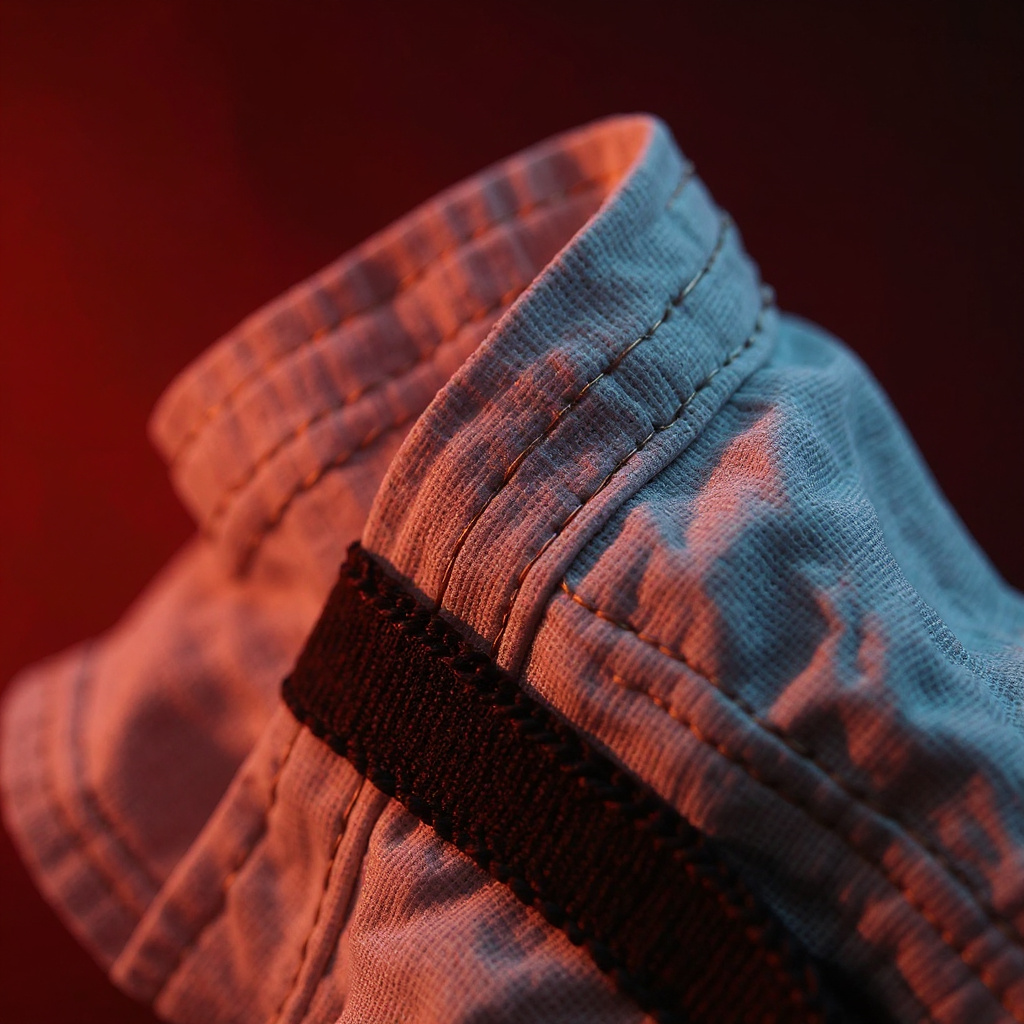
This step separates a gi that poses from one that hangs. Use 30-gauge (0.25 mm) wire. Heavier wire, such as 26-gauge (0.40 mm), shows as ridges through thin poplin.
1. Cut each wire length 20% longer than its seam. 2. Bend a small loop at each end so the tip cannot poke through the fabric. 3. Lay the wire in the folded collar or cuff channel, following the seam line. 4. Whip-stitch the wire to the seam allowance every 4-5 mm. 5. Bend it through a full pose range. It should move easily and stay where you put it. 6. Cover any exposed end with a few wraps of thread.
Don't wire the pants. Leg wire adds bulk with almost no visual payoff. Collar and sleeve cuffs are enough.
Hand Stitching Wins at This Size
My sewing machine chewed the first collar I fed it. The presser foot was wider than the seam. Hand stitching gives control. Use a thimble, a magnifying lamp, and a needle no longer than 25 mm. Backstitch for strength, because running stitch pulls loose after a few poses.
What Failed in My Builds
Three of my nine gis ended in the bin. The first used quilting cotton in white and came out like a paper crane. Stiff. Boxy. Useless at the elbows.
The second used 26-gauge wire in the collar. Visible ridges. Lesson learned.
The third was a red gi I skipped pre-washing. One damp afternoon and the belt turned pink. Months of work, ruined in an hour.
Wire also fatigues. On my worst collar, 30-gauge copper began to kink after roughly 40 sharp re-posings. Bend gently and keep the arc wide.
DIY vs. Buying: Cost and Time
| Option | Cost | Time | Notes |
|---|---|---|---|
| DIY, first gi (no tools owned) | $40-65 including tools | 6-8 hours | Includes failed attempts |
| DIY, third gi | $8-15 | 3-4 hours | Cleaner seams, better wire |
| Generic overseas set | $10-20 | 0 hours | Thin fabric, usually no wire |
| Handmade finished gi | $25-60 | 0 hours | Wired collar and sleeves |
| Factory figure with cloth outfit | $80-150 | 0 hours | Outfit comes with the figure |
Prices vary by seller. A neutral data point: the 1/12 Scale Ryu Ken Street Fighter Alpha 3 Cloth Outfit lists at $36.25, which is less than my first gi cost once I counted tools.
Honestly, if you need one gi for one figure, buy it. Making a single gi costs more than purchasing a good handmade one, and the wire work on a pro-made piece will likely beat your first try. Make your own when you want a custom color, several matching outfits, or you simply enjoy fiddly handwork. Browse more finished options at The Figure Vault, or ask for maker recommendations on r/ActionFigures. Fans of the character gather on r/StreetFighter to compare gi details.
Finishing Touches
Press the folds with a dry iron on low heat. Lay the jacket flat for photos, collar open, sleeves slightly curved. A light tea wash gives white cotton a worn, ivory look. Use diluted acrylic for stains on a training-worn gi. Leave a few loose threads. Machine-perfect seams look sterile at this size.
Frequently Asked Questions
What fabric is best for a DIY action figure clothing set?
Cotton poplin around 100 gsm is the best fabric for a 1/12 scale karate gi. It creases crisply at the collar, holds 30-gauge wire without bulging, and frays less than lawn. Avoid fleece, denim, and satin, which produce seams thicker than 3 mm or slide under the needle. Pre-wash red fabric to remove loose dye.
What wire gauge works for wired sleeves and collars?
Use 30-gauge (0.25 mm) copper or annealed craft wire for collars and sleeve cuffs. Thicker wire, such as 26-gauge (0.40 mm), shows as ridges through thin poplin. Cut each length 20% longer than the seam, bend a small loop in each end, and stitch it into the hem channel.
How long does it take to sew a 1/12 scale karate gi?
A first 1/12 scale karate gi takes 6-8 hours of hand sewing, including pattern testing. By my third gi, the time dropped to 3-4 hours. A simple shirt and pants without wire or visible topstitching takes beginners about 4 hours. The wired collar is the slowest step, so plan extra time for it.
How much does a DIY action figure clothing set cost?
Materials for one gi cost $8-15 in fabric, thread, and wire. If you own no sewing supplies, add roughly $30-50 for needles, a thimble, fine scissors, pins, and a millimeter ruler. Budget a 30% material buffer for cutting errors. A finished handmade gi sells for about $25-60.
What seam allowance should I use for 1/12 scale clothing?
For 1/12 scale figures, use a seam allowance of 1/8 inch (3 mm). Scaling a 5/8-inch seam exactly gives 1.3 mm, which is too narrow to hold hand stitches and frays out under posing stress. Apply liquid fray sealant to cut edges, and backstitch every seam instead of using running stitch.
How do I stop a red gi from bleeding onto a white belt?
Pre-wash red cotton in cold water two or three times before cutting. Test by pressing a damp white cotton swab on a scrap for 30 seconds. If the swab turns pink, wash again. Store red and white gis in separate bags, since humidity can transfer loose dye.
Where can I buy a handmade 1/12 scale gi instead?
Handmade 1/12 scale outfits sell through specialty figure shops, eBay, and maker communities such as r/ActionFigures. Expect $25-60 for a wired cotton gi. The Figure Vault lists a 1/12 Ryu and Ken Street Fighter Alpha 3 cloth outfit at $36.25.
Is a DIY Action Figure Clothing Set Worth It?
For one outfit, probably not. For a small dojo of matching white and red gis, yes. The skills carry over: thin cotton, 3 mm seams, 30-gauge wire, patient backstitching. Start with pants, move to the jacket, and save the wired collar for last. Or study a finished piece first, then decide. See also the general background on action figures for how scale standards developed.

