


A custom cloak for an anime figure needs three things: fabric light enough to drape at tiny scale, wire hidden along the hem so it holds a dynamic pose, and seams sized down to roughly 1/8 inch. Skip any one of these and the cloak either looks stiff or collapses into a lump on the figure's shoulders.
The trick to designing a custom cloak for your anime figure isn't just shrinking fabric patterns. It's building in wire structure that holds dramatic poses without looking stiff. Most DIY attempts fail because crafters forget that 1/72 scale fabric behaves nothing like full-size cloth. It folds wrong. It sticks to itself. It photographs like a napkin instead of a knight's cape.
Your figure's proportions dictate everything here. A 10-12cm body needs fabric weight that drapes at tiny scale without collapsing, plus hidden armature that bends without snapping. Get those two variables right and you're most of the way to a convincing custom cloak for an anime figure.
Why Standard Doll Clothes Don't Work for a Custom Cloak for Anime Figure
Generic doll clothing falls flat on articulated anime figures. Literally.
The proportions are wrong first. Fashion dolls have different shoulder widths, arm lengths, and torso shapes than most anime figures, so a cape sized for a Barbie hangs loose and shapeless on a Figma or Nendoroid body — you'll see gapping at the neck and a hem that drags in weird places.
Attachment points create problems too. Most doll clothes use velcro or snaps positioned for static poses. Anime figures need clothing that moves with complex articulation: shoulder joints that rotate 360°, arms that cross the chest, legs locked into action stances no doll was ever built for.
Fabric choice matters more at small scale than most tutorials admit. Heavy materials that drape beautifully on humans create bulky, unnatural shapes on 4-inch figures. Cotton twill that feels perfect in your hand turns into cardboard once it's draped over tiny shoulders.
Scale-Specific Design Challenges
Small-scale cloaks face physics problems that simply don't exist at human size.
Fabric thickness becomes proportionally huge. A medium-weight cotton measuring 0.5mm thick represents 36mm of fabric thickness at 1/72 scale — like wrapping your figure in a sleeping bag and asking it to strike a pose.
Gravity works differently too. Lightweight fabric that flows elegantly on a person just sticks to itself on a figure. You need material with enough body to create convincing folds. But not so much that it overpowers the pose.
Seam allowances eat design space fast. A standard 1/4-inch seam takes up nearly 2 inches at figure scale, and if your entire cloak only measures 3 inches long, those seams eat a real chunk of your fabric budget.
| Challenge | Human Scale | 1/72 Scale | Solution |
|---|---|---|---|
| Seam allowance | 1/4" standard | ~20% of garment | Use 1/8" or smaller |
| Fabric drape | Natural flow | Sticks to itself | Add light interfacing |
| Closure method | Buttons, zippers | Too bulky | Micro snaps, thread loops |
| Wire armature | Not needed | Essential for poses | 28-30 gauge craft wire |
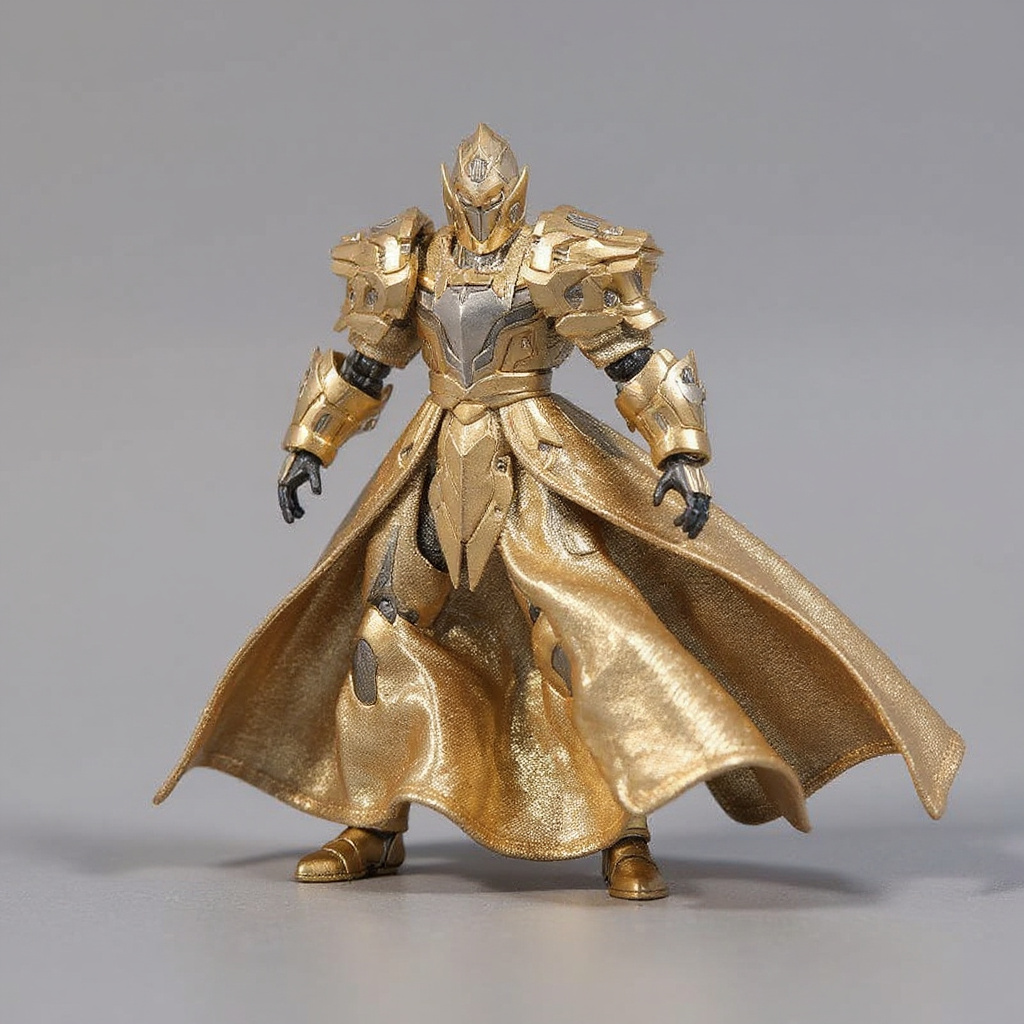
Wire placement requires planning before you cut a single piece. You can't add pose-ability after construction — the wire needs to sit inside seams or hems during assembly. Most successful 1/72 scale cloak patterns hide 28-30 gauge wire along the bottom edge and at key fold lines. This is also where the 1/72 Lancelot Gold Cape earns its price tag: the wire is sewn in, not glued on as an afterthought.
Measuring Your Figure Correctly
Accurate measurements prevent expensive mistakes. Don't guess.
Start with the figure in a neutral standing pose. Measure shoulder width first, since it determines your neckline opening — most 1/72 figures run 8-12mm across the shoulders, but proportions vary noticeably between manufacturers, sometimes even between figures in the same line.
Cloak length depends on character and pose flexibility. Measure from the base of the neck to your intended hem. Floor-length cloaks look dramatic but limit leg articulation badly; knee-length designs give you a far wider pose range for the same amount of fabric.
Arm clearance needs extra attention. Measure the figure with arms extended forward, then add 2-3mm for movement. A cloak that fits perfectly on a neutral pose often binds the moment you try anything dynamic.
Standard measurement checklist:
1. Shoulder width (for neckline opening) 2. Neck to desired hem length 3. Arm span with extended pose 4. Torso circumference at widest point 5. Head circumference (if cloak has a hood) 6. Distance from neck to armpit 7. Shoulder slope angle
Document everything with photos. Figures have subtle shape differences that change the fit, even within the same product line, and you will not remember the numbers three weeks from now.
Fabric Selection That Actually Drapes
The right fabric makes or breaks any poseable figure cape.
Silk and silk-like synthetics work best for flowing cloaks — they carry enough body to form convincing folds without adding bulk. Habotai silk at 8-10mm weight hits the sweet spot for most 1/72 figures.
Avoid cotton for draped garments. It lacks the fluid movement small scale demands and creates stiff, unnatural shapes that read more like cardboard than cloth.
Faux leather works well for structured cloaks — the kind worn by characters like Lancelot in Fate/Grand Order or similar medieval-inspired designs. It holds crisp edges and skips the wire reinforcement simple shapes usually need. Sheet goods from suppliers like Tandy Leather work fine cut down for this purpose.
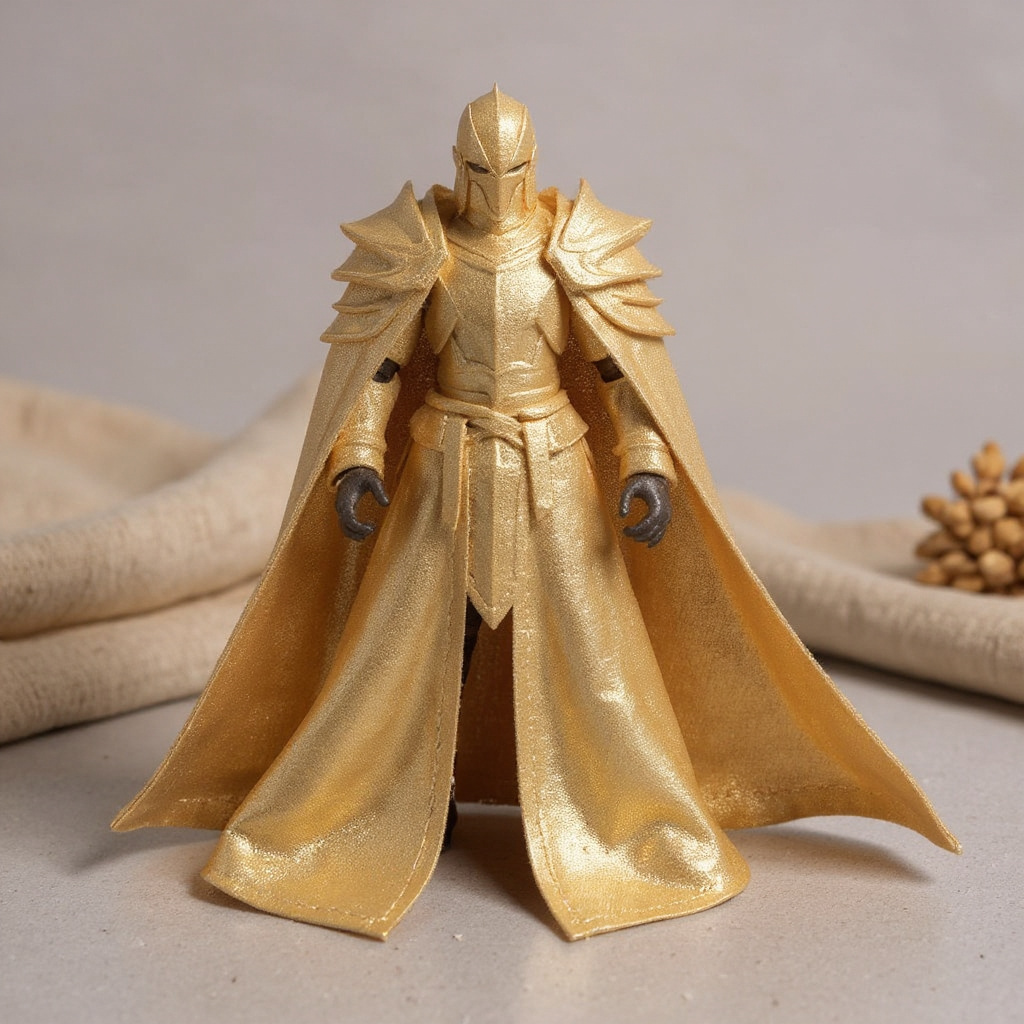
Metallic fabrics add visual impact but need careful handling. Lamé and tissue-weight metallics photograph well under studio light but tear during construction if you're not backing them properly. Add lightweight interfacing before you cut.
Honestly, if you live somewhere humid, skip lamé entirely — it absorbs moisture unevenly and the metallic coating can flake within a season. Most tutorials won't tell you that.
| Fabric | Drape at 1/72 | Durability | Best For |
|---|---|---|---|
| Habotai silk | Excellent | Lasted 3+ years folded in a display case | Flowing capes, gowns |
| Cotton twill | Poor, stiff | Very durable | Structured jackets, not cloaks |
| Faux leather | Crisp, no wire needed | Cracks after ~2 years of repeated posing | Armor-style cloaks |
| Tissue metallic lamé | Good, needs backing | Tears within weeks if unbacked | Gold/silver accent capes |
| Poly satin | Fair, slippery | Holds up 2+ years | Budget alternative to silk |
Test drape before committing to yardage. Cut a small sample and drape it over the figure's shoulders. Good fabric flows without sticking to itself or bunching into unnatural bumps.
Wire Armature Techniques
Building pose-ability into your cloak requires hidden wire structure — this is the single step that separates a flat costume piece from something that looks alive in a photo.
28-30 gauge craft wire gives the right balance of flexibility and hold. Thicker wire creates harsh creases. Thinner wire won't maintain a pose at all. Buy the cloth-wrapped type; it grips fabric better than bare wire and won't poke through thin silk.
Embed wire during construction, not after. Plan wire placement on your pattern pieces, then sew it into seams or narrow channels along the hem. The wire should sit fully enclosed, so it doesn't snag threads or scratch fabric over time.
For cloaks with dramatic flair, run wire along the entire bottom hem. That gives you sweeping, wind-blown poses that hold their shape long enough for a photoshoot. Add secondary wire lines along major fold lines. If the design calls for more than one pose point.
Connection points need reinforcement. Where wire segments meet — usually at the shoulders — wrap the joint with extra thread or a small fabric patch, since these spots take the most stress during posing.
Test flexibility before final assembly. Wire that's too rigid cracks fabric threads after repeated bending. Wire that's too soft droops within an hour. Bend your test pieces back and forth a dozen times to find the gauge that actually holds.
Professional Finishing Touches
Small details separate amateur work from something worth photographing.
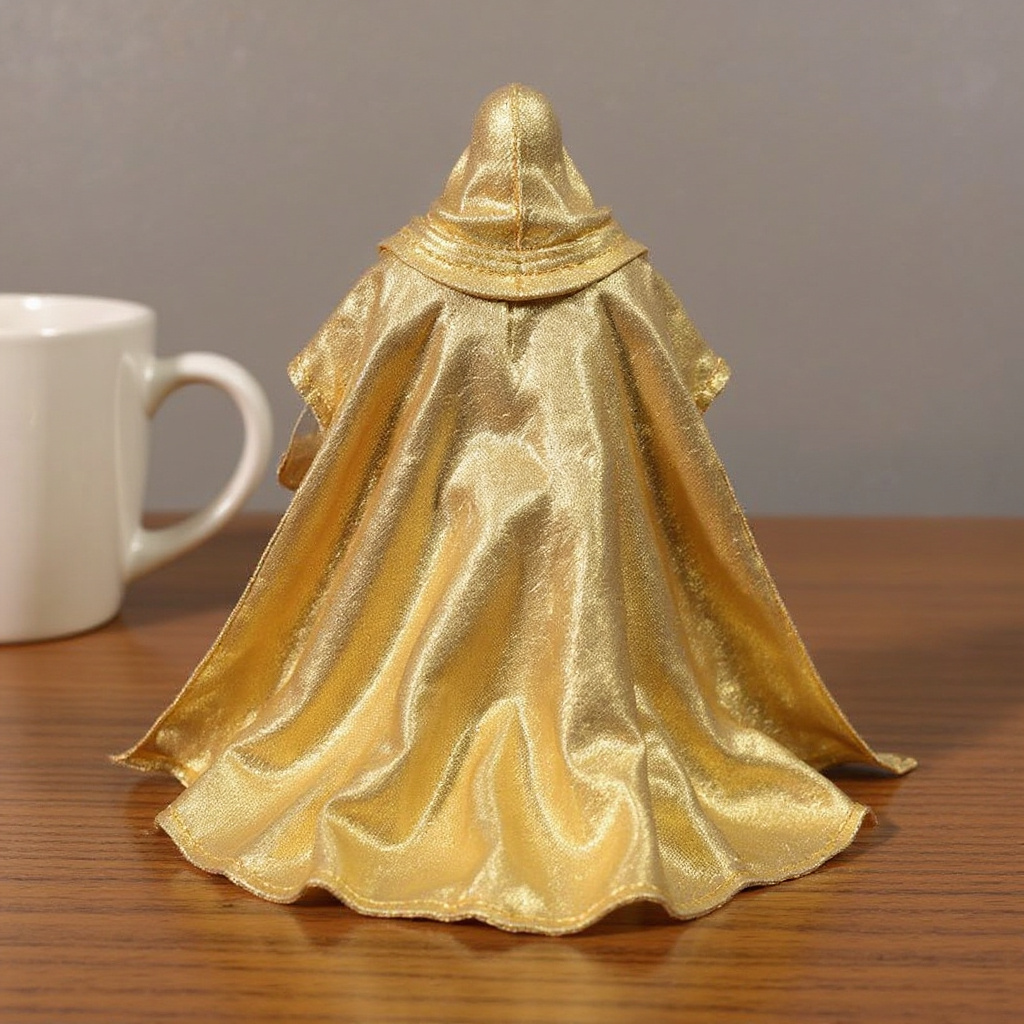
Hand-finished hems look better than machine stitching at this scale. Use silk thread that matches your fabric — polyester thread often looks too thick and creates visible bulk along the edge.
Edge treatments matter more on tiny garments. A rolled hem barely visible on human clothing becomes a major design element on a 4-inch cape. Keep it consistent around the entire perimeter, or the inconsistency will show up in every close-up photo.
Closure hardware needs to stay proportional. Standard snaps and buttons look enormous on small figures. Source doll-specific findings, or use thread loops with tiny beads as buttons instead.
Weathering effects work well on fantasy cloaks but require restraint. Light tea staining or subtle fabric paint adds character without looking overdone — test on scraps first, because small-scale weathering is stupidly easy to overdo.
The 1/72 Lancelot Gold Cape shows this kind of attention in a production piece. The metallic fabric carries enough body to drape at scale, while the built-in wire structure lets you pose it dramatically without breaking the garment's silhouette. For a broader look at similar pieces, browse the capes and cloaks collection or the site's wire armature guide.
Testing and Adjustment Methods
Fit-testing prevents costly remakes and confirms your cloak performs as intended before you commit good fabric to it.
Start with a muslin mock-up using cheap cotton in the same weight as your final material. This prototype reveals fit issues without wasting expensive fabric. Don't skip this step — even people who've done this for years get surprised at figure scale.
Test every intended pose during fitting. Your cloak might fit perfectly standing, then bind or gap the moment the figure sits or kneels. Articulated figures reach extreme positions that stress garments in ways a flat pattern never predicts.
Document successful poses with photos. Note which positions work and which cause problems — this record guides your final adjustments and saves you from repeating mistakes on the next build.
Adjustment techniques for common issues:
1. Neckline too tight: Add small gussets or switch to stretch fabric 2. Armholes binding: Increase curve depth, add underarm ease 3. Length interfering with leg movement: Shorten or add side slits 4. Wire creating harsh creases: Use lighter gauge or redistribute placement 5. Fabric not draping naturally: Switch to a different weight or fiber content 6. Closure gaps during poses: Add intermediate fastening points 7. Overall proportions looking wrong: Check measurements against reference photos
Keep detailed notes during testing. Problems that seem obvious mid-fitting turn into frustrating mysteries later, when you're trying to remember what actually worked.
For pattern grading references, the sewing community at Threads Magazine publishes drape and grain guides that translate reasonably well down to figure scale, even though they're written for human garments.
Frequently Asked Questions
How can I create my own custom cloak for an anime figure? Start with accurate measurements of your specific figure, then build a muslin prototype before cutting final fabric. Use lightweight silk or synthetic fabric, and sew wire structure into the seams for pose-ability. Hand-finish all edges for a result that photographs well. Can I make a cape without sewing? Yes, with limits. No-sew options include fabric glue for simple shapes, or draping lightweight scarves secured with tiny clips. These won't match the fitted look of a properly sewn 1/72 scale cloak, though — the fabric edges tend to fray or curl within a few posing sessions. Which anime characters wear cloaks? Many popular characters feature dramatic cloaks, including Lancelot from Fate/Grand Order, several characters from Overlord, Fire Emblem heroes, and most fantasy anime protagonists. Medieval and fantasy series lean hard into flowing cape designs. How much does it cost to get a custom cape made? Professional custom work typically runs $45-80 for simple designs and $80-150 for pieces with wire armature and detailed finishing. Material costs alone range $15-35 depending on fabric and size, based on pricing from small-batch Etsy figure customizers as of this year. Where do I get cloaks or robes for my figures? Specialty doll clothing shops, Etsy sellers, and figure customization forums offer the widest selection. Some figure manufacturers sell official accessory packs too, though those are usually limited to specific character designs. Does anyone have cloak and scarf patterns for reference? Pixie Faire and Liberty Jane offer scaled doll patterns, though you'll need to adjust proportions for anime figure bodies. Figure customization communities also share free patterns. How do I test a handmade fabric cape on a small-scale figure? Use a muslin prototype first, test all intended poses, and check for binding or gaps. Document successful positions with photos, and adjust before cutting final fabric. Test wire placement and flexibility during the prototype stage, not after. Why does my cloak look shiny and plastic instead of like real fabric in photos? Usually it's the fabric weight, not your lighting. Lamé and cheap satin reflect studio light in flat sheets; habotai silk or a matte poly-blend scatters light across the folds instead, which is what makes the 1/72 Lancelot Gold Cape read as cloth rather than foil in product shots. What's a realistic size guide for shoulder openings at 1/72 scale? Most manufacturers cluster between 8mm and 12mm shoulder width, but check the size guide for your specific figure line before cutting, since a 2mm error at this scale is the difference between a clean neckline and a gaping collar.Is DIY Worth the Time Investment?
Building a custom cloak for an anime figure takes 8-15 hours depending on complexity and skill level. Simple designs finish in a weekend. Elaborate pieces with multiple wire elements stretch across several sessions, sometimes weeks if you're only working evenings.
Cost comparison favors DIY for basic designs. Materials run $15-25 for most projects, against $45-80 for commissioned work. But factor in your time: if you value your hours at $20 each, that "savings" disappears fast on a complex build with multiple wire channels and hand-finished hems.
Skill development matters too. Each project teaches technique that carries over to future customizations — the measuring, fitting, and wire-working skills apply to other figure accessories, not just cloaks.
Sometimes buying just makes more sense. If you need a cloak for one photo shoot, or you don't enjoy detail handwork, a commissioned piece offers better value. Professional makers have tools and repetition that produce cleaner results faster than a first attempt ever will.
For Lancelot figures specifically, a piece like the 1/72 Lancelot Gold Cape at $59 offers wire structure and metallic fabric quality that's genuinely hard to replicate in a home workshop on the first try. The built-in pose-ability and tailored fit justify the cost for collectors who want gallery-shelf results without six months of trial and error.

