


Replacing an action figure cape doesn't have to end in disaster. Most cape swaps work fine if you're gentle with the connection points and know which materials to avoid.
The trick is identifying how the original cape attaches before you start pulling. Some capes slide off shoulder pegs, others snap into chest cavities, and a few are actually glued on. Getting this wrong means broken plastic.
Why Factory Capes Break (And When to Replace Them)
Most action figure capes fail at predictable stress points. The shoulder connection bears the most weight, especially on figures with heavy fabric or long trailing capes. Wire-reinforced capes like those on Batman Arkham Knight figures can snap internally while looking fine on the outside.
Plastic capes crack along fold lines. Cloth capes fray at attachment points. Even expensive figures aren't immune — I've seen $200 Hot Toys with frayed cape edges straight from the box.
You'll know it's time to replace when: - Wire pokes through fabric - Attachment points show stress marks - The cape won't hold poses anymore - Visible tears or permanent creases appear
Some collectors replace perfectly good capes just for better posability. Action figures with static plastic capes limit display options compared to wire-posable soft goods.
The Right Way to Remove Any Action Figure Cape
Start with the figure face-down on a soft surface. This protects the face and gives you better access to back-mounted capes.
For peg-mounted capes (most common): Locate the shoulder pegs first. They're usually visible as small plastic cylinders. Gently wiggle the cape while pulling straight up. Don't twist — that's how pegs snap.
For snap-fit capes: Look for small tabs or clips around the neck area. Press these inward while lifting the cape. Some Marvel figures use this system.
For glued capes: Heat helps here. A hair dryer on low setting for 30 seconds softens adhesive. Work slowly with a thin tool like a guitar pick.
Never force anything. If it's not coming off easily, you're missing something about how it attaches.Document everything with photos before removal. You'll want reference shots for the new cape installation.
Measuring for a Perfect Replacement Fit
Wrong measurements kill cape replacements. Too short looks ridiculous. Too long creates balance problems.
Measure from the shoulder attachment point to where you want the hem. For most 1/12 scale figures (6-7 inches tall), capes run 3-4 inches long.
Width matters too. Measure across the figure's shoulders at the widest point, then add 0.5 inches for drape. Capes that hug too tight look unnatural.
Check the attachment method on your specific figure. Peg diameter varies between manufacturers:
| Figure Line | Peg Diameter | Cape Style |
|---|---|---|
| Marvel Legends | 3mm | Snap-fit |
| DC Multiverse | 4mm | Peg mount |
| Mythic Legions | 3.5mm | Peg mount |
| Storm Collectibles | 5mm | Magnetic |
| Hot Toys | Varies | Custom fit |
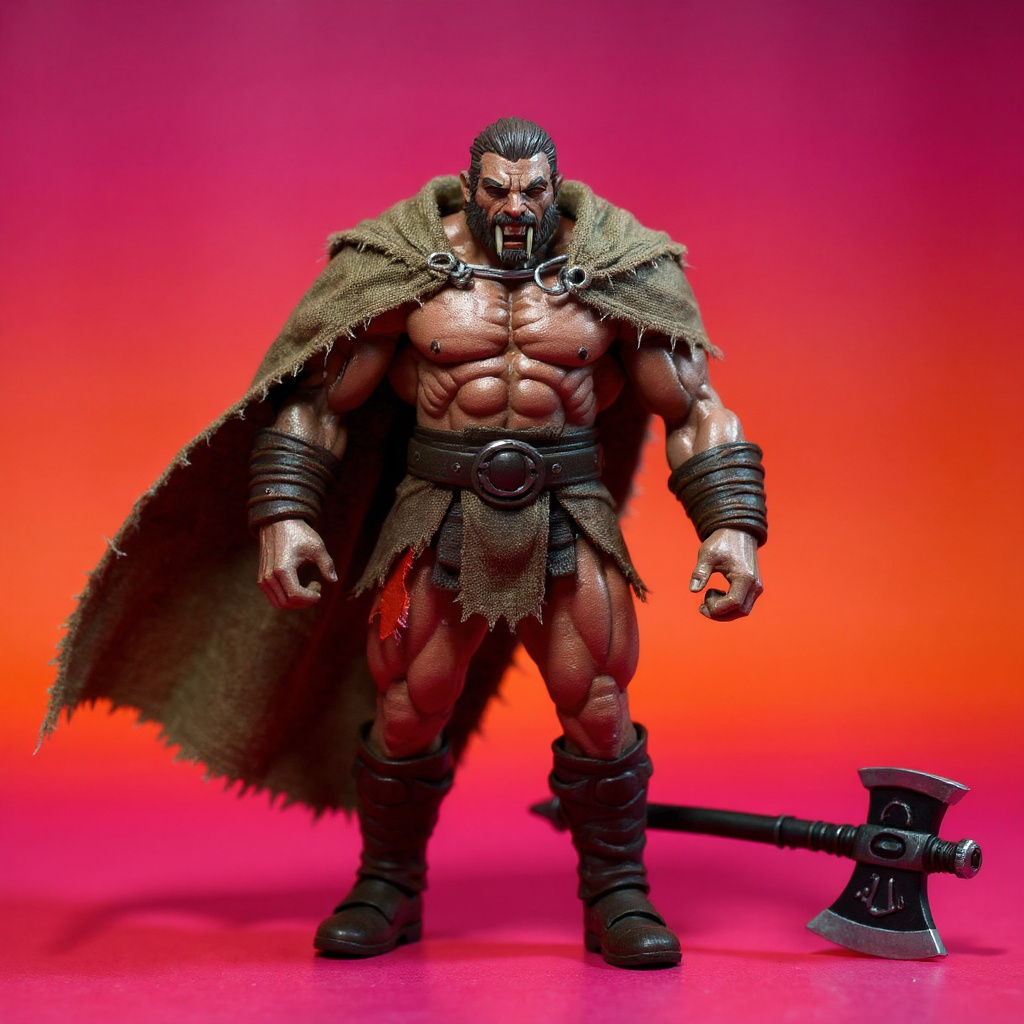
For Mythic Legions figures specifically, our Mythic Legions Minotaur Cape 1/12 Scale | Handmade Soft Goods Cloak | Wire-Shapeable Gladiator Accessory comes pre-sized for the standard peg system these figures use.
Soft Goods vs. Molded Plastic: Which Works Better?
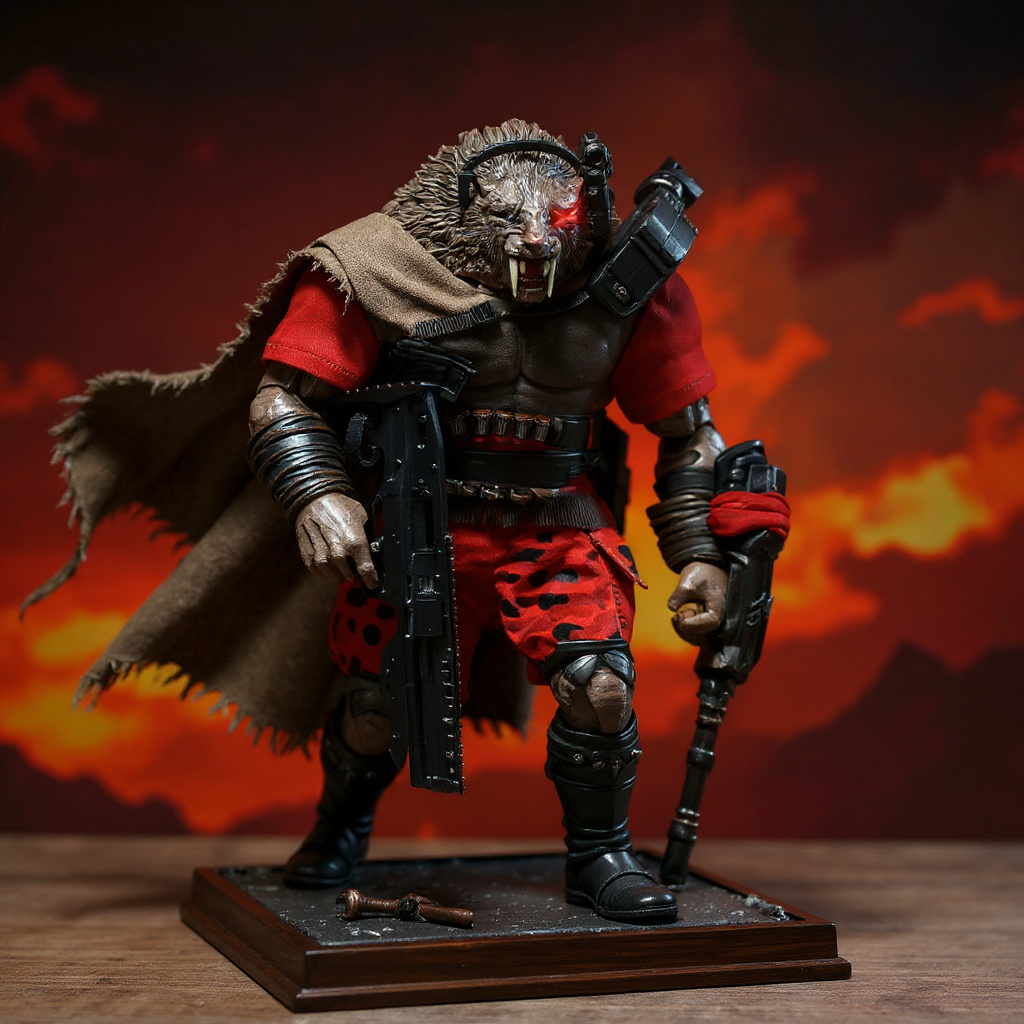
Soft goods win for posability, but they're harder to maintain. Fabric capes with wire armatures let you create dramatic flowing poses that plastic can't match. The trade-off is durability — fabric frays, wire can poke through, and colors fade over time.
Molded plastic capes are virtually indestructible and keep their shape forever. But they're limited to whatever pose the sculptor intended. Most look best in one specific position.
Here's what works for different display styles:
1. Diorama photography: Soft goods with wire. You need the posability for dynamic shots. 2. Museum-style displays: Molded plastic. Clean lines, no maintenance. 3. Frequent handling: Plastic. Soft goods wear out faster with regular posing. 4. Outdoor photography: Plastic. Wind ruins soft goods shots. 5. Close-up detail shots: High-end soft goods. The texture adds realism. 6. Long-term storage: Either works, but plastic won't deteriorate.
Cost differs dramatically. Replacement plastic capes run $8-15. Quality soft goods start around $40 and can hit $114 for premium handmade pieces with full wire armatures.
Installing Your New Cape Without Damage
Clean the attachment points first. Old adhesive residue or plastic dust can prevent proper seating.
For peg-mount systems: Align the cape holes with the shoulder pegs. Push straight down with steady pressure. You should feel a slight click when it seats properly.
Test the fit before final installation. The cape should move freely without binding against the figure's arms or torso. If it catches, the holes might be too small or positioned wrong.
Soft goods capes need different handling:
1. Support the wire: Never grab wire-reinforced areas during installation 2. Check for snags: Make sure no fabric catches on armor details 3. Adjust gradually: Wire capes hold their shape, so position carefully 4. Test range of motion: Move the figure's arms to ensure the cape doesn't restrict articulation 5. Secure loose ends: Some capes have small tabs that tuck into armor gaps
For magnetic attachment systems (rare but growing): Clean both surfaces with alcohol first. Magnets lose strength when dirty. Position the cape, then let the magnets do the work — don't force contact.
When DIY Replacement Isn't Worth the Risk
Some figures are too valuable to risk. Hot Toys figures worth $300+ should go to professional customizers for cape work. The resale hit from botched repairs exceeds replacement cape costs.
Prototype or limited edition figures fall into the same category. You can't replace a damaged prototype.
Light-up capes require electronics knowledge. Batman figures with LED-equipped capes need careful wire management. One wrong move kills the lighting system permanently.
Signs you should seek professional help: - Figure value exceeds $200 - Electronics are involved - Attachment method is unclear - You lack proper tools - Previous repair attempts failed
The action figure community on Reddit can point you toward reputable customizers if you're in over your head.
Finding Quality Replacement Capes
Official replacement parts are rare. Most manufacturers don't sell individual accessories. When they do, expect limited selection and high prices.
Third-party options vary wildly in quality. Etsy sellers dominate the custom cape market, but results are inconsistent. Look for sellers with detailed photos showing wire placement and fabric texture.
Key quality indicators: - Hand-finished seams (machine-sewn edges fray faster) - Appropriate wire gauge (too thin breaks, too thick shows through fabric) - Scale-appropriate fabric weight (miniature capes need lighter materials) - Proper attachment hardware included - Clear sizing specifications
Custom work costs more but fits better. A properly tailored cape transforms a figure's presence. Mass-produced alternatives rarely nail the proportions.
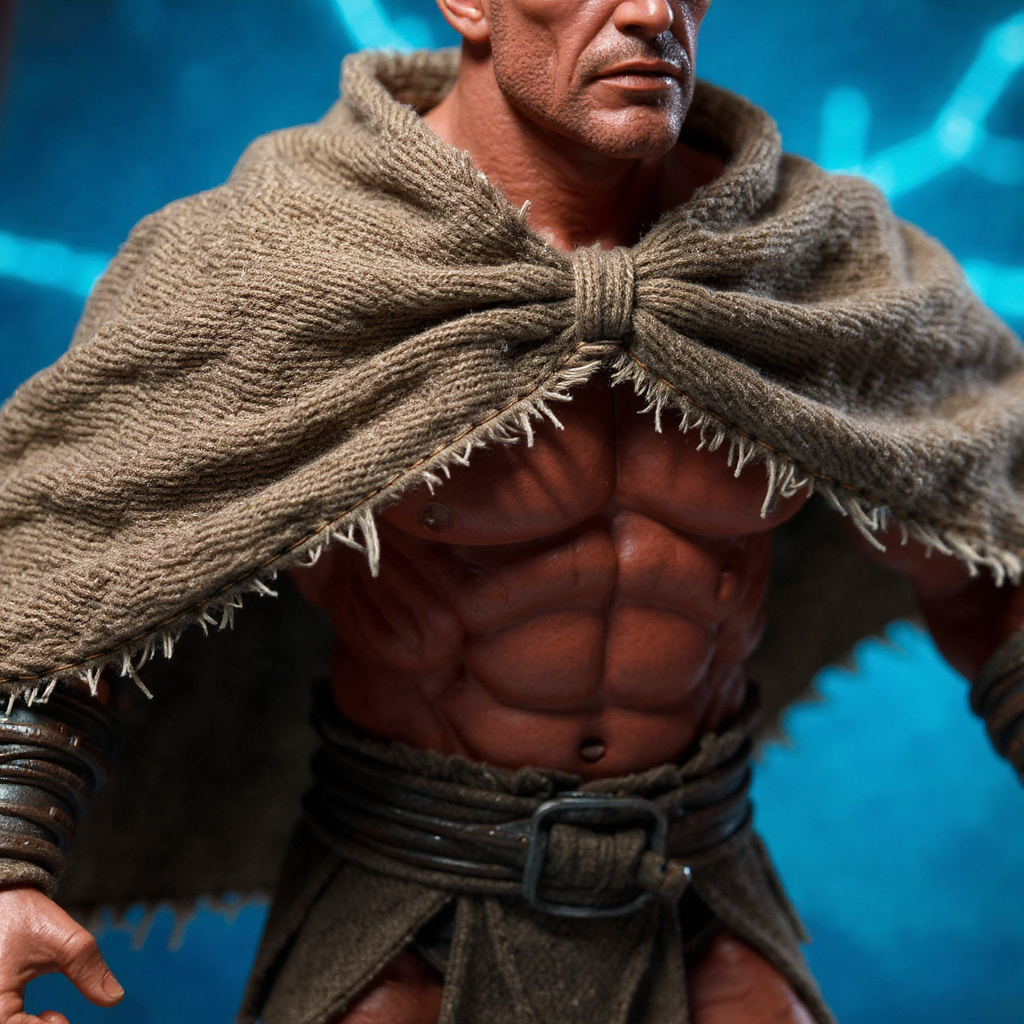
Premium options like this handwoven cape at $114 target serious collectors willing to pay for wire-posable realism and custom fit.
What I'd Actually Buy
For most collectors, mid-range soft goods ($60-90) offer the best balance. You get wire posability without premium pricing.
Buy plastic replacements only if you never repose figures. The cost savings aren't worth losing posability for active collectors.
Invest in premium custom work ($100+) for centerpiece figures or photography subjects. The difference shows in photos, and these figures get the most handling.
Skip DIY fabric capes unless you sew regularly. Bad proportions ruin expensive figures. Pattern-making for 1/12 scale is harder than it looks.
For Mythic Legions specifically, factory capes are decent but lack the dramatic flow needed for gladiator poses. The wire-reinforced upgrade transforms these figures' display potential.
Frequently Asked Questions
How do you change your cape on an action figure? Locate the attachment method (usually shoulder pegs), remove the old cape gently without twisting, then align and press the new cape into place. Always work over a soft surface to prevent drops. How do I fix a snapped wire inside a cape? Carefully open a seam near the break, remove the damaged wire section, splice in new wire of matching gauge, and hand-stitch the seam closed. Use jewelry wire for best results. How do you remove a cape from a Marvel action figure? Most Marvel Legends use snap-fit systems. Look for small tabs around the neck, press inward while lifting the cape straight up. Don't pull at angles. Does anyone have tips to replace the cape on a light-up figure? Disconnect the battery first. Follow wire paths carefully and photograph connections before removal. Consider professional help — LED repairs are expensive. How to make a DIY cape for an action figure? Measure shoulder width and desired length, cut fabric with 0.5-inch seam allowances, hem all edges, install thin jewelry wire in the hem, and create attachment points matching your figure's system. Got a wired cape that makes the figure hard to pose — what now? The wire gauge is probably too heavy. Replace with thinner wire (24-26 gauge works for most 1/12 figures) or switch to a plastic cape for easier handling. How do you remove the cape off a Batman Arkham Knight figure? These use peg mounts at the shoulders. Work the cape upward while wiggling gently. The pegs are sturdy but the cape material can tear if forced. What's the difference between soft goods and molded plastic capes? Soft goods use fabric with optional wire reinforcement for posability but require more care. Molded plastic is durable and low-maintenance but limited to one pose. Cost ranges from $8 (plastic) to $114 (premium soft goods).Is Premium Cape Replacement Worth It?
For casual collectors, probably not. Factory capes work fine for shelf display.
For photographers and diorama builders, absolutely. Wire-posable capes unlock dramatic possibilities that justify premium pricing. The ability to create flowing, wind-blown effects transforms static figures into dynamic scenes.
Serious Mythic Legions collectors should consider the upgrade. These figures shine in battle scenes, and our Mythic Legions Minotaur Cape with full wire armature delivers the dramatic flow these gladiator figures deserve. At $114, it's an investment in display quality that shows every time you photograph your collection.

