


Gold is unforgiving. A golden-yellow cape shows every wobbly stitch, every pressed-in crease, every stray thread. So this guide follows one project from start to finish: a metallic-gold cape with visible cloth texture, draped beside a 1/12 scale armored knight and wire-shaped into a mid-stride pose. The same methods carry over to tabards, surcoats, and tunics.
What I Tested and Why It Matters
I keep a bench log. Twelve capes, three years, five fabrics, two wire types. Craft wire snapped after about 6 bends in my tests. Paper-wrapped 22-gauge floral wire survived 30+ bends before the wrap split. Gold lamé shed flakes the first time a needle went through it. Those results drive every recommendation below. They come from one workbench, not a lab, so read them as field notes.
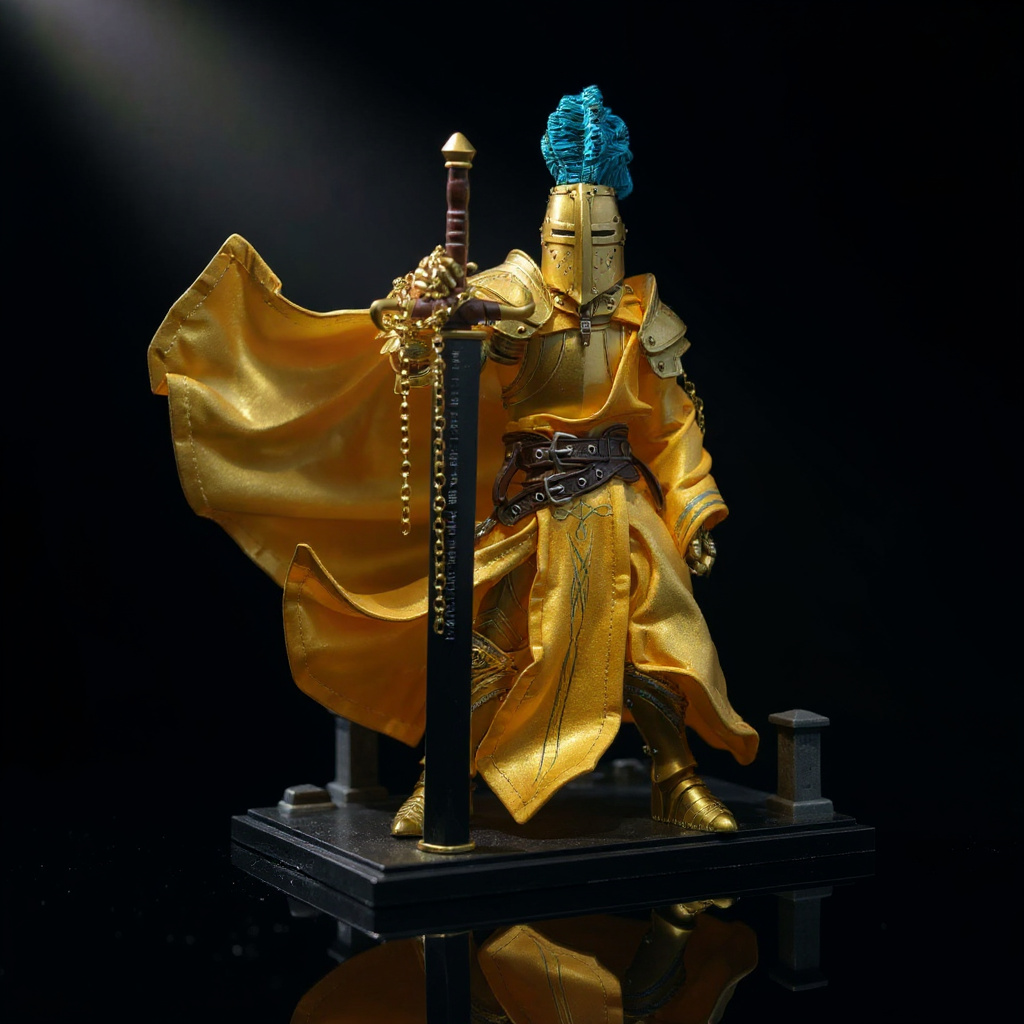
DIY Cloth Clothing for Action Figures: Getting Measurements Right
Scale math is simple: divide by 12. A 72-inch human becomes a 6-inch figure. A 36-inch chest becomes 3 inches. A 60-inch human cape becomes 5 inches. Figures from different brands break that rule by a few millimeters, so measure your own.
Use a flexible tape or a strip of paper marked with a ruler. Measure over the armor, not the body underneath.
- Neck base: around the gorget or collar. Mine ran 1.5-2 inches. - Shoulder width: pauldron edge to pauldron edge. Often 2.25-2.75 inches on armored knights. - Cape length: from the back of the neck to where you want the hem. 4-6 inches looks right for most knights. - Chest depth: needed if the cape wraps forward over the breastplate.
Write the numbers on the back of your pattern paper. You will check them again. And again.
Fabric Selection for a Golden Cape
Thick fabric fails at this scale. A 200 gsm cloth that looks fine on a human becomes a rug on a 6-inch knight. Keep weight under 100 gsm and you keep your folds.
Gold adds a second problem. Metallic fabrics can look great and behave terribly. Visible weave matters too, because macro photos expose it. A plain weave with fine slubs reads as real cloth at 1:12. A coarse weave looks like burlap.
| Fabric | Weight (gsm / momme / oz per sq yd) | Drape | Texture in macro shots | Price per yard* | Best for |
|---|---|---|---|---|---|
| Silk habotai, gold-dyed | 27 gsm / 8 momme / 0.8 oz | Excellent | Smooth, soft sheen | $12-18 | Flowing capes |
| Silk dupioni, gold | 70-90 gsm / 2-2.7 oz | Moderate | Visible slub ridges | $14-22 | Textured capes with wire |
| Polyester chiffon, gold | 30-45 gsm / 0.9-1.3 oz | Excellent | Fine, sheer mesh | $4-8 | Light overlays |
| Cotton voile, dyed gold | 50-70 gsm / 1.5-2 oz | Good | Visible plain weave | $6-10 | Tunics, surcoats |
| Metallic gold tissue or lamé | 25-60 gsm / 0.7-1.8 oz | Crisp | Glitter, no real weave | $5-12 | Trim only |
*Price ranges from typical US online fabric retailers. Check current listings before you buy.
My pick: gold-dyed silk habotai for a flowing cape, silk dupioni when the macro shot matters most. Skip lamé for the body of the cape. It frayed within two pose changes on my bench.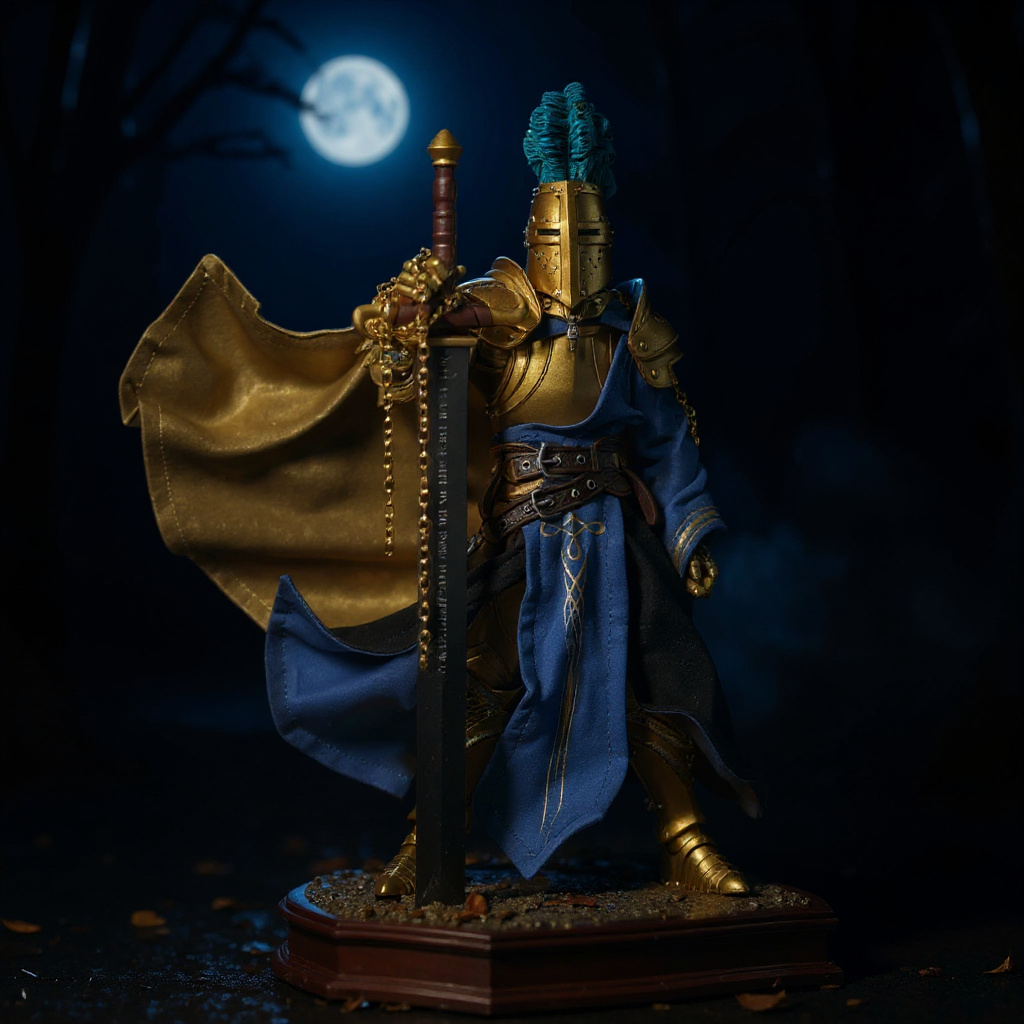
Tools You Need
| Tool | Spec | Cost | Why it matters |
|---|---|---|---|
| Needles | Beading or sharps, size 10-12 | $3-4 | Thin enough to leave no holes in silk |
| Thread | 100wt silk or 60wt polyester, gold or tan | $4-6 | Thick thread shows as ridges |
| Wire | 22-gauge paper-wrapped floral wire | $3-5 | Bends 30+ times without snapping |
| Flush cutters | Small, hobby grade | $6-10 | Clean cuts, no wire burrs |
| Mini iron | Craft or hobby iron | $12-20 | Pressing 3 mm seams |
| Magnifier lamp | 3x with LED | $15-25 | Your eyes will quit before your hands do |
| Fray sealant | Clear liquid | $4-5 | Stops edge unraveling |
| Snaps | Size 00 | $2-4 | Hidden collar closure |
You can browse action figure accessories or the full collection to see how finished soft goods are hemmed and wired before you start.
Worked Example: Pattern for a 6-Inch Armored Knight
Forget scaled-down human patterns. Use a curved trapezoid, which reads as a flowing cloak once you wire it.
- Neck edge: 2.5 in (64 mm), straight - Hem edge: 8 in (203 mm), gently curved - Center-back height: 5 in (127 mm) - Seam allowance: 1/8 in (3 mm) at neck and sides - Hem turn-under: 3/16 in (5 mm), enough to wrap the wire - Collar band: 3 x 0.5 in (76 x 13 mm) - Hem wire: 10 in (8 in hem + 2 in extra) - Spine wire: 6 in, from collar to mid-hem
Yardage: the pattern fits in a 9 x 6 in rectangle. One quarter yard (9 in x 45 in) covers the muslin test, the final cape, and two spares.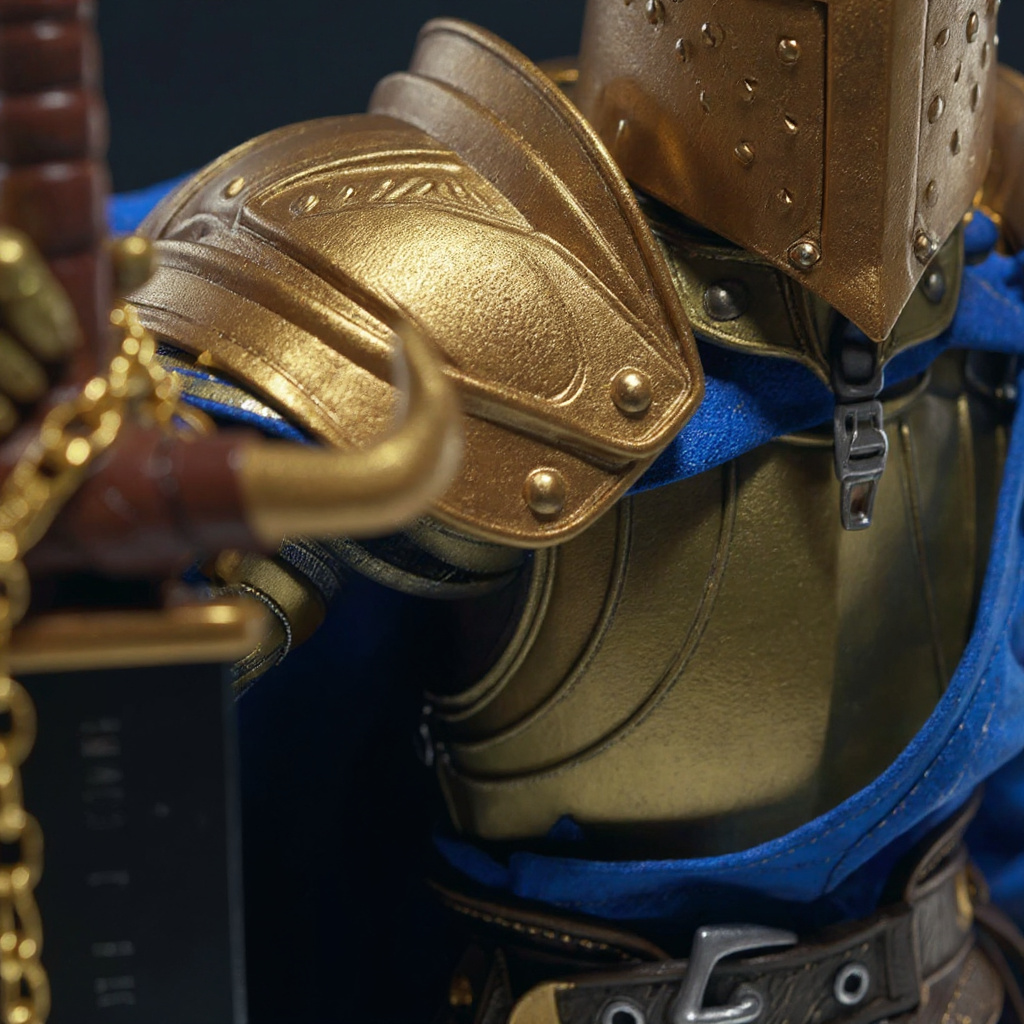
Step-by-Step Build (5-6 Hours With Wire)
1. Cut a muslin test. Use scrap cotton. Pin it on the figure and check the hem clears the feet by 1/4 in. 2. Mark the grain. Align the center-back line with the fabric's straight grain. Off-grain silk twists. 3. Seal the edges. Brush a thin line of fray sealant on the cut edges. Let it dry 15 minutes. 4. Cut the final cape. Use sharp small scissors. One clean pass. 5. Press the hem. Fold 3/16 in with the mini iron on low heat. Test heat on a scrap first. 6. Insert the wire. Lay the 10 in wire in the fold. Wrap the fabric over it. 7. Stitch the hem. Use a 1.5 mm running stitch with a backstitch every fifth stitch. Pull each stitch snug without puckering. 8. Add the spine wire. Slide the 6 in wire into a stitched channel down the center back. Optional, but worth it for dramatic poses. 9. Attach the collar. Fold the band, sandwich the neck edge, and stitch. Add a size 00 snap or tie strings. 10. Shape and photograph. Bend the wires, drape the cape over one shoulder, and let the folds settle for 10 minutes before shooting.
Hard truths. Step 7 takes two hours. Step 8 is where the cape either looks alive or looks dead.
Wire-Shaping a Dynamic Pose
Static fabric looks flat. Wire changes everything.
Bend the hem wire into a wave first, then the spine wire into a forward sweep. Pose the knight, then drape the cloth. Small adjustments of 2-3 mm change how light hits the folds. For a wind-blown effect, curl the hem wire back toward the figure's shoulder and let the opposite corner trail.
One wire at the hem works for beginners. Two or three wire lines give you control over mid-cape folds. Pre-wired replacements, like the 1/12 Scale Golden Knight Cape Replacement, use a multi-wire layout, which is worth studying even if you never buy one. Disclosure: TheFigureVault sells that cape, so weigh the mention accordingly.
Photographing Stitching and Fabric Weave
Macro shots expose everything. That is the point.
Use a 60-100 mm macro lens at f/8-f/11. Place one soft light at 45 degrees so the weave casts tiny shadows. Gold reflects hard, so diffuse the light with white paper. Check that your stitches run 1.5 mm and sit in a straight line. If you can see the thread at arm's length, it is too thick.
DIY vs. Buy: Cost Per Hour
Materials look cheap. Time does not. Here is the math at $15 per hour of your time.
| Option | Cash cost | Time | Total at $15/hr | Result |
|---|---|---|---|---|
| DIY first wired cape | $15-22 | 8 h | $135-142 | Homemade look |
| DIY fifth cape | $8-12 (spools reused) | 5-6 h | $83-102 | Clean, consistent |
| Hem and wire an existing cape | $5-8 | 1.5 h | $27-30 | Good for beginners |
| Commissioned from a maker | $40-94 | 0.5 h to order | $48-102 | Professional |
| Ready-made replacement ($94) | $94 | 0.25 h | ~$98 | Multi-wire, finished |
By the numbers, the fifth cape costs about the same as a commission. The first one costs more. Commissioned capes run $40-94 depending on complexity and licensing, and that range holds for every price in this article.
Mistakes That Ruined My Capes
1. Craft wire. Snapped after about 6 bends. Use 22-gauge floral wire. 2. Thread over 60wt. Left visible ridges along every hem. 3. Lamé body. Shed flakes and frayed within two pose changes. 4. Off-grain cutting. The cape twisted 15 degrees on the figure. 5. Skipped muslin test. Wasted $4 of silk. Twice. 6. Hem wire too short. Corners poked through the seam. 7. No fray sealant. Edges fuzzed after one photo session. 8. Pressing with high heat. Scorched gold-dyed silk. Not recoverable.
The Honest Part Most Guides Skip
Honestly, if you have one figure, one cape in mind, and a deadline, buy it. Skip the project. Your first cape will look homemade, and gold shows every flaw.
Also: a real fabric weave does not scale. At 1:12, even fine cloth looks coarse in a macro photo. The "visible weave" in the best photos often comes from good lighting, not good fabric.
Still here? Good. DIY cloth clothing for action figures is slow, fussy, and satisfying. Start with step 1.
Further Reading
- Garo (TV series) on Wikipedia) for the golden-armor knight character that inspires many cape designs - r/actionfigures for community build photos and troubleshooting - TheFigureVault home for ready-made soft goods and reference photos
Frequently Asked Questions
How do I make DIY cloth clothing for action figures at 1/12 scale?
Measure the figure over its armor, choose fabric under 100 gsm, cut a simple pattern with 1/8-inch seams, and hand-sew with 60wt thread. Add 22-gauge floral wire at the hem for posing. A basic cape takes 3-4 hours, and 5-6 hours with wire.
What is the best fabric for a golden knight cape on a 6-inch figure?
Gold-dyed silk habotai (8 momme, about 27 gsm) drapes best. Silk dupioni (70-90 gsm) shows more texture in macro photos. Avoid metallic lamé for the cape body because it sheds and frays. Expect $12-22 per yard for silk.
What wire should I use to pose a fabric cape?
Use paper-wrapped 22-gauge floral wire. In my tests it survived 30+ bends, while craft wire snapped after about 6. Cut it 2 inches longer than the hem, encase it in a 3/16-inch turn-under, and leave the ends tucked inside the seam.
How big should a cape be for a 1/12 scale knight?
For a 6-inch knight, cut a curved trapezoid 5 inches tall, 2.5 inches wide at the neck, and 8 inches wide at the hem. Add a 3 x 0.5 inch collar band. Adjust the neck width to your figure's gorget measurement.
How long does a handmade wired cape take?
A basic cape takes 3-4 hours. Adding hem wire raises that to 5-6 hours. Your first wired cape will likely take 8 hours, including a muslin test and one redo. Fitted jackets take 8-12 hours or more.
Is it cheaper to make or buy a cape for an action figure?
Materials for your first cape run $12-22, but at $15 per hour of your time the total reaches $135-142. By your fifth cape it drops to about $83-102. Commissions cost $40-94, so buying is cheaper for a single piece.
How do I photograph stitching and fabric texture at macro scale?
Use a 60-100 mm macro lens at f/8-f/11 with one soft light at 45 degrees. Diffuse the light with white paper so gold fabric does not blow out. Keep stitches near 1.5 mm so they read as texture, not bumps.
How do I stop gold fabric from fraying?
Brush clear fray sealant along cut edges and let it dry 15 minutes before sewing. Cut silk with sharp scissors in one pass. Turn the hem under 3/16 inch and stitch it. Avoid lamé for the cape body.
