


Most action figure capes attach one of four ways — neck collar, shoulder peg, waist clip, or fitted fabric collar with internal wire — and picking the wrong method for your figure is the #1 reason capes end up crooked, loose, or torn. Learning how to attach a cape to an action figure properly means matching the cape's design to the figure's actual attachment points before you touch anything. Here's what actually works, and where the stock plastic versions fall apart.
How to Attach a Cape to an Action Figure by Stock Type
The basic attachment depends on your figure. McFarlane DC Multiverse figures typically use a neck collar system where the cape slides over the head and rests on the neck joint. Some Batman figures use shoulder peg holes instead. Older Mattel figures might use waist clips. Three systems, three completely different installation processes.
Before you start, check what you're working with. Look for small holes, slots, or grooves on the shoulders, back, or around the neck. Many collectors miss the tiny shoulder ports that some McFarlane Toys figures include specifically for cape attachment — they're barely 2mm wide and hide under the paint apps.
For neck-collar capes, slide the opening over the figure's head with steady pressure, not force. The collar should sit snug but not tight enough to stress the neck joint. If it's too loose, a small piece of clear tape underneath the collar seam helps it grip.
Why Most Stock Capes Look Terrible
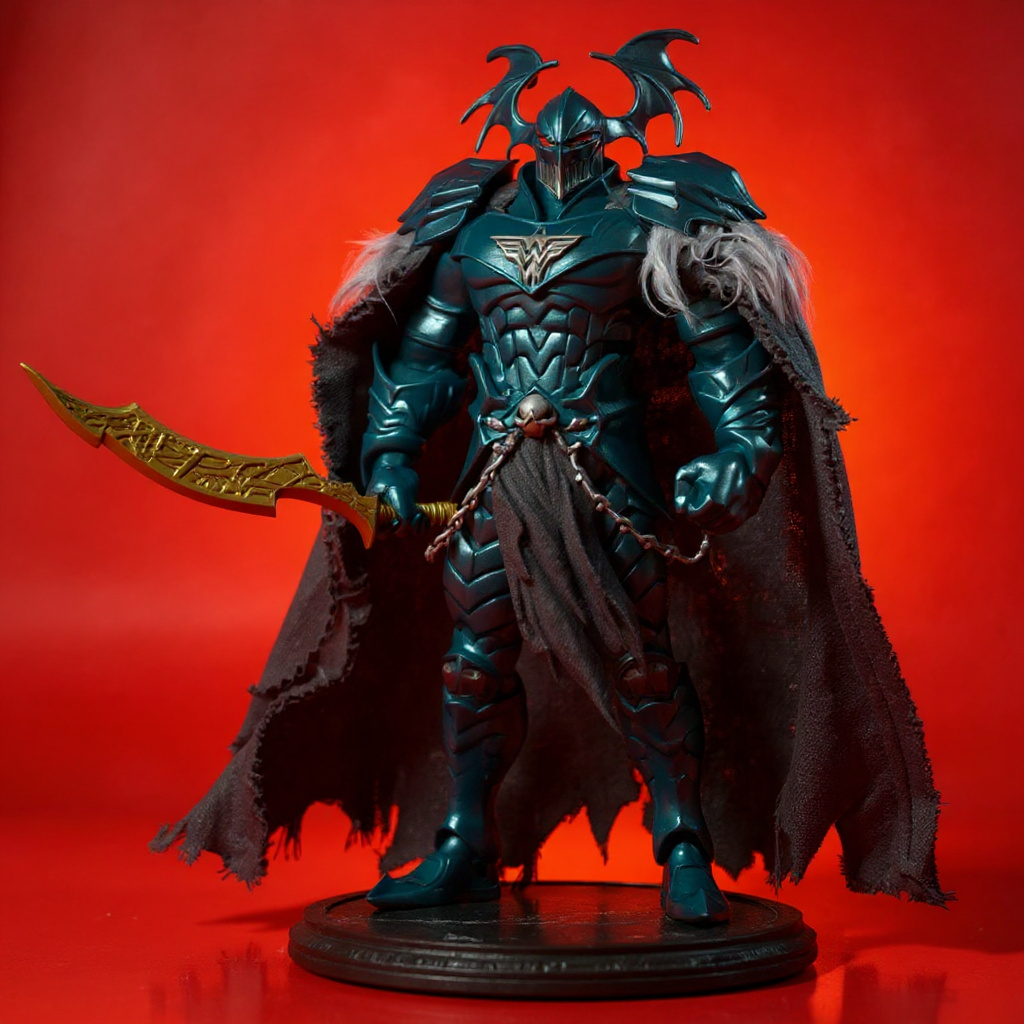
Factory plastic capes exist for mass production, not realism. They're molded in one static pose that rarely matches your display idea. The plastic is often 1.5mm to 2mm thick, which is too rigid to drape like fabric.
Worst of all, they don't pose. That dramatic billowing cape effect from the comics? Not happening with rigid PVC. Your Batman ends up looking like he's wearing a dinner tray on his back.
Color matching is the other recurring complaint. Factory capes often don't match the figure's costume shade, especially across different production runs. What should read as a seamless black cape sometimes carries a faint blue or purple tint under studio lighting.
This is where soft goods change the equation. A properly built fabric cape with an internal wire skeleton — like our 9 Inch Merciless Cape Replacement — transforms the whole figure. The matte black cloth falls in real folds instead of holding one shape, and the bendable wire lets you build a wind-caught pose or lay the cape flat to show the frame underneath, like a costume department reveal.
The Real Method: Attaching a Wired Fabric Cape to an Action Figure
Fabric capes attach differently than plastic ones, and the wire changes the whole workflow. Most quality soft goods capes for 9-inch scale use a fitted collar roughly 1.1 to 1.3 inches in diameter, sewn by hand rather than machine-stitched at the seam, which is why the collar can flex without splitting.
Here's the step-by-step for installing a wired soft goods cape:
1. Lay the cape flat and check the wire frame runs symmetrically along both edges before installing anything 2. Open the collar seam gently with your fingers, working it into an oval rather than stretching one spot 3. Ease the collar over the figure's head slowly, starting at the back of the skull 4. Settle the collar at the base of the neck — not the jawline, not the chest 5. Bend the wire edges by hand to create the drape: one side pinned back, one side trailing, or both swept in a single wind direction 6. If your figure has shoulder tabs, clip them now for extra hold during posing 7. Stand the figure up and rotate it a full turn to check the drape from every angle before you call it done
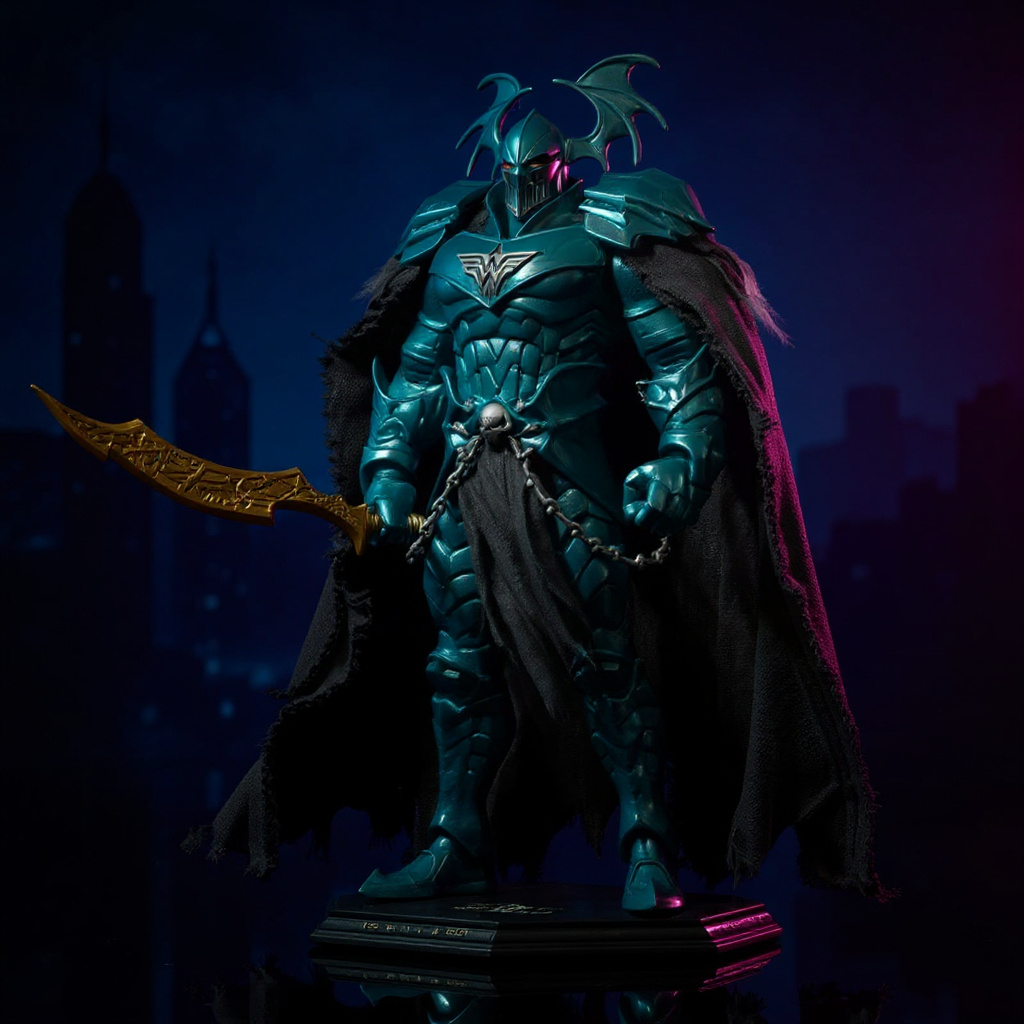
Once the collar is positioned, this is where wired capes actually shine. You can bend the lower third to catch mid-stride, pose one edge lifting off the shoulder, or lay the whole thing flat on a table to show the internal wire structure — useful for photographing the construction, or for villain figures displayed in a shadowed diorama where the cape needs to look mid-motion even standing still.
For figures with shoulder attachment points, some soft goods capes include small fabric tabs or plastic clips. These add stability for dynamic poses where the cape might shift during handling. Skip them if your figure doesn't have a matching port; forcing a tab into the wrong slot tears the seam.
What About LEGO and Small-Scale Figures?
LEGO capes work nothing like fabric ones. They use a neck stud system where the cape piece clips directly onto the minifigure's neck connector — a single hole, no collar, no wire. Press down until it clicks.
For 6-inch scale figures, the logic is closer to 9-inch capes but everything is thinner and more fragile. Many Marvel Legends capes use plastic connectors under 1mm thick that snap if you're not paying attention. Handle them like jewelry, not toys.
Smaller capes are also harder to replace once damaged. While 12-inch and 9-inch figures support an active aftermarket of soft goods makers, tracking down a 6-inch replacement often means buying a second figure just for parts, or learning to sew one yourself.
When Capes Won't Fit: Troubleshooting
Cape attachment problems usually fall into three categories: wrong scale, wrong attachment type, or damaged connection points.
Scale mismatch is the biggest one. A 12-inch cape will not work on a 9-inch figure — obviously — but even within the same nominal scale, manufacturers size figures differently. A cape built for a slim Batman sculpt might not close around a bulkier armored variant.
Attachment type confusion happens when you try a collar cape on a figure built for shoulder pegs, or the reverse. Damaged connection points are common on older figures too; plastic neck joints crack or wear smooth over time, which makes collar attachment loose or impossible.
For figures where nothing seems to work, work through this in order:
1. Check if the head is removable — some capes go on far easier with the head detached 2. Look for hidden attachment points on the back or under the arms 3. Confirm the cape is actually sized for your figure's variant, not a similar-looking one 4. Warm the collar fabric with your hands for a minute to loosen the fibers slightly 5. As a last resort, open the collar seam a few millimeters with small scissors — a permanent fix, so do this last
Honestly, if your figure's neck joint is already cracked, skip the collar cape entirely and go with a shoulder-peg or clip-style attachment instead. No amount of careful handling saves a joint that's already compromised, and forcing a collar over it usually finishes the job.
Battle-Damaged and Weathered Capes
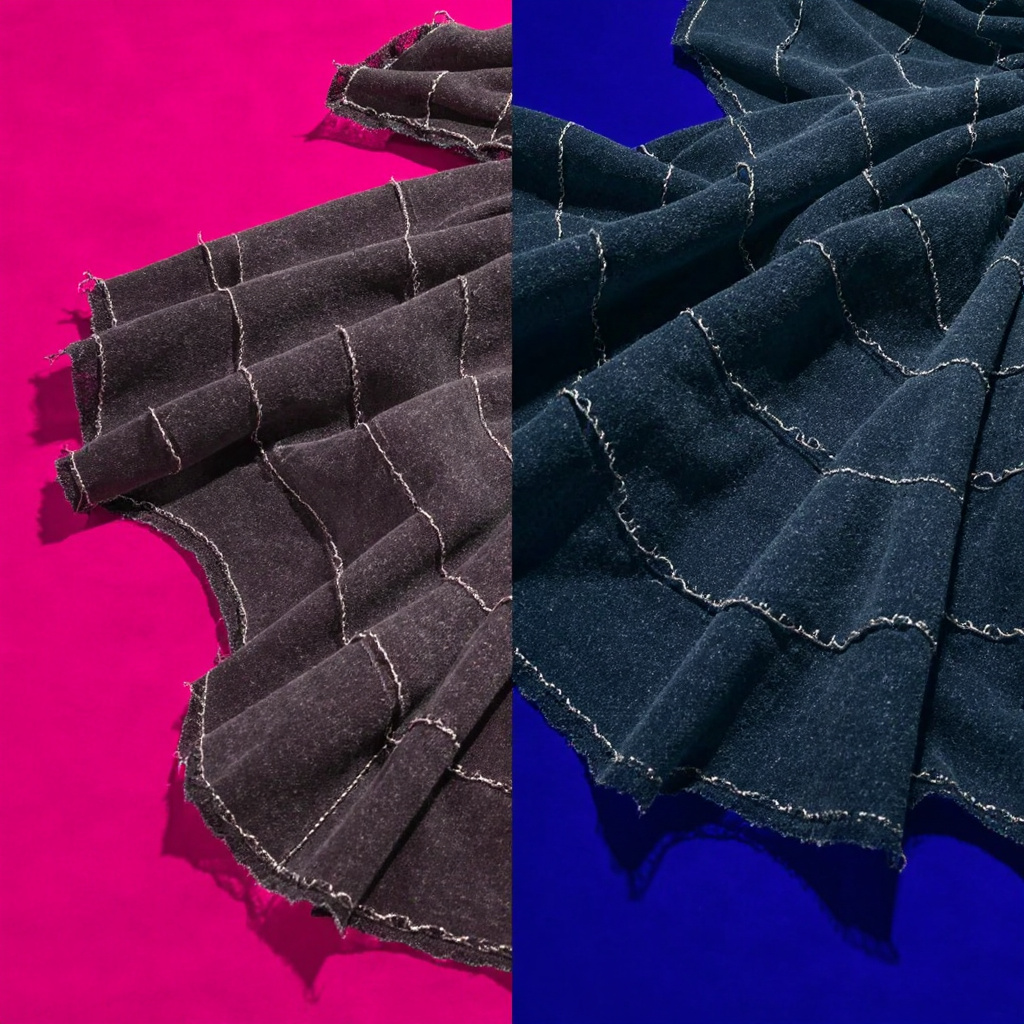
Battle-damaged capes look great in photos. Installing them is another story. The irregular edges and intentional tears catch on figure joints during the collar slide, more than any standard cape does.
Install these slowly. Work around protruding damage effects one section at a time. Some battle-damaged capes run deliberately oversized to account for the "destroyed" edges, so measure against your figure before assuming a standard fit.
Weathered fabric capes are also more fragile than they look. The distressing process weakens high-stress zones like the collar seam. Handle gently. Every time.
Wire Repair and Fabric Maintenance
Wired capes need upkeep eventually. The internal wire — usually 22 to 24 gauge on 9-inch scale capes — breaks from repeated posing, almost always at the shoulder bend or the point where the cape curves sharpest.
For a minor break, splice in a short piece of 22-gauge floral wire or thin craft wire. Open a small section of the seam, twist the new wire against the old ends, and seal it with fabric glue. It won't be invisible. It'll hold for another year of posing, though.
Fabric care matters too. Dust soft goods capes with a clean, dry brush. Avoid water unless the care tag specifically allows it; a lot of matte black fabric treatments aren't colorfast, and one wash can leave streaks. For reference on wire-splicing technique, Instructables has several community-tested methods that translate well to doll-scale repairs.
Action figure collecting communities like r/ActionFigures and display-focused sites like Toy Photographers share repair techniques and cape modification tips regularly. Worth a browse before you attempt your first wire splice.Cape Type Comparison
| Cape Type | Attachment Method | Pose Flexibility | Typical Lifespan | Price Range |
|---|---|---|---|---|
| Stock Plastic | Collar or clips | Fixed pose only | 5+ years, doesn't wear | $0-10 |
| Basic Fabric (no wire) | Collar only | Limited, holds no shape | 1-2 years before fraying | $15-30 |
| Wired Soft Goods, 9-inch | Fitted hand-sewn collar | Full bend, holds pose | 2-3 years with occasional wire repair | $45-75 |
| Custom Tailored, multi-point | Collar plus shoulder tabs | Maximum, sculptural poses | 3+ years, most durable soft goods option | $75+ |
| LEGO Minifig Cape | Neck stud, no collar | None, fixed shape | Essentially permanent | $2-8 |
An explore-and-buy option worth browsing directly: our collection of soft goods figure accessories shows how the wired collar construction looks before it's mounted.
FAQ
How do you attach a cape to an action figure? Slide collar-style capes over the figure's head and settle them at the base of the neck. For clip-on capes, attach to the designated shoulder or back port. Wired fabric capes need the collar eased on gradually — forcing it tears the hand-sewn seam. What is the thing that holds a cape called? The attachment piece is typically called a collar, clasp, or cape clip depending on the design. Collectors often call neck-style attachments "cape collars" or "cape rings." How to attach a cape to a costume, not a figure? Human-scale capes usually attach with neck ties, collar buttons, or shoulder clasps. Figure-scale capes use fitted fabric collars or plastic clips sized for that specific figure line. How do I put a cape on a LEGO minifigure? LEGO capes have a small round hole that fits directly over the minifigure's neck stud. Press down until it clicks into place. Pull straight up to remove. How do I fix a snapped wire in a fabric cape? Open the seam near the break, remove the broken wire ends, splice in a 1 to 2 inch piece of 22-gauge floral wire twisted against both original ends, then reseal with fabric glue. Let it cure for a couple of hours before posing again. What is the best fabric for 9-inch or 1/12 scale capes? Thin cotton, silk-like synthetics, or specialty doll fabric drape best at this scale. Thick materials don't fold naturally on a 9-inch figure — they look like a tarp, not a cape. Matte finishes read more realistic than shiny ones under photography lighting. What wire gauge is used inside a posable fabric cape? 22 to 24 gauge is standard for 9-inch scale. Thinner wire bends too easily and won't hold a pose; thicker wire is stiff enough to poke through matte cloth over time. How long does a wired soft goods cape actually last? Expect 2 to 3 years of regular posing before the wire needs a splice repair. Fabric itself, if dusted and kept dry, can outlast the wire by several years. Why doesn't my cape fit even though it's the right scale? Different manufacturers size the same "9-inch" or "6-inch" claim differently. Check collar diameter and shoulder width against your specific figure, not just the box label. Should I buy a wired cape if I keep my figure in a sealed display case? Honestly, no. Skip it. You're paying for pose flexibility you'll never use behind glass — a stock plastic cape does the job for a fraction of the cost.Here's What Actually Holds Up
Stock plastic capes serve their purpose. But their limits show up fast under any real lighting or handling. If you're serious about display quality, especially for photography or convention tables, a soft goods upgrade makes a visible difference within the first pose you attempt.
The investment makes sense for figures you display prominently. A wired cape in the $45 to $75 range takes a $25 figure and makes it photograph like something twice the price. The posability alone justifies the cost for collectors who actually rotate their displays.
That said, handmade items come with trade-offs. A loose thread here, a slightly uneven hem there — mass production doesn't have these quirks, but it also doesn't have the drape. Most collectors find the realism worth the minor imperfections.
If you're tired of stiff plastic capes that make your figures look like toys instead of collectibles, browse our 9 Inch Merciless Cape Replacement and see the hand-sewn, wire-framed difference for yourself — draped over a figure, or laid flat so you can see exactly how the frame is built.

