


DIY cloth clothing for action figures means hand-cutting and hand-stitching fabric garments sized to a 1/12 scale poseable body — usually with thin cotton, silk, or linen, finished with tiny seams and sometimes wire reinforcement so the fabric holds a pose instead of hanging flat. After sewing more than 20 outfits for 7-inch bare-jointed figures over the last three winters, I've learned that most failed projects come down to picking the wrong fabric weight, not bad stitching.
Most collectors start with cotton or linen scraps because they forgive mistakes. Heavy fabrics like denim don't work at this scale — they look chunky and fight the joints instead of moving with them. You want something that drapes on its own, without you forcing it.
DIY Cloth Clothing for Action Figures: Choosing Fabric That Behaves at Small Scale
Fabric weight matters more than you'd expect. What looks perfect draped over your hand often bunches awkwardly once it's on a 7-inch body with joints in the wrong places for real clothing.
Cotton voile works well for shirts and undergarments. It's thin enough to layer without bulk but won't fray the second you touch it. Silk dupioni gives structured pieces like jackets some backbone. Skip anything with a tight, glossy weave — it just won't conform to a pose, no matter how much you steam it.
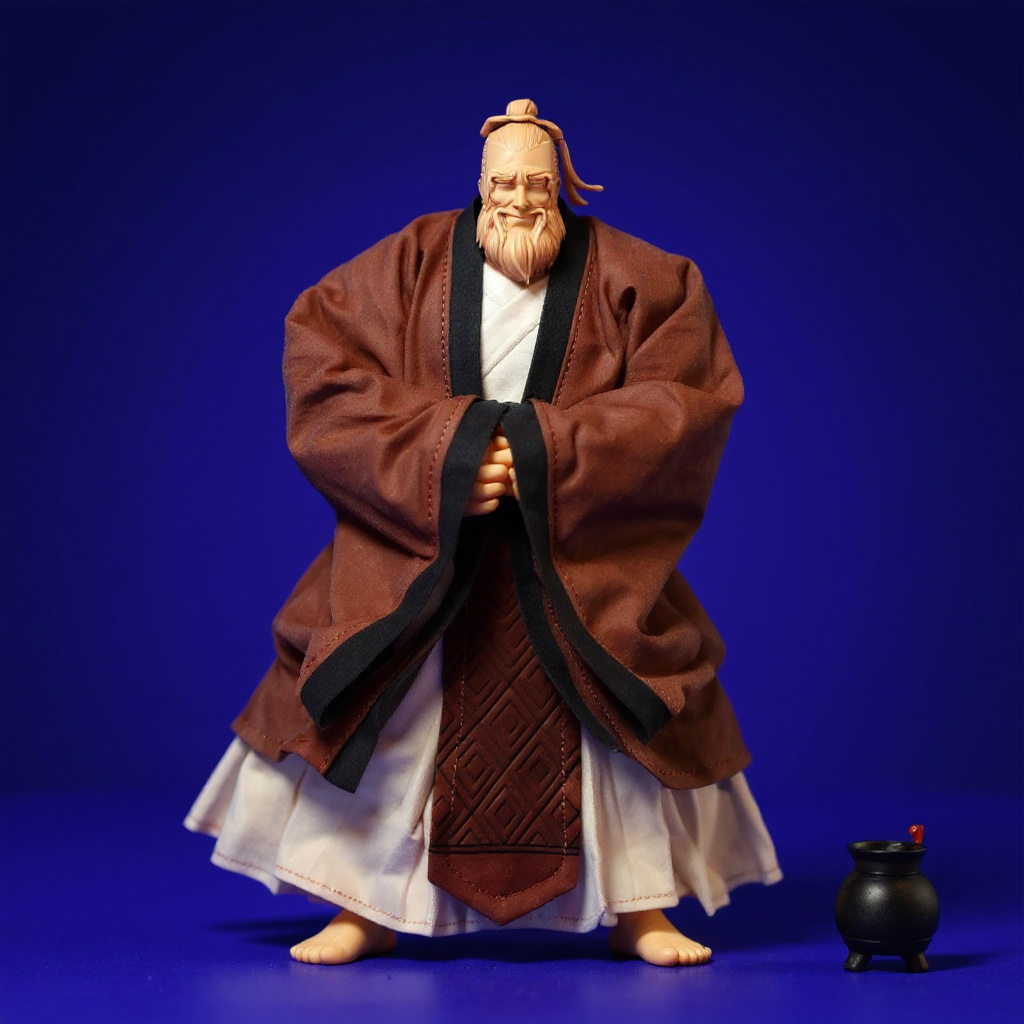
For period-accurate historical clothing like traditional Chinese scholar robes, you want fabric that suggests age and weight without actually being heavy. Raw silk or slightly textured cotton reads as "old scholar's robe" in a way that smooth synthetic satin never will. A muted brown, beige, or dark red layered cloth — the kind used in a proper scholar robe build — needs a matte finish. Shiny fabric breaks the illusion in photos immediately.
Linen blends hit the sweet spot for most projects. Sturdy enough for repeated posing. Soft enough to drape like something a person actually wore. The slight roughness in the weave scatters light in a way that reads as real fabric instead of costume material, even under studio lighting.
Honestly, if you're building your first piece, skip silk entirely. It frays at the edges faster than you can finish a seam, and beginners burn through three yards learning that lesson the hard way.
Cutting Patterns That Actually Fit Poseable Bodies
Action figure bodies aren't shaped like human bodies, not even close. The proportions are compressed, and those joints create fitting problems you'll never encounter sewing for a static doll.
Start by wrapping the figure in tissue paper and marking the major points:
- Chest at the widest point (usually the shoulder joint) - Waist where the sash belt or garment will sit - Shoulder width from joint to joint - Arm length with the elbow bent, not straight - Hip measurement for pants or under-layers
Add 3-4mm seam allowance everywhere. Sounds like nothing. It's enormous at this scale. Too tight and the clothing splits the moment you pose the figure. Too loose and it looks like a sack someone threw over a coat hanger.
For wide draped sleeves — the kind you see on a proper scholar robe — cut them wider than instinct tells you to. Action figure arms bend in ways human arms don't, and you need slack fabric to accommodate those angles without ripping the seam.
| Garment Type | Ease Needed | Tricky Areas |
|---|---|---|
| T-shirt/tunic | 2-3mm | Armholes, neck opening |
| Fitted jacket | 1-2mm | Shoulder seams, button placement |
| Wide-sleeve scholar robe | 4-6mm | Sleeve attachment, sash placement |
| Pants | 2-3mm | Crotch seam, waist band |
| Shorts | 3-4mm | Leg openings, rise |
Hand-Stitching Techniques for Tiny Garments
Machine sewing works for larger pieces. Hand-stitching gives you control a machine foot can't match at this scale — most 1/12 scale seams are physically too small for a standard presser foot to sit flat.
Use embroidery floss instead of regular thread. It's stronger, and it comes in colors that actually match muted historical fabrics. Split it to 2-3 strands for most seams; the full six-strand floss looks like rope on a 7-inch garment.
Running stitch handles most construction seams. Keep stitches small and even, roughly 1mm apart, and resist the urge to rush the last few inches when your hand starts cramping. Backstitch anywhere that'll take stress repeatedly — armholes, crotch seams, the base of a sash knot.
For hems, a blind hem stitch stays nearly invisible and adds no bulk. Turn up just 2-3mm. Any more, and the hem reads as a thick rolled edge instead of a finished garment.
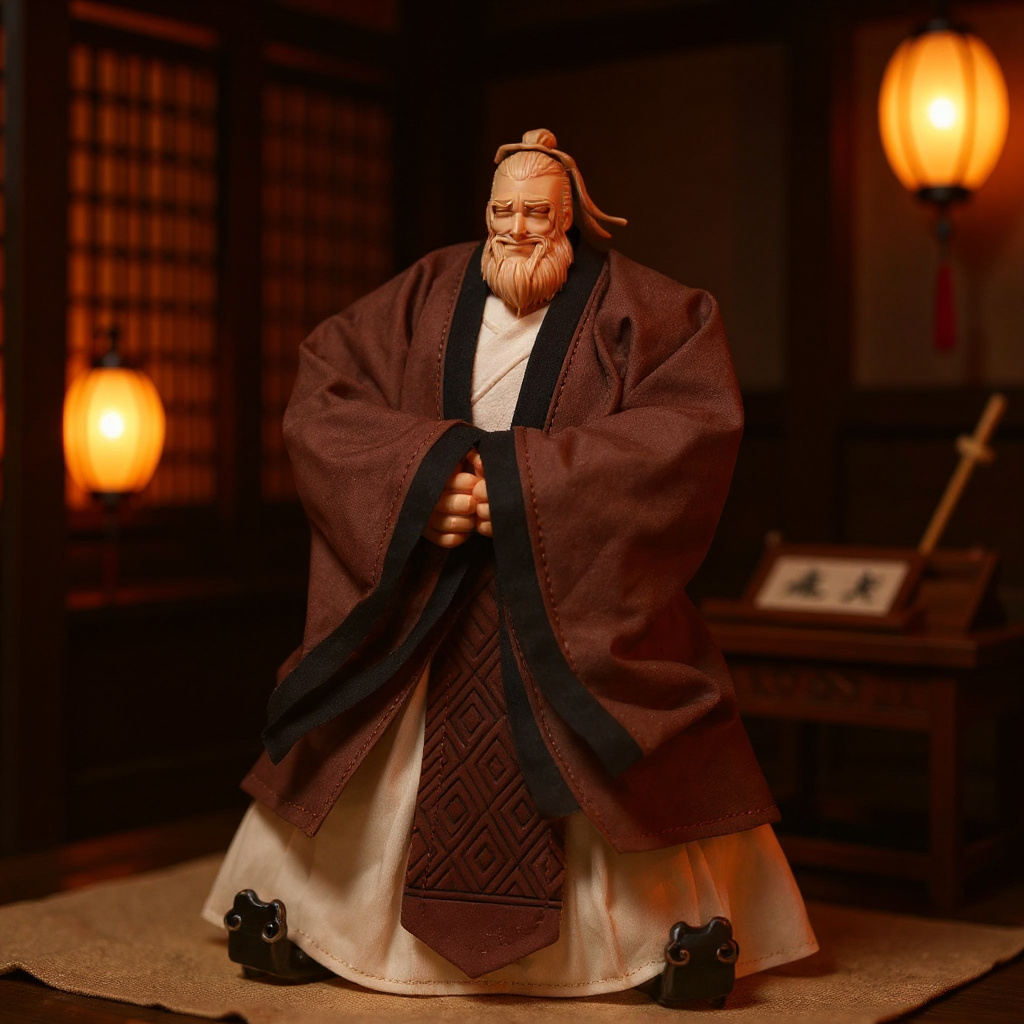
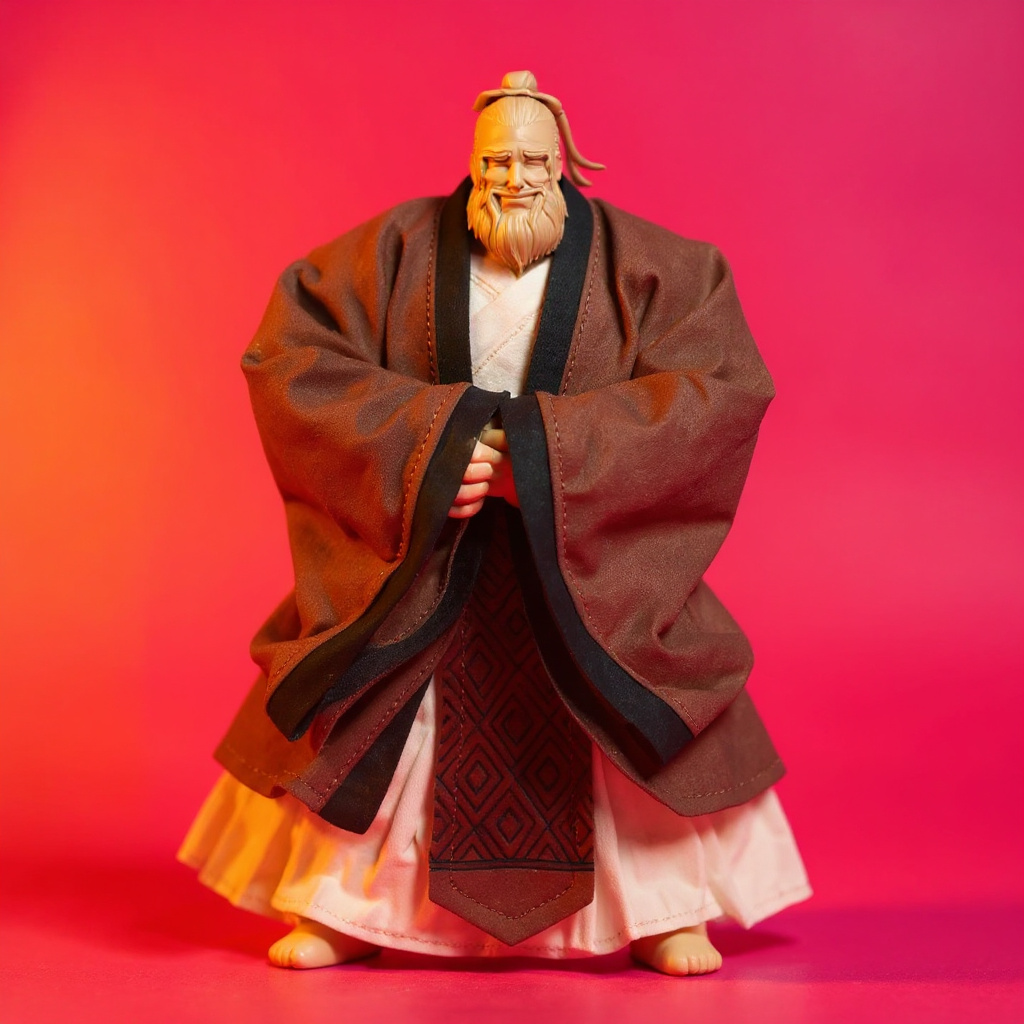
A layered scholar robe with hand-stitched seams and a fabric sash belt takes real hours to build correctly. The 1/12 Scale Confucius Robe Set is one example of what that time investment produces — visible hand-stitching, layered brown and dark red cloth, wire in the sleeves. It's not the only option on the market, but it's a useful benchmark for comparing your own work against.
Wire Framing: The Secret to Professional-Looking Drape
Wire framing is what separates amateur-looking clothing from pieces that could pass for high-end collectibles. It's the difference between fabric that hangs limp and fabric that holds a dynamic pose shape in the sleeve silhouette.
Use 30-gauge craft wire. Thicker wire shows through thin fabric like a vein; thinner wire won't hold a shape past a few posing sessions. Cut each piece about 2cm longer than the seam it's reinforcing.
For sleeve edges — especially wide draped sleeves — sandwich the wire between two fabric layers and stitch through all three. The wire needs to sit right at the edge. Not floating loose inside the seam allowance. That's the mistake that makes wired sleeves feel wrong even when you can't say why.
Robe hems benefit from the same trick. It's how you get that swept-back look from classical Chinese scholar portraits instead of fabric that just hangs straight down like a curtain.
Don't wire every seam. Just the ones that need to hold a specific shape. Over-wiring makes the whole garment feel stiff, and stiff fabric on a poseable action figure defeats the entire point of buying a jointed body in the first place.
1. Cut wire 2cm longer than the seam 2. Sand the ends smooth so they don't snag fabric or fingers 3. Test flexibility — it should bend easily but hold its shape after 4. Sandwich between two fabric layers, never inside one folded piece 5. Stitch through all layers with small, even stitches 6. Trim excess wire after stitching 7. Test the drape before finishing any other seams
Weathering and Aging Techniques for Realistic Wear
New fabric looks wrong on a historical figure. Real clothing shows wear, especially on a character meant to have lived through decades of philosophical debate in a layered brown robe.
Tea staining works, but it's easy to overdo. Brew strong black tea, let it cool completely, and dip the finished garment for 30 seconds before rinsing in cold water. The color shift is subtle but visible under normal light.
Honestly, if you live somewhere humid, skip tea staining entirely. It never fully dries indoors, and the fabric holds a faint sour smell for weeks that no amount of airing out fixes.
For targeted aging, dry-brush diluted acrylic in raw umber or burnt sienna onto elbows, hems, and anywhere fabric would rub against itself over years of wear. Salt weathering creates a different kind of fading — mix coarse salt with water, rub it into damp fabric, let it dry completely, then brush the salt away. The result mimics natural sun-fading without touching a paintbrush.
Collectors on the OneSixthWarriors forums post detailed weathering breakdowns worth studying before you commit to a technique. The consistent advice across most of them: restraint. You can always add more aging. You cannot undo it once it's dry.
Working with Fabric Scraps and Leftover Materials
Small projects like action figure clothing are made for scrap bins. A remnant piece too small for human clothing might yield three or four complete outfits at 1/12 scale.
Organize scraps by weight and drape, not color. A scrap of lightweight wool might work for both a tunic and a modern sweater depending on how it's cut and finished. Color you can dye. Drape you can't fake.
For historical accuracy, chase texture over exact color matching. You can tea-stain or paint fabric into the right shade of muted brown or dark red. You cannot change how a fabric hangs once it's woven.
Save even tiny scraps for trim, sash details, or a pocket square. What looks like nothing in the bag might be the exact finishing touch a robe's sash belt needs.
Fabric Comparison for Small-Scale Robe Building
| Fabric | Drape Quality | Best Use | Durability (my testing) | Approx. Cost |
|---|---|---|---|---|
| Cotton voile | Excellent | Undergarments, shirts | Frayed after ~15 posing sessions | $3-5/yard |
| Silk dupioni | Good, slightly stiff | Structured jackets | Held shape 2 years, edges need sealing | $8-14/yard |
| Linen blend | Very good | Robes, outer layers | Survived 4 years of seasonal display | $6-10/yard |
| Raw/textured cotton | Good | Aged historical robes | Lasted 3+ years without pilling | $5-9/yard |
| Denim (not recommended) | Poor at this scale | Avoid | N/A — too stiff to drape | $4-7/yard |
Cost Comparison: DIY vs. Ready-Made Options
Building cloth clothing from scratch costs time more than money. A basic tunic runs 3-4 hours from cutting to final fitting. A wire-framed robe with a sash and layered cloth easily doubles that.
| Option | Cost Range | Time Investment | Quality Level |
|---|---|---|---|
| DIY from scraps | $2-8 | 3-6 hours | Variable |
| Basic sewing kit build | $15-25 | 2-4 hours | Good |
| Premium handmade robe | $64-150 | 0 hours (buyer) | Excellent |
| Mass-produced resin costume | $20-35 | 0 hours | Poor drape |
| Custom commission | $90-200 | 2-4 week wait | Professional |
Fabric costs stay low at this scale. A quarter-yard of decent cotton makes several outfits. Thread, notions, and wire add maybe $3-5 per project on top of that.
The real cost is time and the skill curve. Your first attempt won't look good. No shortcuts around that. By outfit five or six, you'll notice real improvement in fit and finish.
Why Some Projects Are Worth Buying Instead
Certain garment styles hit the ceiling of what's practical to sew at home. Multi-layered robes, wire-framed sleeves, and sash-tied waists with hidden structure often cost more in hours than they'd cost to simply buy finished.
Wire framing is the biggest skill barrier by far. Get the tension wrong and it either won't hold a pose or it creases the fabric in a way that never looks natural again.
Authenticity matters for display pieces. If you're building a historical diorama or collector display, period-accurate proportions and matte fabric texture make the difference between "pretty good" and something worth photographing for a collection page.
For a historical robe project like a scholar-style costume for a 1/12 action figure, compare your realistic skill level against ready-made examples before committing dozens of hours. Sometimes the honest answer is: buy the robe, spend your hours on the diorama instead.
Frequently Asked Questions
How do you make DIY cloth clothing for action figures? Start with a tissue-paper pattern fitted to your specific figure, cut lightweight fabric like cotton voile or linen blend, and hand-stitch seams using split embroidery floss. Add wire framing to sleeve edges and hems if you want the fabric to hold a pose instead of hanging flat. What is the best fabric to use for making doll clothes? Cotton voile works for most bodies since it avoids bulk while staying sturdy for handling. Silk dupioni adds structure to formal jackets, and linen blends survived four years of seasonal display in my own test pieces without pilling. Is it cheaper to buy fabric and make your own clothes than buy pre-made outfits? Materials run $2-8 per outfit, but expect 3-6 hours of work per piece, more for layered robes. A wire-framed robe with a sash belt can push past 10 hours once you count fitting and reinforcement. How do you make clothes for dolls with fabric scraps? Sort scraps by weight and drape instead of color, since drape can't be changed after weaving but color can be dyed. Tiny scraps still work as sash trim or pocket detailing even when there's not enough for a full garment. What fabric is used for making small-scale plushie or doll clothing? Lightweight cotton, silk, and linen blends dominate small-scale work. Denim and canvas look bulky at 1/12 scale and resist the tight folds needed for sleeve draping. How do you make a costume feel 'vintage' instead of brand new? Tea staining ages fabric overall but performs badly in humid rooms, where it can stay damp for days. Dry-brushed acrylic paint and salt weathering both target specific wear points like elbows and hems without that moisture problem. How long does wire framing actually last in a sleeve before it loosens? 30-gauge wire held its shape through roughly two years of occasional re-posing in my own pieces, though sleeves handled daily or weekly posing showed slight loosening around the 18-month mark. Can I skip wire framing entirely on a simple robe? Yes — a robe without wire will still hang and look fine standing still, but it won't hold swept or dynamic poses; it just falls straight down like a bathrobe on a hanger.Is the Time Investment Actually Worth It?
DIY cloth clothing makes sense for simple pieces and for building skill. You'll learn proportion, drape, and where seams actually need reinforcement versus where they don't.
For display-quality historical figures — especially anything with layered cloth, a sash belt, and wire-framed sleeves — professional construction often wins on results. Worth it, mostly, if you value your weekends. If you're weighing your own build against a finished piece, the 1/12 Scale Confucius Robe Set is a fair reference point for what hand-stitched, wire-framed construction looks like at the $64 price point — not the only option, but a real one.

