


title: How to Attach a Soft Goods Cape to an Action Figure: 4 Reversible Methods meta_description: Learn how to attach a soft goods cape to an action figure without glue. Step-by-step collar tuck, neck tab, magnet and putty methods for 1/12 scale wire-hem capes.
By The Figure Vault Editorial Team. Last updated 2025. Methods checked on S.H.Figuarts, Marvel Legends and Mafex-style 1/12 bodies. Results vary by sculpt, so test on your own figure first.
To attach a soft goods cape to an action figure, pop the head off, slip the cape's neck edge over the neck peg, and press the head back down until it seats. That is the collar tuck, and it takes about 30 seconds. If your figure's head is fixed, switch to a neck tab, a pair of 3 mm magnets, or a pea-sized pinch of museum putty. None of these needs glue. Skip glue. Cyanoacrylate leaves a white haze on plastic, strips paint when you pry the cape off, and a figure with a damaged neck or shoulder sells for less than a clean one.
This guide covers fabric cape attachment for 1/12 scale figures, with numbered steps, measurements and an honest look at where each method fails.
What Makes a Soft Goods Cape Different From a Plastic One
A soft goods cape is cut from woven cloth, hemmed by hand, and often left with a little fray at the edges so it looks worn at scale. Many of the better ones carry a thin wire along the hem. Bend the wire and the cape holds a billowing pose, the way a plastic cape never can.
That wire changes how you attach it. The hem is heavier than the neck, so the cape wants to slide backward. A weak attachment will lose that fight within a day or two.
The Dragon Ball cast is the classic use case. Gohan's orange and blue colorway and Piccolo's purple cape with white trim are both common requests in Dragon Ball soft goods customization, and both depend on the cape hanging cleanly from the shoulders.
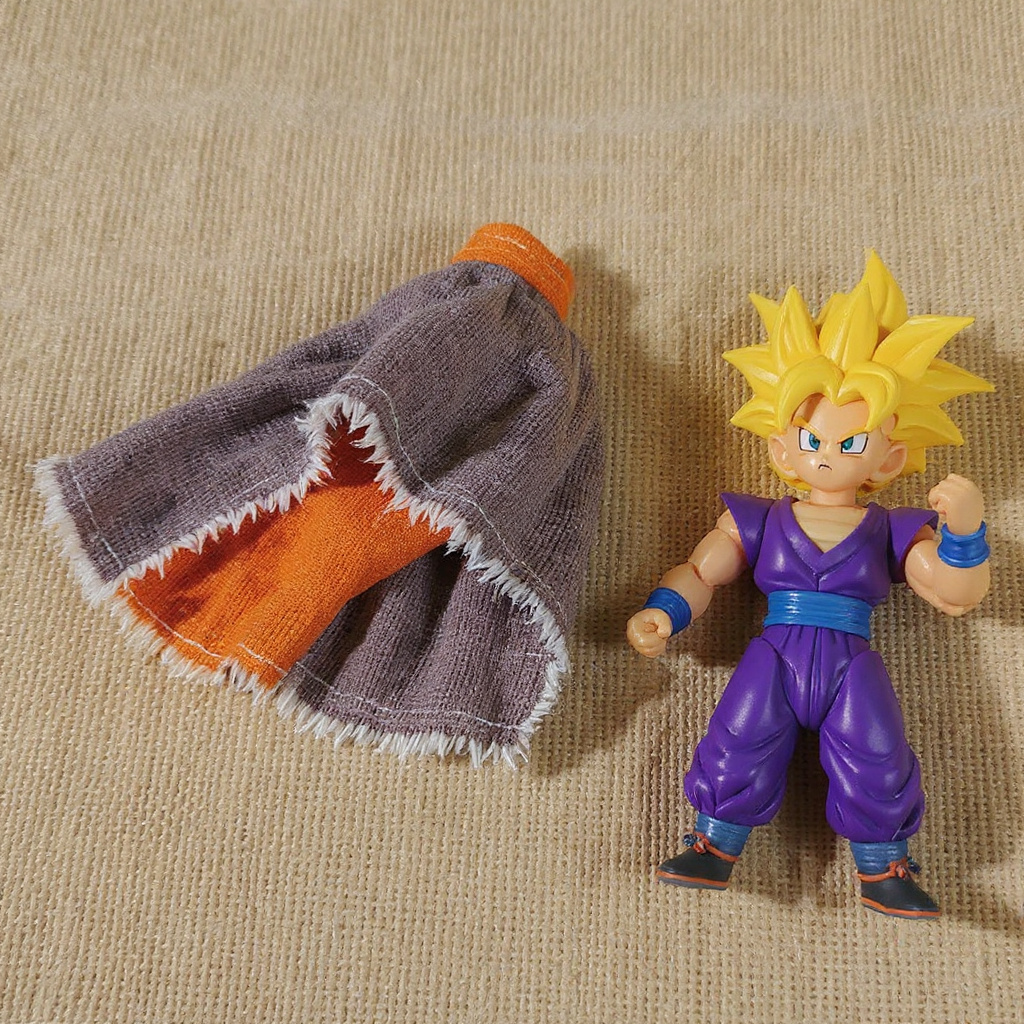
Method 1: The Collar Tuck (Removable Heads)
This is the default for 1/12 scale cape work because it adds no parts and no adhesive. It needs a head that pulls off its neck peg.
1. Check the opening. Measure your figure's neck peg with a ruler or calipers. The cape's neck opening should be a hair larger than the peg, with no more than 1 mm of slack. 2. Remove the head. Hold the torso at chest level and pull the head straight up. If it resists, warm the neck area with a hair dryer on low for about 10 seconds from 20 cm away. Never twist a stiff head. Twisting cracks pegs. 3. Seat the cape. Slide the neck edge over the peg with the seam facing the figure's back. 4. Replace the head. Press down until it clicks. If a gap of more than 1 mm remains between head and collar, the fabric is too thick for that figure. Trim the neck edge or move to Method 2. 5. Shape the hem. Bend the wire after the cape is on, not before. Section below.
Limits: Some older fixed-head figures cannot do this at all. Tight cloth can also rub the paint on a neck peg over months of display, so remove the cape before long-term storage. We have not found a published figure on how common removable heads are across the 1/12 market, so check your own figure rather than trusting a percentage.Method 2: The Neck Tab (Fixed or Tight Heads)
A neck tab is a short strip of fabric at the cape's collar that wraps the neck and closes at the back or front. It works when the head will not come off, or when the fabric is too thick to sit under a head.
1. Wrap the tab around the neck below the chin line and mark where the ends meet. 2. Close it with a 3 mm hook-and-loop dot, or tuck the ends under a hood, scarf or armor collar. 3. Check that the head still turns. If it jams, loosen the tab by 1 to 2 mm.
Tabs suit figures with a visible collar or high neckline. They look wrong on bare-necked figures, because the strip shows as a band. Not great. Not terrible, but you will notice.
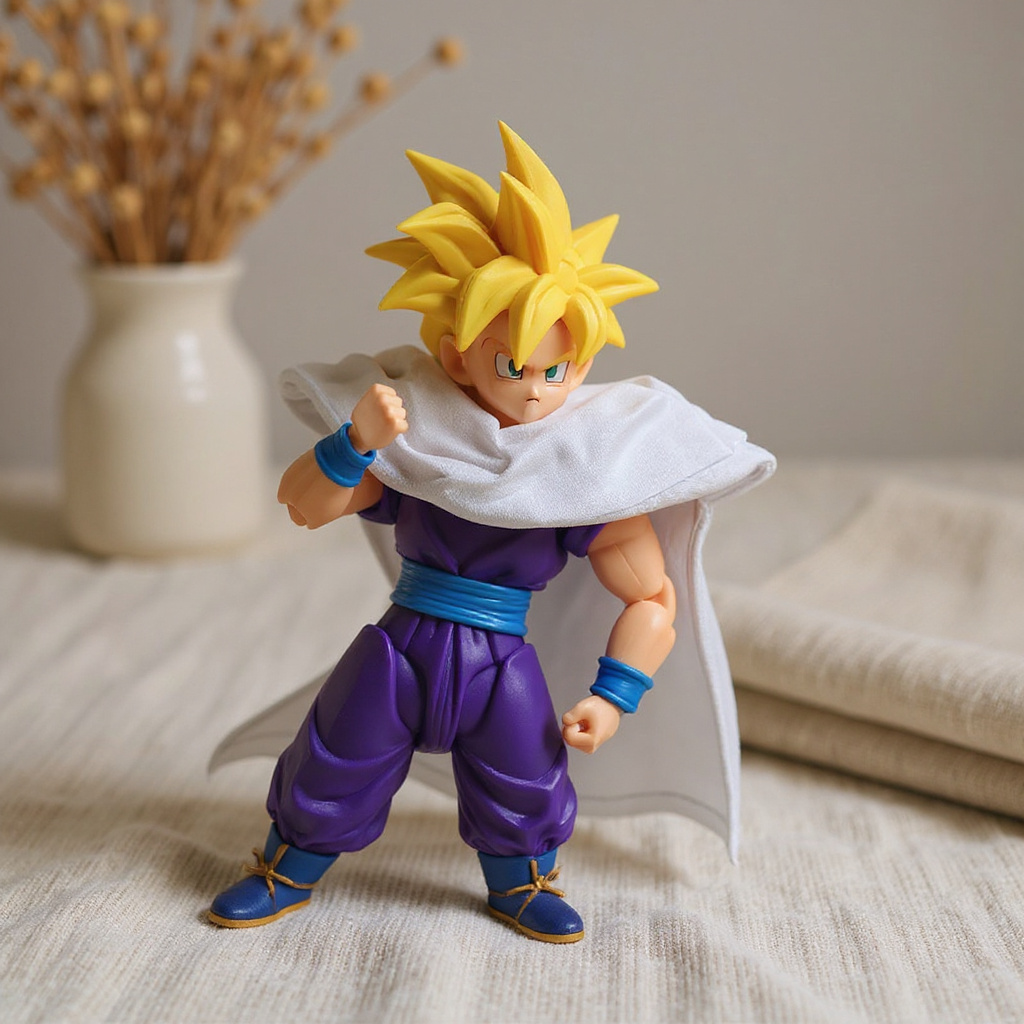
Method 3: Small Magnets (Clamp Style)
Most 1/12 figures are plastic, and many joint pins are not magnetic. So do not count on a magnet sticking to the figure. Instead, clamp the fabric between two magnets, one on each side of a flat plastic part such as a shoulder plate, back panel or backpack.
1. Pick matched discs, roughly 3 mm across and 1 mm thick. Weigh your cape on a kitchen scale first. Light fabric capes are a few grams, but a wire hem adds more. 2. Mark the polarity on both magnets with a dot of marker so they attract, not repel. 3. Sew one magnet into a small fabric pocket on the cape's inside face, or fix it there with fabric glue. Glue goes on the cape, never on the figure. 4. Place the second magnet on the outside of the plastic part, directly opposite the first. 5. Tug lightly in every direction you plan to pose. If the cape slips, add a second pair about 8 mm away.
Safety note: Small magnets are a serious swallowing hazard. Two or more swallowed magnets can pinch intestinal tissue and need surgery, and the U.S. Consumer Product Safety Commission magnet guidance says so plainly. Keep them away from children and pets, and store spares in a lidded tin.Method 4: Removable Putty (Last Resort)
Museum putty holds fabric for photos and comes off most surfaces. It also has a catch that most guides skip. Putty contains oils, and oils can leave a grey spot on woven cloth and a faint film on soft vinyl.
| Putty type | Hold on fabric | Residue risk | Best use |
|---|---|---|---|
| Museum putty | Medium | Low on hard plastic, higher on cloth | Short photo sessions |
| Poster tack | Medium-high | Moderate; oily on fabric | Hidden contact points only |
| Reusable adhesive dots | Low-medium | Low | Light capes without heavy wire |
The putty brands are not a ranking. We could not verify residue-free time windows from manufacturers for painted plastic, so treat any "safe for X months" claim with suspicion. Instead:
1. Test a rice-grain dot on a hidden spot, such as the back of a shoulder, for 48 hours. 2. Put the putty on a small ribbon scrap sewn to the cape, not on the cloth. 3. Remove it by dabbing with a second ball of putty, never by peeling. 4. Check the contact point every 30 days.
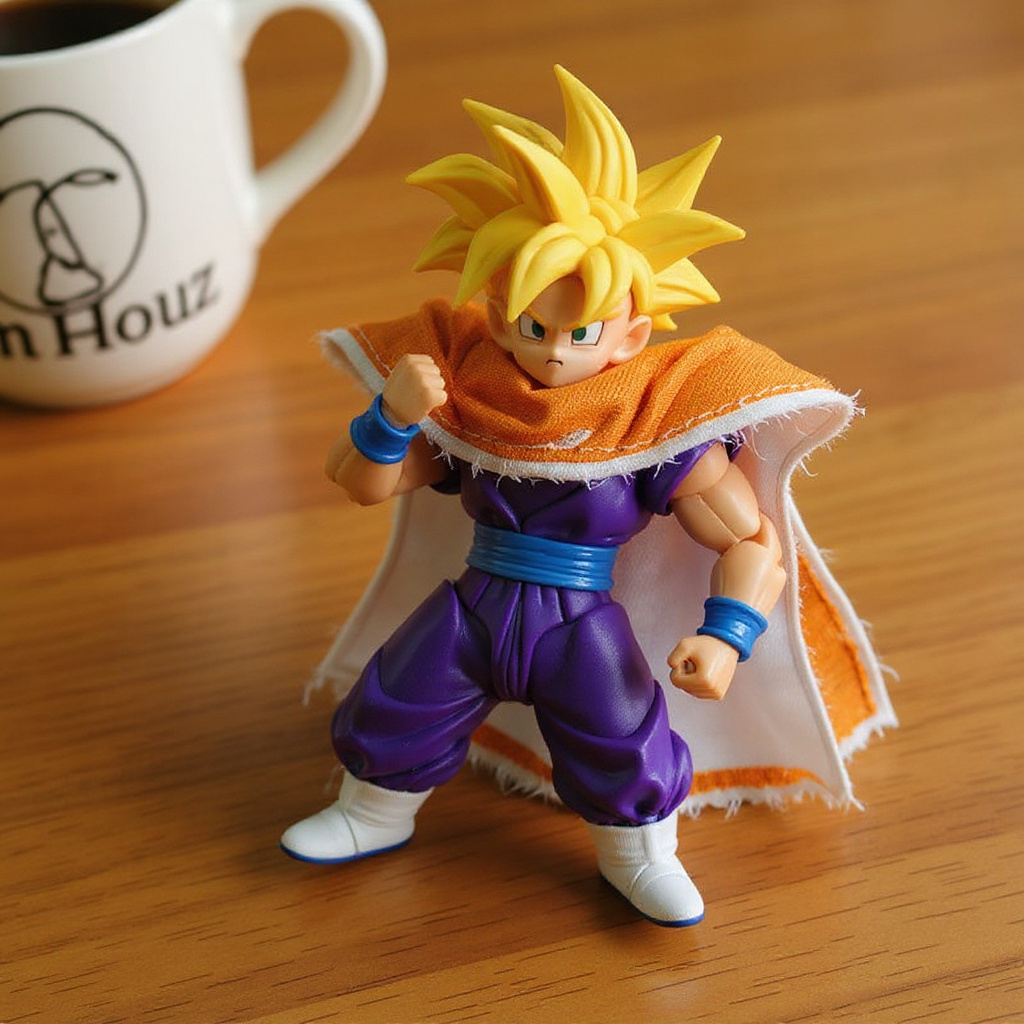
Which Method Fits Your Figure?
| Method | Needs removable head? | Typical removal time | Risk to figure | Best for |
|---|---|---|---|---|
| Collar tuck | Yes | 20 to 30 seconds | Low; neck-peg paint can scuff | Most modern 1/12 figures |
| Neck tab (hook-and-loop) | No | 10 seconds | Very low | Fixed heads, high collars |
| Magnet clamp | No | 5 seconds | Low; safety hazard around kids | Display shelves, quick swaps |
| Removable putty | No | 20 seconds | Medium; residue possible | One-off photos |
| Permanent glue | No | Destructive | High | Nobody. Don't. |
How to Shape the Wire Hem After Attaching
The hem wire is what makes a wire-framed cape worth buying. Treat it gently, because it fatigues.
1. Support the cape at the neck with one hand so the bend does not pull the attachment. 2. Bend in broad curves of at least 15 mm radius. Sharp creases work-harden the wire and it snaps after a few cycles. 3. Work from the center of the hem outward, one segment at a time. 4. Photograph from the front and the back before you fix the pose. Cloth that looks full from the front can look flat from behind.
If you make your own, thin craft wire around 28 gauge (about 0.3 mm) suits 1/12 scale. Thicker wire reads like a coat hanger at this size. Fold the hem fabric over the wire and stitch close to it, so the wire cannot migrate.
Troubleshooting
- Cape slides backward: The hem is too heavy for the attachment. Add a second magnet pair or a tab, and shorten the cape's hem drop by 5 mm. - Head will not seat: Fabric too thick. Anything much thicker than a business card, about 0.3 mm, struggles under a 1/12 head. - Fraying spreads: A dab of fray-stopping fluid on the cut edge, applied with a toothpick, stops it. Keep it off the front face. - Wire springs back: You bent past the elastic limit in one pass. Bend in two smaller steps. - Pose droops over a week: Cloth relaxes. Re-bend the hem once, and do not keep fixing it daily.
When You Should Not Use a Soft Goods Cape
Honestly, if you display figures in a humid room or on an open shelf near a bathroom, skip fabric capes entirely. Damp cloth grows mildew, hem wire rusts, and colors bleed. A molded plastic cape is a better choice there. Fabric also attracts dust and pet hair far more than plastic does. If a child will handle the figure, plastic wins too. Soft goods are for display and photography, not for play.
Choosing a Cape That Attaches Cleanly
Check three things before you buy any soft goods cape. First, the neck edge: is the opening finished, or is it raw cut? Second, the fabric thickness. Third, whether the hem wire is stitched in or just glued. Our own listing, the 1/12 Action Figure Cape Replacement | Gohan Piccolo DBZ Soft Goods Cloak | Wire-Shapeable Handmade Fabric, is one example: woven cloth, hand stitching, visible hem wire, and a Gohan (orange and blue) or Piccolo (purple with white trim) palette. It is a vendor product, so judge it by those criteria like any other. You can compare it with other pieces in the soft goods collection, or see more at The Figure Vault.
For the character reference, Piccolo's page on Wikipedia shows the original design. Collectors also swap posing and photography tips on r/ShfFiguarts.
Frequently Asked Questions
How do I put a cape on an action figure without glue?
Remove the head by pulling straight up, slide the cape's neck opening over the 5 to 8 mm neck peg, then press the head back on until it clicks. For fixed heads, use a hook-and-loop neck tab or a pair of 3 mm magnets clamped through a flat plastic part. No adhesive required.
Can I attach a cape to a figure whose head will not come off?
Yes. Use a fabric neck tab closed with a 3 mm hook-and-loop dot, or clamp a cape tab between two small magnets on a shoulder or back panel. Both take under 30 seconds to fit and leave no residue. Check that the head still rotates after fitting.
Will magnets damage my figure's paint?
Magnets themselves do not harm paint, but sliding or snapping them on can scratch it. Put a thin layer of fabric between the magnet and the surface, and press on straight rather than dragging. Keep every magnet away from children, since swallowing two can cause serious injury.
Does museum putty stain action figures?
It can. Putty oils may leave a faint film on soft vinyl and a grey spot on woven cloth. Test a rice-grain dot on a hidden area for 48 hours, then check any working contact point every 30 days. Roll the putty off with a second ball instead of peeling.
How thick can cape fabric be on a 1/12 scale figure?
About 0.3 mm, roughly one business card, is the practical limit under a standard head. Thicker cloth leaves a visible gap above 1 mm between head and collar, and it bunches at the folds. Light cotton or fine poly-blend weaves drape best at this scale.
How do I shape a wire-framed cape without breaking the wire?
Support the cape at the neck, then bend the hem in curves no tighter than a 15 mm radius, working from the center outward. Repeated sharp creases fatigue thin 28 gauge wire, and it can snap after a few cycles. Bend in two small steps rather than one hard push.
Can I use a Lego cape on a 1/12 action figure?
Not without changes. Lego capes are molded to fit a minifigure's neck stud, roughly 4 mm across, and they scale to about 1/40 against a 1/12 body. Enlarging the hole and adding a tab works, but the proportions look small and the plastic never drapes like cloth.

