


Building a custom cloth cape for Warhammer figures at 1/18 scale means solving three problems at once: fabric that drapes like real cloth, a wire skeleton that holds a pose, and proportions that don't turn your figure into a bath-towel mascot. Get it right and you end up with a white and gold cloak that catches studio light the way it should. Get it wrong and you've got a stiff triangle of fabric hot-glued to a shoulder pad.
This guide walks through the exact process for a Mongolian-inspired White Scars cloak — the kind with a fur-lined collar, visible fine stitching, and an asymmetrical dynamic pose that leans off one shoulder. Everything below applies whether you're making your own custom cloth cape for Warhammer figures or evaluating a handmade one before you buy.
Why a Custom Cloth Cape for Warhammer Figures Beats Resin
A wire-framed fabric cape transforms a static figure into a display piece with attitude. Resin capes are cast in one fixed pose. Fabric moves. You can pull a windswept angle for photos, tighten the drape for a shelf display, or recreate the caught-mid-stride look most White Scars kitbashes are chasing.
The tradeoff is time. A resin cape snaps on in ten seconds. A custom cloth cape for Warhammer figures takes hours, wire, thread, and a willingness to prick your fingers more than once.
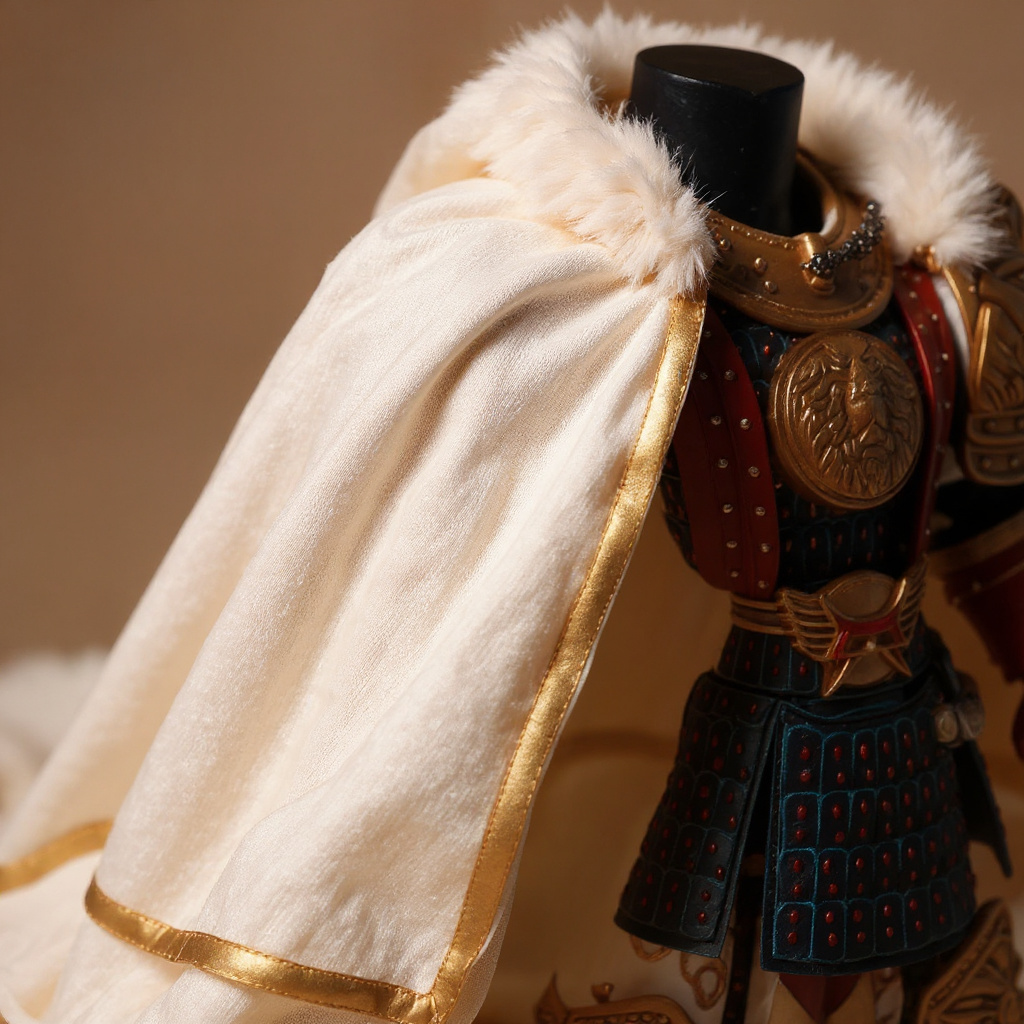
Choosing the Right Fabric
Cotton blends work best at this scale. Skip canvas. Skip denim. Both look like armor plating on a 4-inch figure, no matter how thin you cut the pattern.
Fabric weight matters more than most builders expect. A swatch that feels feather-light in your hands can still read as stiff sheet metal once it's draped over a torso this small. I stay under 4 oz per square yard. Go heavier and the folds stop looking like fabric — they start looking like tin foil.
Texture adds interest without adding bulk. Subtle weaves, light brocades, fabrics with a little surface variation — these catch warm studio lighting far better than anything flat. For White Scars chapter builds specifically, hunt for white or cream fabric with gold threading or a faint metallic hint woven through it. That's the combination that reads as ceremonial cloak instead of bedsheet.
Test before you commit. Drape a scrap over the figure. Does it fall the way real fabric falls? Can you coax a believable fold out of it with your fingers? If it springs back to its original shape, put it back on the shelf and try something thinner.
Building the Wire Armature
The internal wire frame is what separates a posed cloak from a limp rag. Use 22-gauge craft wire for the main structure. It bends easily by hand but holds a shape once you let go, which is exactly what a slightly asymmetrical dynamic pose needs.
Sketch the armature before you touch fabric. Outline the cape's silhouette first, then add internal support lines at the points where you want major folds — usually two along the outer edges, one down the center back, and sometimes a fourth across the shoulder line.
Leave slack at the attachment points. About an inch of extra wire at the collar and shoulder lets you twist small loops that hook onto existing armor detail on the torso. Bend-test every joint 20 to 30 times before you sew anything to it. Wire that kinks now will snap later, usually during the one pose you actually wanted to keep.
| Wire Type | Gauge | Flexibility | Durability | Best For |
|---|---|---|---|---|
| Craft wire | 22 | High | Medium | Main structure |
| Floral wire | 24 | Very high | Low | Detail work |
| Jewelry wire | 20 | Medium | High | Heavy capes |
| Copper wire | 22 | High | High | Premium builds |
| Steel wire | 24 | Low | Very high | Static poses only |
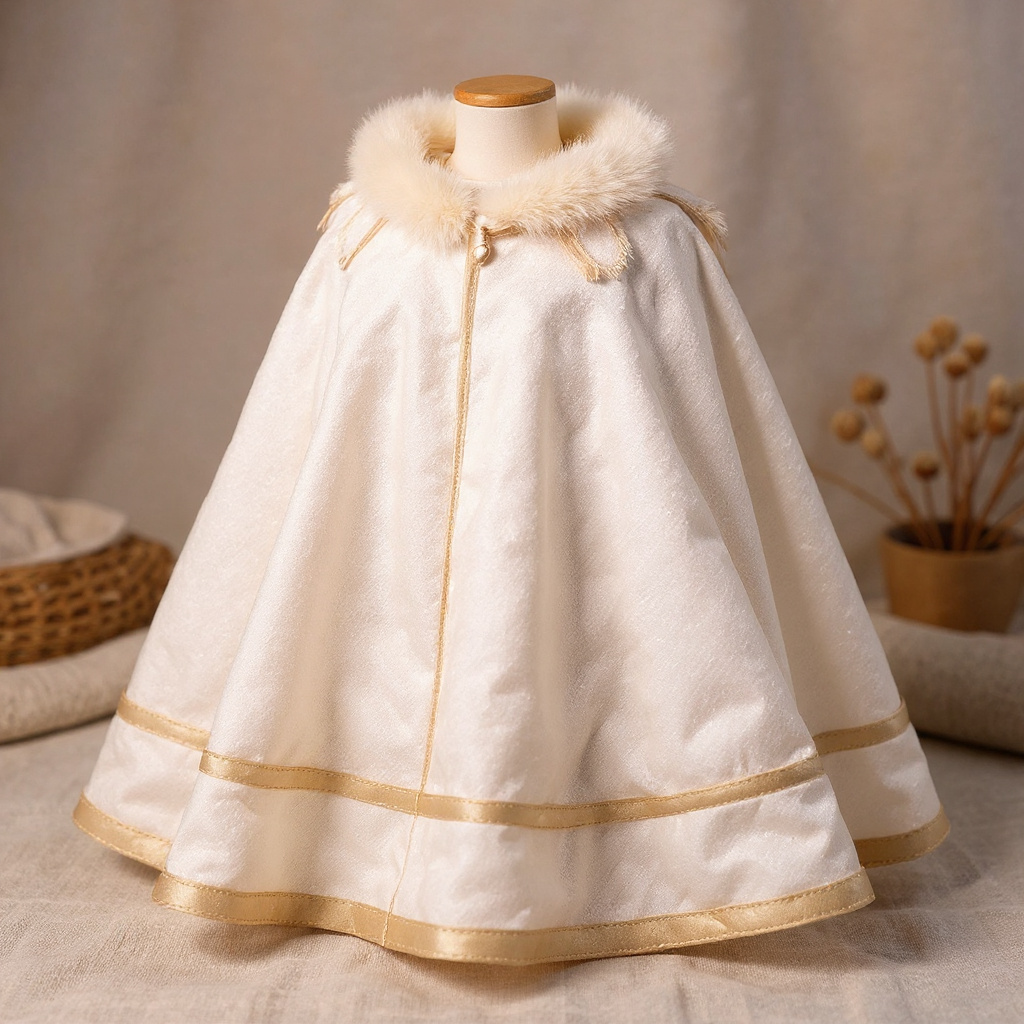
Hand-Sewing Without a Machine
No sewing machine required. Honestly, a machine is overkill at this scale — hand stitching actually gives you finer control over tension and seam placement than a machine ever could on a piece this small.
Start at the perimeter. Running stitch, about 2mm from the edge, small gaps left open for the wire to slide through. Don't pull the stitches tight. The wire needs room to shift slightly, or the whole cape goes rigid.
Fold the fabric edge over and stitch it down to create a wire channel. This keeps the wire from fraying through the fabric over repeated posing and gives you a cleaner line along the hem. The visible fine stitching along these edges is part of what makes a handmade cloak look intentional instead of improvised — you can see this detailing up close on the 1/18 Scale Warhammer Cape | Jaghatai Khan White Scars Custom Cloak, where the channel stitching stays flush even after repeated pose changes.
Attach the finished cape with small fabric loops or wire hooks at the collar. Permanent stitching looks cleaner. Detachable loops let you swap cloaks between figures, which matters if you're rotating chapters on the same base body.
Fabric Alternatives and Sourcing
Old t-shirts work if they're thin enough. Cut around the existing seams for larger usable pieces, and wash the fabric first to strip out sizing that makes new cotton feel stiffer than it looks.
Craft stores sell fat quarters — 18" x 22" — for $3 to $8, enough for three or four capes depending on how much you waste on test drapes. Thrift stores are underrated for this. Old silk scarves. Damaged curtain panels. Clearance fabric bins at craft stores often sit at 50-70% off for prints nobody wanted at full price, which is exactly the kind of subtle texture that reads well at 1/18 scale.
Online fabric retailers sell 6" x 6" swatches for $1-2 each if you want to color-match a specific chapter scheme before committing to a full yard. For more background on scale-appropriate materials, the Games Workshop painting and modeling resources are worth a look even though they're aimed at plastic kits.
1. Lightweight cotton (4 oz or less) 2. Cotton-polyester blends (30-70% cotton) 3. Silk or silk-like synthetics 4. Thin wool blends for winter-themed builds 5. Linen for a weathered, battle-worn look 6. Metallic-threaded fabric for ceremonial capes 7. Microfiber for a smooth, modern finish
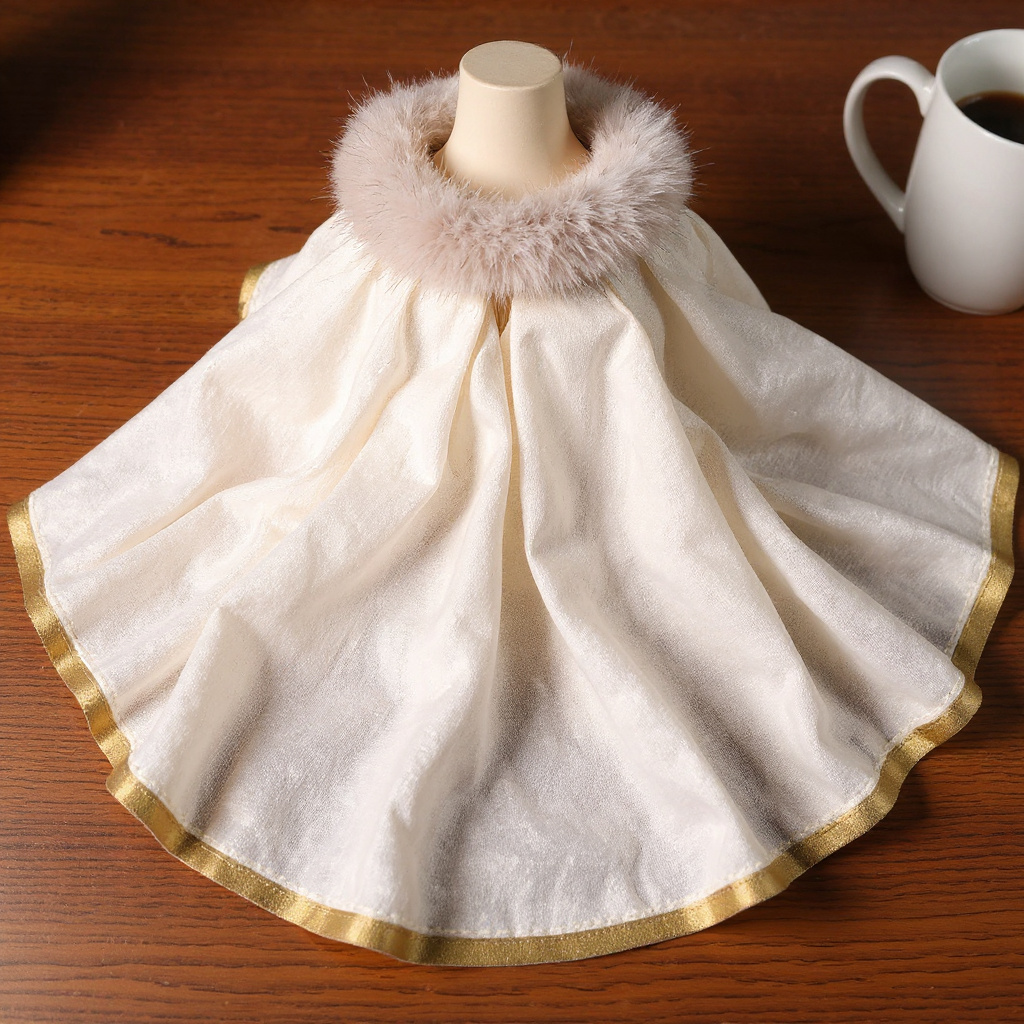
Wire-Framed vs. Unwired Cape Performance
Wired capes hold whatever pose you set. Indefinitely. They don't sag, they don't flatten, and they photograph the same way six months later as they did on day one.
Unwired capes look more natural in neutral standing poses but can't hold anything dramatic. Wire adds roughly 15-20% to a cape's total weight — most 1/18 figures shrug that off, but top-heavy builds can tip. Test your figure's balance point before you commit to a full armature. For more on this, see our figure balance and stability guide.
Durability is where the two diverge hardest. Wired capes develop wire fatigue after 50-100 pose changes, sometimes sooner if you're rough with the joints. Unwired capes last close to forever but never do more than hang there.
Fixing Stiff or Flat Cape Problems
Stiff capes usually mean too much wire, or fabric that's heavier than it should be. Strip the internal structure down to the outline plus one center support line and see if that fixes it before you rebuild from scratch.
Flat capes are the opposite problem. Not enough structure. Add wire along the shoulders, down the center back, and at the outer edges — anywhere fabric would naturally crease if it were hanging under its own weight.
Sizing and starch cause more stiffness than builders realize. Wash the cape in warm water, skip the fabric softener, and let it air dry. That alone fixes a surprising number of why-won't-this-drape-right problems.
Wire gauge matters here too. Go heavier than 20-gauge and the cape turns stiff no matter what fabric you used. Go lighter than 26-gauge and it won't hold a pose at all — you'll get flat, lifeless folds instead of the dynamic drape you were after.
Sometimes the fix is just steam. Hold the cape over boiling water for 10-15 seconds, then shape the damp fabric by hand. It develops creases that look earned instead of ironed.
Creating the Over-Shoulder Cloak Look
The asymmetrical dynamic pose most White Scars builds aim for needs a specific wire path. Run the main support wire from one shoulder attachment point, across the back, down to the opposite hip. That diagonal is the whole look.
Fabric distribution matters as much as wire placement. Roughly 60% of the cape's total fabric should sit on the draped side, 40% on the pinned side. Cut the pattern that way from the start — don't try to bunch a symmetrical cape over to one shoulder after the fact and expect it to hang right.
Double-stitch the attachment points on this style. Weight concentrates on one or two connections instead of spreading across both shoulders, and a single point of failure here means the whole cloak ends up on the floor.
This look needs a figure with raised shoulder armor or a detailed collar to hook onto — visually and physically. A plain torso doesn't give the fabric anything to grab, and the drape just looks accidental instead of dynamic.
Troubleshooting Common Cape Issues
| Problem | Likely Cause | Quick Fix | Long-term Solution |
|---|---|---|---|
| Wire showing through | Loose stitching | Fabric paint over the spot | Re-stitch the channel |
| Won't hold pose | Kinked wire | Bend carefully back into shape | Replace the wire segment |
| Too bulky | Heavy fabric | Steam and reshape | Switch to lighter material |
| Color shifts under lights | Wrong test lighting | Adjust display lamps | Re-dye or replace fabric |
| Falls off figure | Weak attachment | Add a safety pin | Redesign the mount point |
| Fur trim looks flat | Fabric too thin at collar | Fluff with a pin brush | Layer a second thin strip |
Scale problems are the most common complaint I see. Most builders make capes too large. A real cape trailing 12-18 inches past a person's feet translates to about 0.75-1 inch past a 1/18 figure's feet — not the floor-sweeping train a lot of first attempts end up with.
What I'd Actually Recommend
Building your own runs 4-6 hours if you already sew. Add materials and the inevitable do-over, and you land around $25-35 in time and cost, before you factor in the wire that snaps on attempt three.
Mass-produced resin capes cost $15-25 and look it. No pose flexibility, and the surface reads plasticky under warm studio lighting no matter how it's painted. Independent handmade sellers charge $45-70 for comparable wire-frame builds. Somewhere in the middle sits the $39 1/18 Scale Warhammer Cape | Jaghatai Khan White Scars Custom Cloak | Handmade Poseable Fabric Accessory — white and gold fabric, fur-lined collar detail, wire-posed to lean off one shoulder, photographed in warm studio light that actually shows the fold structure instead of hiding it.
Honestly, if you're only building one cape and you don't already own craft wire and a needle set, buying is the better use of your Saturday. Save the DIY route for when you want capes for an entire squad and the per-unit cost of materials starts to matter.
Handmade pieces show minor imperfections: uneven stitching here, a stray thread tail there. Normal. Not defects.
Frequently Asked Questions
How can I build a custom cloth cape for Warhammer figures myself? Start with lightweight fabric under 4 oz per square yard, build a wire armature from 22-gauge craft wire, hand-stitch wire channels along the perimeter, and attach the finished cloak with fabric loops or wire hooks at the collar. What fabric works best for a 1/18 scale cape? Lightweight cotton blends under 4 oz per square yard. Avoid canvas and denim — they read as armor plating rather than cloth at this scale. Thin silk and cotton-polyester blends drape more convincingly. Can I make a cape without a sewing machine? Yes. Hand-stitch a running stitch about 2mm from the fabric edge, fold the edge over to create a wire channel, and stitch it down. Hand-sewing gives better tension control than a machine at this scale anyway. Where do I source fabric for a custom cloth cape for Warhammer figures? Craft store fat quarters, old t-shirts, thrift-store scarves, and online 6"x6" fabric swatches all work. A single fat quarter usually stretches across three or four cape attempts. Should I use a wired or unwired cape for my figure? Wired capes hold dramatic, asymmetrical poses indefinitely but develop wire fatigue after 50-100 pose changes. Unwired capes last longer but only work for neutral standing poses. How do I fix a cape that looks stiff or flat? Reduce wire structure and wash out fabric sizing for stiffness. Add wire at natural crease points — shoulders, center back, outer edges — for flatness. A quick steam helps either problem settle into a more natural fold. How do I recreate the over-shoulder cloak look? Run the main support wire diagonally from one shoulder to the opposite hip, put roughly 60% of the fabric on the draped side, and double-stitch the attachment points since the weight concentrates there instead of spreading across both shoulders. Are small stitching imperfections a sign of poor quality? No. Slightly uneven stitches or a visible thread tail are normal traits of handmade fabric work, not defects. They don't affect how the cape holds a pose or how long it lasts. Why does my cape look too big compared to reference photos? Most first attempts oversize the pattern. A cape that would trail 12-18 inches past the feet at full human scale should only extend about 0.75-1 inch past a 1/18 figure's feet.If building your own custom cloth cape for Warhammer figures sounds like more wire-bending than you have patience for this month, the 1/18 Scale Warhammer Cape | Jaghatai Khan White Scars Custom Cloak | Handmade Poseable Fabric Accessory gets you the same fur-trimmed, wire-posed drape without the finger pricks.

