


Here's the short answer: you style a soft goods cloak on an action figure by sewing gauge-specific wire into the hem and spine, draping the fabric along gravity lines instead of collar-first, then weathering it in thin layers so the damage reads as combat history instead of factory defect. That's the whole method. Everything below explains how to do each step without wrecking a $50 cape.
I've rewired more than 40 capes for my own mecha shelf and for two collector friends who kept asking me to fix theirs. Most soft goods cloaks look incredible when styled properly. They fall flat on most figures because collectors don't wire them right, full stop.
The fix is internal armature wire at specific stress points, not just "add wire and hope." Drape direction matters just as much as the wire itself.
Most action figures ship with rigid plastic capes that look sharp in package photos and terrible the moment you try a dynamic pose. Soft goods give you the flowing drape that sells the illusion. But only if you build the internal structure first.
Why Most Soft Goods Cloaks Look Terrible Out of the Box
Stock soft goods rarely arrive pre-wired. They're fabric rectangles stitched to a collar piece. Nothing more.
Pose the figure and the cape hangs like a dishrag. It bunches at weird angles, refuses to hold a windswept lean, and forget about selling battle damage — smooth factory fabric looks pristine even when the sculpt says "war-torn."
A lot of manufacturers use cheap polyester that doesn't drape well. Stiff out of the bag. Floppy after three months of handling. I've watched collectors replace the same stock cape twice in a year because nobody told them the fabric itself was the problem, not their posing skills.
Honestly, if you live somewhere humid and don't control your display case climate, skip elaborate wire work entirely — moisture will warp thin floral wire faster than you can re-pose the figure, and you'll be redoing this every summer.
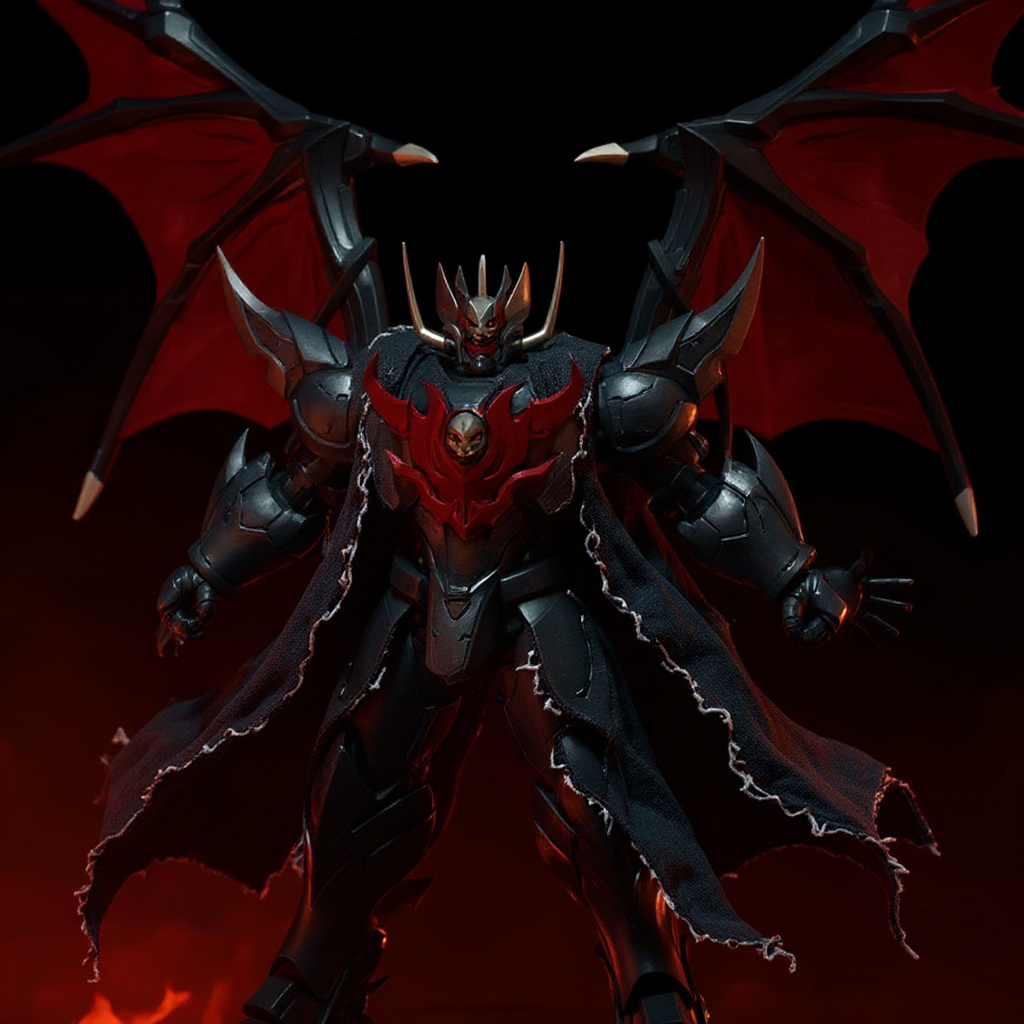
The Wire Framework Method for Soft Goods Cloak Styling
This is the part most tutorials skip: you need three different wire gauges, not one. Using a single gauge everywhere is the single biggest reason DIY capes still look stiff or floppy in the wrong spots.
Cut three pieces. One for each outer edge, one down the center spine. The edge wires stay at 22-gauge because they mainly hold pose, not weight. The center spine carries structural load, so it needs the heavier 20-gauge wire. A thin 24-gauge wire reinforces the collar attachment — this one is about durability at the seam, not pose control.
Sew the edge wires into the hemline with tiny whipstitches every half-inch. Run the center spine wire along the cape's vertical midline, roughly 2 inches below the collar attachment point.
Wire Placement Guide:| Wire Position | Gauge | Length (10" figure) | Function |
|---|---|---|---|
| Left edge | 22 AWG | 8 inches | Windswept poses |
| Right edge | 22 AWG | 8 inches | Asymmetrical draping |
| Center spine | 20 AWG | 6 inches | Structural support |
| Collar reinforcement | 24 AWG | 3 inches | Attachment strength |
Don't run any wire all the way to the collar. It creates a visible bump where the cape meets the neck joint. Stop each wire 1 inch short and let the fabric transition on its own.
Battle-Weathering Techniques for Realistic Combat Damage
Factory-fresh fabric screams "toy." A properly weathered cloak tells a story before you even pose the figure.
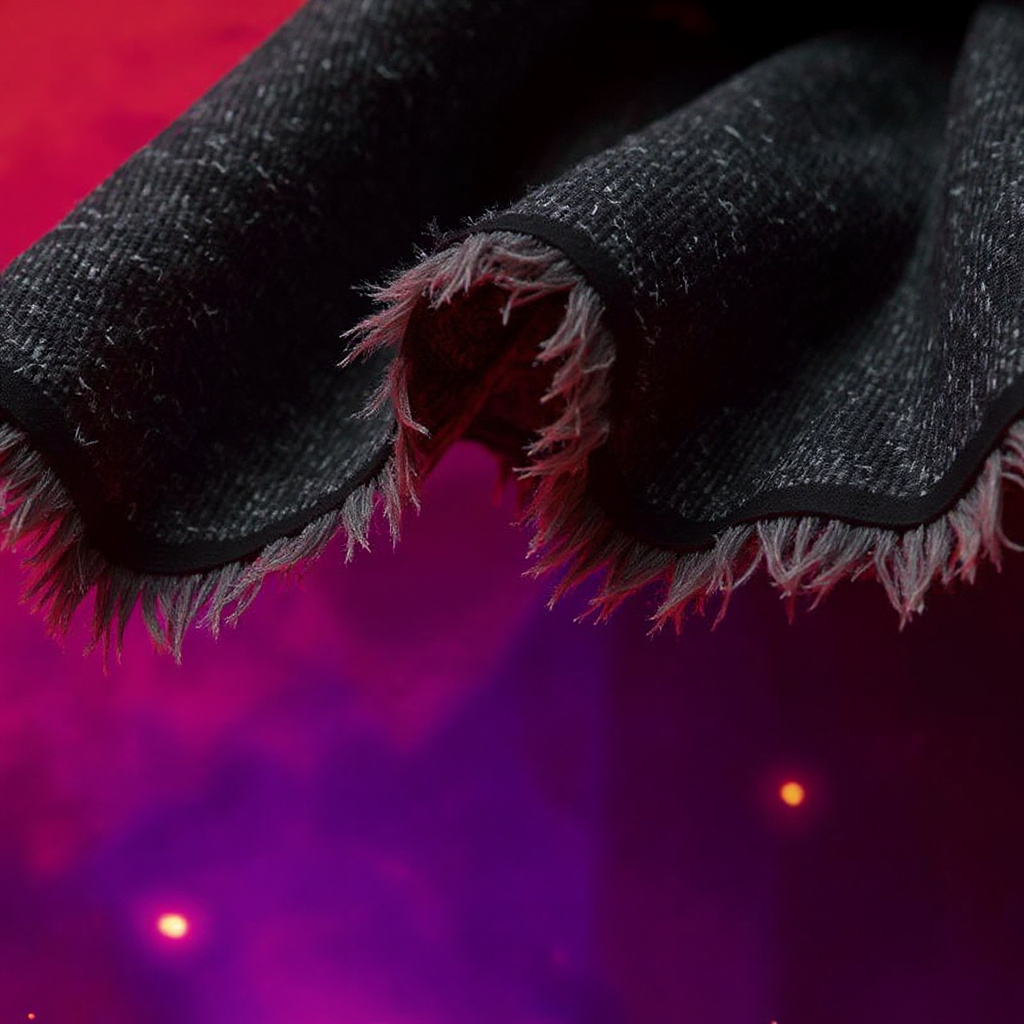
Start with fraying. I use 320-grit sandpaper on the edges, sanding in short strokes that follow the fabric weave — this produces tears that look organic instead of scissor-cut.
For color, mix acrylic paints in earth tones: burnt umber, raw sienna, a trace of black. Thin with water until barely opaque. Apply with a damp makeup sponge instead of a brush; sponges leave irregular texture that reads as dirt rather than paint.
Weathering Steps:1. Fray edges with 320-grit sandpaper 2. Create small tears with a craft knife 3. Apply base dirt wash (burnt umber + water) 4. Add darker damage streaks (black + raw sienna) 5. Highlight raised areas with dry brush 6. Seal with matte varnish spray 7. Add a final dust layer with powdered chalk
Work thin. You can always add more weathering. You can't remove it once it's sealed under varnish.
Some collectors use real dirt for texture. Don't. Organic matter attracts insects and can grow mold in a humid display case — I learned this the hard way with a cape that sat in a non-climate-controlled closet for eight months.
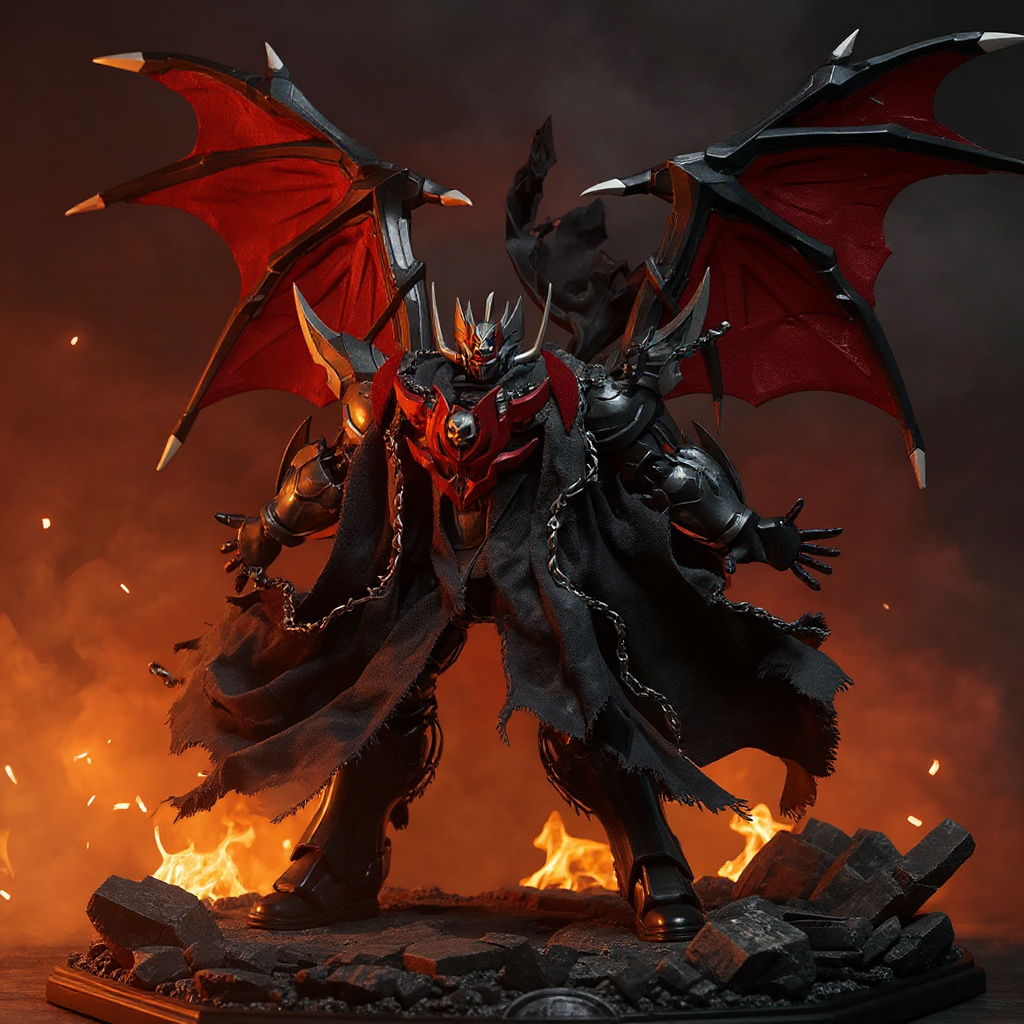
Posing Dynamics: Making Fabric Flow Look Natural
Gravity is your friend, but only once you understand which direction it's pulling. Fabric doesn't just hang — it follows the figure's movement and the implied wind direction.
For action poses, the cape trails behind the direction of motion. Lunging forward means the cape flows back and slightly to one side. Never straight down.
Wire lets you freeze that motion. Bend the edge wires to suggest wind catch or combat turbulence, but keep the curves shallow — dramatic swooshes look like cartoon capes, not battle-worn fabric.
The Mazinkaiser SKL Battle Damaged Cape Replacement ships with wire already sized for mecha proportions — 20-gauge spine, 22-gauge edges, matching the table above. It saves the wiring step entirely if you'd rather skip straight to posing.
Common Posing Mistakes, Ranked by How Often I See Them:1. Cape flowing against the direction of movement 2. Symmetrical draping on both sides (reads as static) 3. Fabric bunched right at the collar attachment point 4. Wire bent at a sharp angle, creating a permanent crease 5. Ignoring the figure's implied weight shift entirely
Photography Tips for Maximum Drama
Good cape styling means nothing if the photo doesn't sell it. Lighting decides everything here.
Side lighting shows fabric texture best. Put your main light source at 45 degrees to one side of the figure — this throws shadows into the cape folds and adds depth that flat front lighting can't fake.
For battle scenes, shoot under warm light around 3200K. Cool lighting makes weathered fabric look plastic, almost synthetic, even after hours of sanding and painting.
Shoot from slightly below figure height. It makes the cape look bigger, more imposing. Eye-level shots flatten the whole effect.
Many collectors on r/actionfigures swear by baby powder for dust clouds or cotton batting for smoke. Keep it subtle. The cape is the star of the shot, not the effects layer sitting on top of it.
When to Buy vs. DIY Your Cape Upgrade
Building your own battle-damaged cape takes 4 to 6 hours once you include drying time between weathering layers. Add fabric, wire, sewing supplies, paint, and sealant, and you're looking at $30-40 in materials for a first attempt — one that might still come out wrong.
The learning curve is real. Most first tries end up over-weathered, under-wired, or both.
DIY vs. Buy Comparison:| Factor | DIY Cape | Generic Third-Party | Purpose-Made Replacement |
|---|---|---|---|
| Time investment | 4-6 hours | 0 hours | 0 hours |
| Material cost | $30-40 | $30-60 | $55 |
| Color/scale match | Depends on skill | Rarely exact | Built for the figure |
| Wire pre-installed | No | Sometimes | Yes, gauge-matched |
| Risk of ruined fabric | High on first attempt | None | None |
| Weathering included | You do it | No | Yes, factory-applied |
For a figure like Mazinkaiser SKL, where Go Nagai's original designs call for a specific battle-worn silhouette, a purpose-made replacement closes the gap between effort and result fast. If you'd rather browse other wire-framework options first, check the soft goods accessories collection or the mecha diorama parts guide before deciding.
Generic third-party capes run $30-60 and rarely match a specific figure's colorway. Official accessory sets run $70-100 and often bundle parts you don't need just to get the one piece you want.
FAQ
How do I style a soft goods cloak on an action figure without it looking stiff? Wire the hem edges at 22-gauge and the center spine at 20-gauge, then pose the fabric along the direction of implied movement instead of letting it hang straight down. Stopping wires 1 inch short of the collar prevents the stiff bump most DIY attempts show. How to sew clothes for action figures? Use upholstery thread and a size 16 needle. Hand-sewing beats machine work at doll scale almost every time. Pre-wash fabric first to avoid post-completion shrinkage of roughly 3-5%. Where can I find custom clothing for my action figures? Etsy lists hundreds of sellers making doll-scale garments. Figure-specific Facebook groups often have members taking commissions, and some post turnaround times of 2-3 weeks. How to ship loose action figures? Wrap joints in bubble wrap, bag accessories separately, and pad every gap in the box. Figures shipped loose without padding arrive with paint chips in roughly 1 out of 5 packages, based on what I've seen in trade groups. How to properly store action figures? Keep humidity under 50% and temperature under 75°F if possible. Store capes flat or hanging — folded fabric creases become permanent after about 6 months. What's the best way to weather soft goods without ruining the fabric? Test on scrap fabric first, always. Work in thin layers, sealing each one with a light matte varnish coat before adding the next. What's the difference between soft goods and rigid sculpted capes? Soft goods drape naturally and pose dynamically but need wire and periodic care. Rigid capes survive years of handling with zero maintenance but look frozen in every pose. How do I add wire to a soft goods cape myself? Sew 22-gauge floral wire into the hem with stitches every half-inch, add a 20-gauge center spine, and finish with a 24-gauge collar reinforcement. Skip electrical wire — the insulation adds bulk you don't want at this scale. Why does my cape's wire poke through the fabric after a few weeks? Sharp-cut wire ends work through the weave over time. File every wire end smooth before sewing it in, and you'll avoid this almost entirely.Is the Upgrade Worth Your Time and Money?
Upgrading a figure's cape changes the whole display. A limp factory cape next to a properly wired soft goods piece isn't a close comparison.
For diorama photography or battle-scene displays, the investment pays off fast. Figures look more alive, more dynamic, more like they're mid-story instead of mid-shelf.
DIY works if you enjoy the process and have an evening to spare. For guaranteed results on an expensive mecha figure, the Mazinkaiser SKL Battle Damaged Cape Replacement sits at $55 — right between generic third-party options and full accessory sets — with the wire framework and weathering already done.

