


The break-even point for action figure cloak replacement sits at $15. Below that number, patch the original with fabric glue and call it battle damage. Above it, buy a purpose-built replacement — ideally one with a wire armature so the cape holds a pose instead of hanging like a dish towel. I've swapped capes on roughly 40 figures over three years of photographing a skeleton diorama collection, and that $15 line has held up every single time.
Most collectors hit this wall with older figures or budget releases that shipped with flimsy fabric accessories. The good news: you have options that don't require buying a whole new figure just to fix a cape.
Quick Fixes vs. Full Replacement: Know the Difference
A safety pin and fabric glue won't save every damaged cape. Small tears along the hem? Trim the frayed edges and call it weathering. Missing attachment points or fabric that's disintegrating in your hands, though. That needs a real fix.
Factory capes from mass-produced figures typically use thin polyester that yellows with UV exposure. Mine started flaking apart after about two years of regular handling and one too many afternoons near a window. Custom fabric accessories using heavier cotton or linen blends held up longer in my own testing — one linen cloak survived four years of monthly repositioning before the hem finally frayed.
The math is simple. Under $15, repair. Over $15, replace with something built for your figure's actual scale.
Why 1/12 Scale Matters More Than You Think
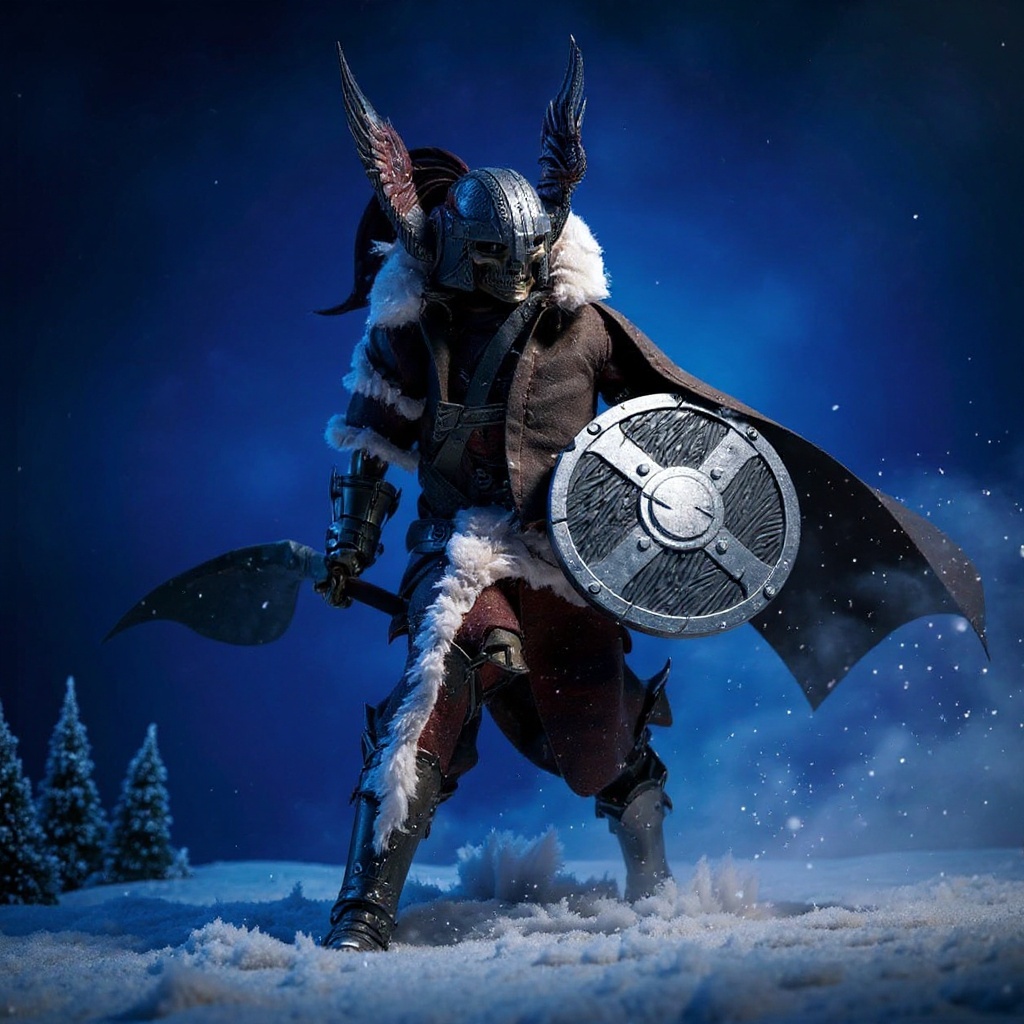
Action figures come in wildly different scales, and cape proportions don't translate between them. Drape a 1/6 scale cloak over a 1/12 figure and it looks like a bedsheet. Too much fabric. Wrong drape physics entirely.1/12 scale covers most modern collector figures:
- Mezco One:12 Collective - McFarlane DC Multiverse - Marvel Legends (most releases) - Neca 7-inch horror figures - Storm Collectibles fighting game characters
Measure your figure from head to toe before ordering anything. Six to seven inches tall means 1/12 scale. Twelve inches means 1/6. Don't guess on this one — I did, once, and ended up with a hood that swallowed an entire skeleton figure's skull.
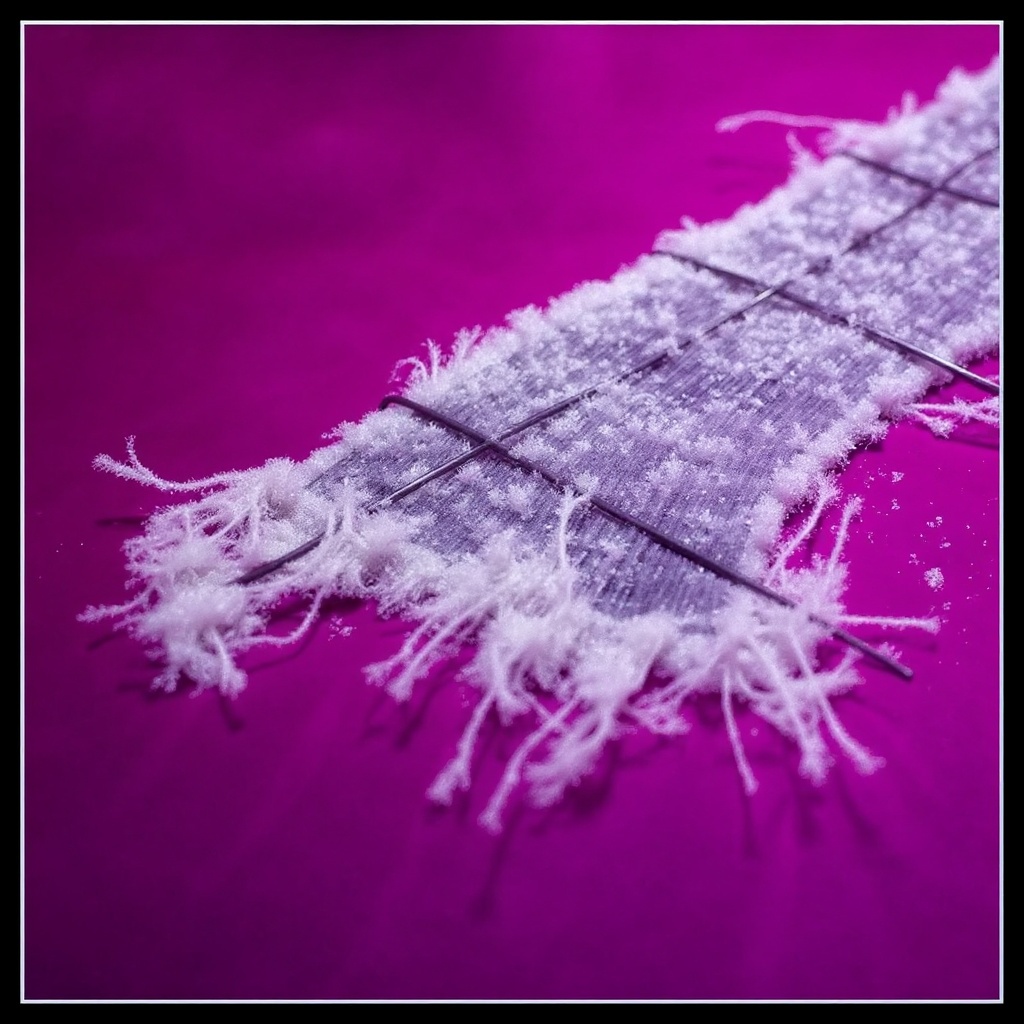
Our 1/12 Scale Skeleton Snow Cape Set is cut to these proportions specifically, using a grey-white frost-textured fabric with frayed edges that reads as weathered under cold studio lighting rather than just dirty.
Fabric Types That Actually Work for Miniature Capes
Not every fabric scales down cleanly. What drapes beautifully on a human-sized coat turns into a stiff, bulky mess on a 6-inch figure.
Cotton voile: Thin enough to drape naturally, takes weathering washes well. This is what most higher-end custom capes use. Silk habotai: Flows at small scales better than almost anything else. Wrinkles fast, though, and holds those wrinkles in dynamic poses whether you want them or not. Linen: Sturdy, ages with real texture, holds creases without falling apart. Can look stiff and cardboard-like on smaller figures if you don't pre-wash it. Polyester chiffon: Cheap, photographs okay under flat light. Melts the second you try to heat-seal an edge — I've ruined two test pieces learning that. Muslin: Budget fabric for practice runs. Frays fast but takes paint washes for weathering effects better than anything else on this list.Avoid anything with a visible synthetic sheen or an obvious woven grid pattern. Both scream "fake" the moment you photograph them up close.
Wire Armatures: The Upgrade That Changes Everything
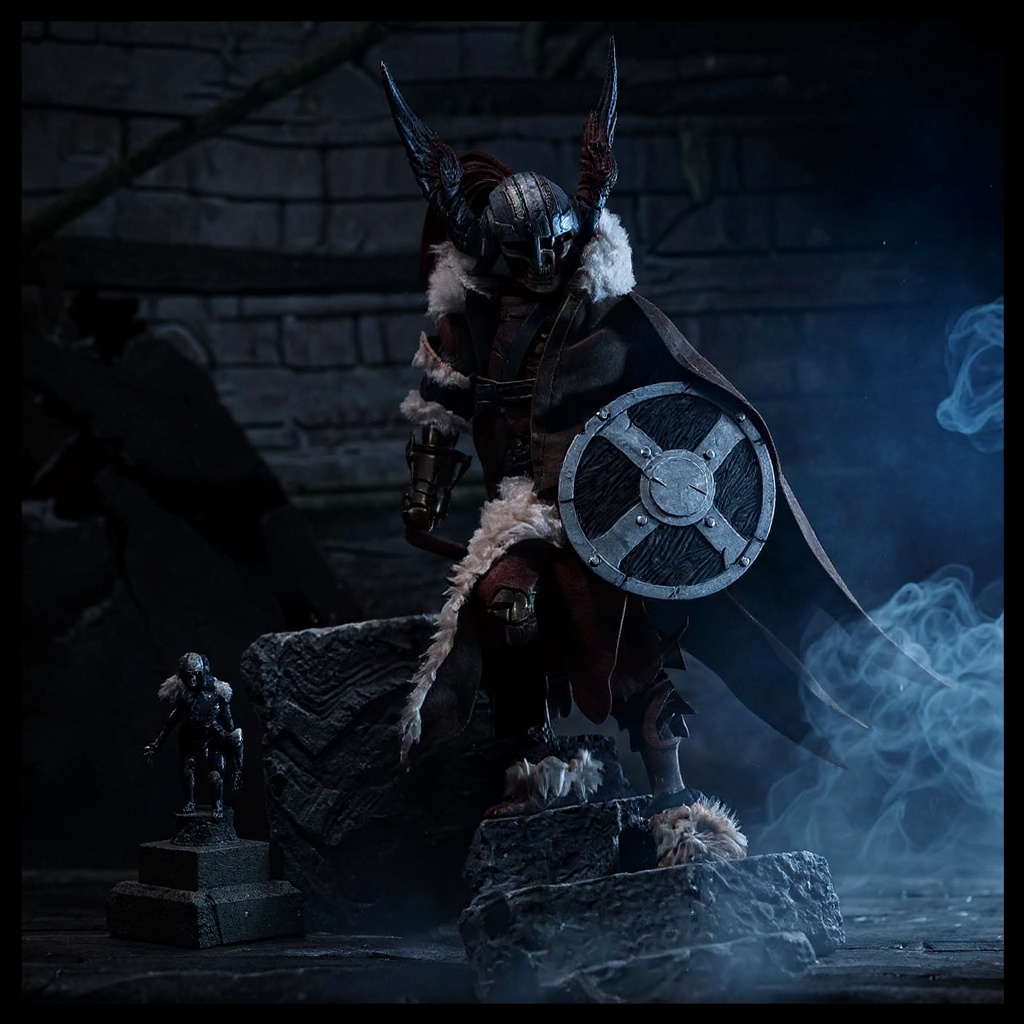
Posable capes use thin wire sewn into the seams or hem. This lets you shape a windswept, mid-stride pose that holds on the shelf for months without sagging. Standard fabric capes just hang there. Straight down. Every time.
The wire needs to run 24-26 gauge for 1/12 figures. Thicker wire adds visible bulk under the fabric; thinner wire bends once and then snaps at the fold. Copper and aluminum both work — I've used both without a durability difference over a year of repositioning.
Honestly, if you display your figures under warm, diffused room lighting instead of directional studio light, skip the wire armature. The shadows and fabric texture that make a dynamic pose read as dramatic mostly disappear under flat light, and you're paying 3-4x more for an effect nobody in your room will actually see.
| Feature | Standard Cape | Wired Cape | Studio-Grade |
|---|---|---|---|
| Price Range | $8-15 | $45-65 | $80-120 |
| Posability | None | Full dynamic | Full + magnets |
| Durability | 1-2 years | 5+ years | 10+ years |
| Photo Quality | Basic | Excellent | Professional |
| Wire Gauge | N/A | 24-26 | 22-24 |
| Fabric Weight | Light synthetic | Cotton/linen blend | Hand-selected natural fiber |
Wired versions cost more upfront. They also let you create flowing wind effects, dramatic sweeping gestures, or a frozen mid-step pose that sells the character's movement instead of just draping over it.
The Real Cost of Going Handmade
Mass-produced capes from overseas suppliers run $8-15 shipped. Decent for basic display. They use synthetic fabric that photographs poorly under LED lighting, skip the wire entirely, and use generic dye lots that shift color between batches.
Handmade options start around $40 and climb from there fast. You're paying for actual fabric selection, hand-sewn seams, custom weathering passes, and someone checking proportions against your specific figure instead of a generic template.
The middle ground sits around $59 for pieces like a weathered, battle-damaged cloak with a hidden wire armature sewn into the hood and hem. That price point buys real fabric, custom aging effects, and full posability without stepping into full custom-commission pricing.
Official accessories from Mezco or Sideshow generally only ship bundled with complete figures. Paying $180 for a whole figure just to get its cape doesn't make financial sense for most collectors.
Installation Tips That Actually Work
Most replacement capes attach with small snaps, magnets, or fabric loops. The attachment point determines how the fabric hangs and how it moves when you pose the figure.
1. Clean the attachment area first — remove old adhesive residue with isopropyl alcohol 2. Test fit before permanent installation — pin or tape it in place, pose the figure, check the proportions from three feet away 3. Use fabric-safe adhesives only — E6000 works but yellows after a couple years near sunlight 4. Hide connection points — tuck snaps inside shoulder seams or under armor plating 5. Allow movement clearance — don't mount it so tight that it locks the arm joints 6. Weather-seal edges — Fray Check stops raw fabric edges from unraveling 7. Document the process — photograph each step for the next figure you do
Some older figures need minor modification before they'll accept aftermarket accessories. File down plastic tabs. Sand rough attachment points smooth. Go slow, because plastic doesn't forgive rushed cuts.
Common Problems and Real Solutions
Capes that bunch around the neck almost always have too much fabric for the figure's shoulder width. Trim the neckline or gather the excess with a hidden stitch on the inside seam.
Wire poking through the fabric means the armature wasn't sewn into a proper channel during construction. Quality pieces bury the wire completely inside a bound seam — you should never see or feel it from outside.
Color matching trips people up more than anything else. Photograph your figure under the lighting you actually display it in before ordering a replacement. What reads as black in a dim cabinet might turn out to be dark brown, navy, or a cold grey-white once you get it under a lamp.
Scale creep is a real, underreported problem with older figure lines. A cape made for a 2018 release might not fit the 2023 re-release of the same character because manufacturers quietly adjust proportions between print runs.
Active communities on r/actionfigures and r/toycollecting track specific figure-compatibility issues if you're stuck on a particular release.
Is the Premium Worth It for Display Collectors?
The honest answer depends on how you actually use your figures. Shelf display only, viewed from across the room? A $15 basic cape works fine. You won't see fabric weave quality from three feet away, full stop.
Photography changes everything. Close-up shots reveal every thread, every weathering pass, every seam. Cheap synthetic fabric looks fake the instant a camera light hits it at an angle.
Diorama builders need durability across repeated handling. Figures get repositioned constantly, wire gets bent back and forth, and budget accessories start showing wear within months rather than years. Better base materials survive that cycle.
The $59 price point hits a sweet spot for collectors who want upgrade quality without paying full custom-commission rates. You get real fabric, a hidden wire armature, and hand-weathered detailing that holds up under a macro lens.
If you're building a skeleton army display or a winter battle scene, the frost-textured, frayed-edge aesthetic and the posability justify the cost. For a single figure that rarely leaves its stand, save the money and put it toward other accessories instead.
Your display deserves accessories that match the figure's presence. When a cheap cape undercuts an otherwise great figure, that's the signal to upgrade. Browse the weathered battle-damaged cloth cloak collection or check the full action figure accessories catalog for figures that need authentic aging effects and dynamic posing built in from the start.

