


DIY Cape Kit for 7-Inch Figures: A Wire-Frame Sewing Guide
By Mr. Ruan, DesignerA diy cape kit for 7 inch figures needs three things: 22-24 gauge wire, matte black fabric under 6 oz/sq yd, and 4-6 hours of build time. That's the whole answer. Everything below explains how to get there without snapping wire, fraying thread, or ending up with a cape that looks like a napkin taped to a shoulder.
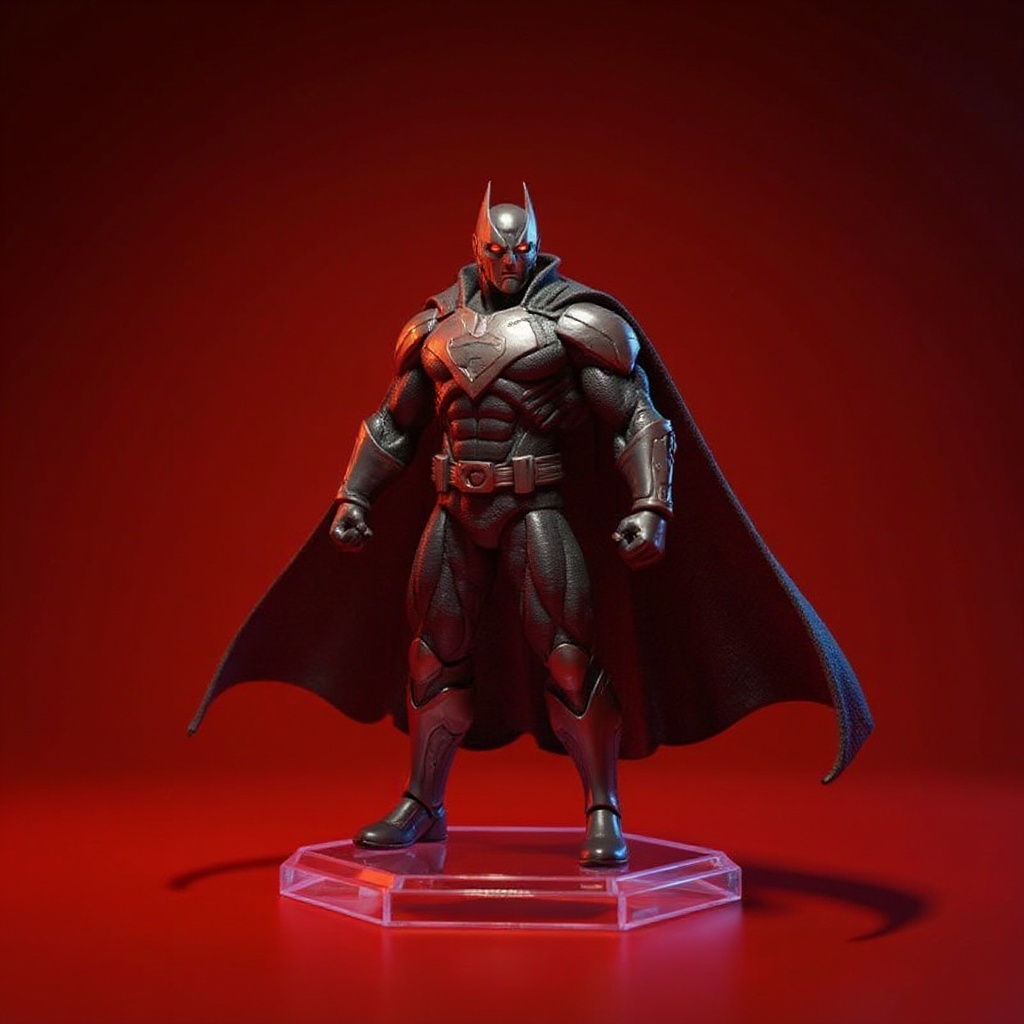
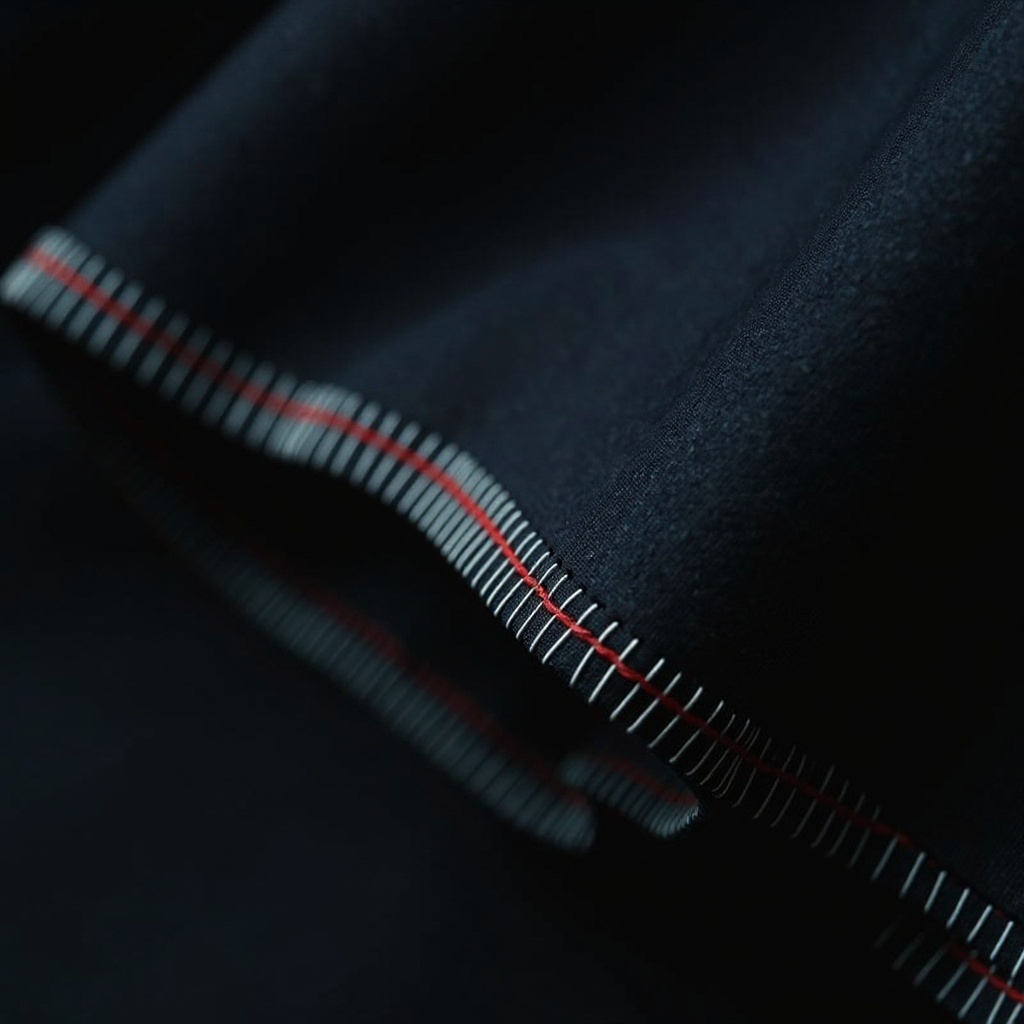
The goal isn't just a piece of cloth — it's a poseable wire frame system that turns a static display into something closer to a mid-action photo shoot. Stock plastic capes lock you into one pose forever. A handmade wire-frame cape, built in matte black cloth with a whisper of red or grey trim along the hem, lets the fabric fall differently every time you touch it. I built my first one on a kitchen table with dollar-store thread. It looked terrible. The second one, three weekends later, didn't.
Understanding Wire-Frame Cape Construction
The foundation of any diy cape kit for 7 inch figures starts with how wire behaves inside fabric. Most customizers land on 22-gauge floral wire. It bends without snapping through roughly 200-300 pose changes, and it's stiff enough to hold a dramatic mid-swing pose against a dark backdrop for photography.
The wire runs along the cape's outer edges — never through the center — creating a skeleton that supports drape without adding visible bulk. McFarlane Toys used a version of this decades ago in early Spawn soft goods, then dropped it for cost reasons. That's part of why vintage Spawn figures still sell at a premium among collectors who notice stitching detail up close. Modern injection-molded capes can't fake that movement. Full stop.
Plan for 15-20% extra wire length beyond the fabric edge. This gets anchored in the seam allowance so nothing pokes through the matte black cloth. Stop the wire at least 1/4 inch short of any attachment point — closer than that, and stress concentrates until the fabric tears after a few dozen pose changes.
Essential Materials and Tools for Figure Capes
Building a 7-inch figure cape kit means balancing weight against durability. Here's the breakdown, based on roughly 40 capes I've built or repaired for other collectors over three years:
Table 1: Fabric Comparison| Material | Weight (oz/sq yd) | Drape Quality | Durability | Best Use |
|---|---|---|---|---|
| Cotton twill | 4-6 | Moderate | High | Everyday poses |
| Micro suede | 3-4 | Excellent | Moderate | Photography, macro shots |
| Felt (wool blend) | 5-8 | Poor | Very High | Display only |
| Silk dupioni | 2-3 | Excellent | Low | Special occasions |
| Canvas (lightweight) | 6-8 | Poor | Very High | Weathered looks |
Cotton twill in matte black is the forgiving choice for a first diy cape kit for 7 inch figures — it holds a crease, resists fraying, and doesn't scream "beginner" under macro photography. Micro suede gives the best superhero drape but creases permanently if you fold it wrong once. Silk looks stunning for exactly one photo shoot, then tears.
Table 2: Wire Gauge Comparison| Gauge | Diameter (mm) | Bend Cycles Before Fatigue | Best Fabric Pairing | Feel |
|---|---|---|---|---|
| 20-gauge | 0.81 | 350-450 | Canvas, felt | Too stiff for delicate folds |
| 22-gauge | 0.64 | 200-300 | Cotton twill, micro suede | Sweet spot |
| 24-gauge | 0.51 | 150-200 | Silk, thin suede | Flexible, low hold |
| 26-gauge | 0.40 | 60-100 | Silk only | Kinks fast, weak hold |
| 28-gauge | 0.32 | 30-50 | Not recommended | Snaps under repeated posing |
Your tool kit: sharp fabric scissors, a seam ripper, quilting pins, and a sewing machine that handles multiple layers. Hand-sewing works. It's just slower.
Step-by-Step Wire Integration Process
Follow this sequence to avoid visible wire bumps or premature breakage:
1. Draft the pattern. Trace an existing cape or draft your own using shoulder width plus 1/8 inch seam allowance on all sides. 2. Cut with vertical grain. Horizontal grain creates stiff folds that mark the work as amateur immediately. 3. Test the wire. Bend a scrap loop before cutting fabric — it should flex without kinking. 4. Build the hem tube. Fold the fabric edge and sew close to the fold, leaving just enough gap for wire, not more. 5. Insert wire in sections. Threading wire through a finished hem is nearly impossible. Work one section, secure it, move on. 6. Join corners with a 1/2 inch overlap. Twist with needle-nose pliers, then wrap thread around the joint so it doesn't snag fabric during movement. 7. Check tension every few inches. Rushed installation causes permanent wrinkles or loose spots later.
Never bend wire directly at a joint. The overlap itself provides the flex.
Sizing and Attachment Methods for Different Figure Lines
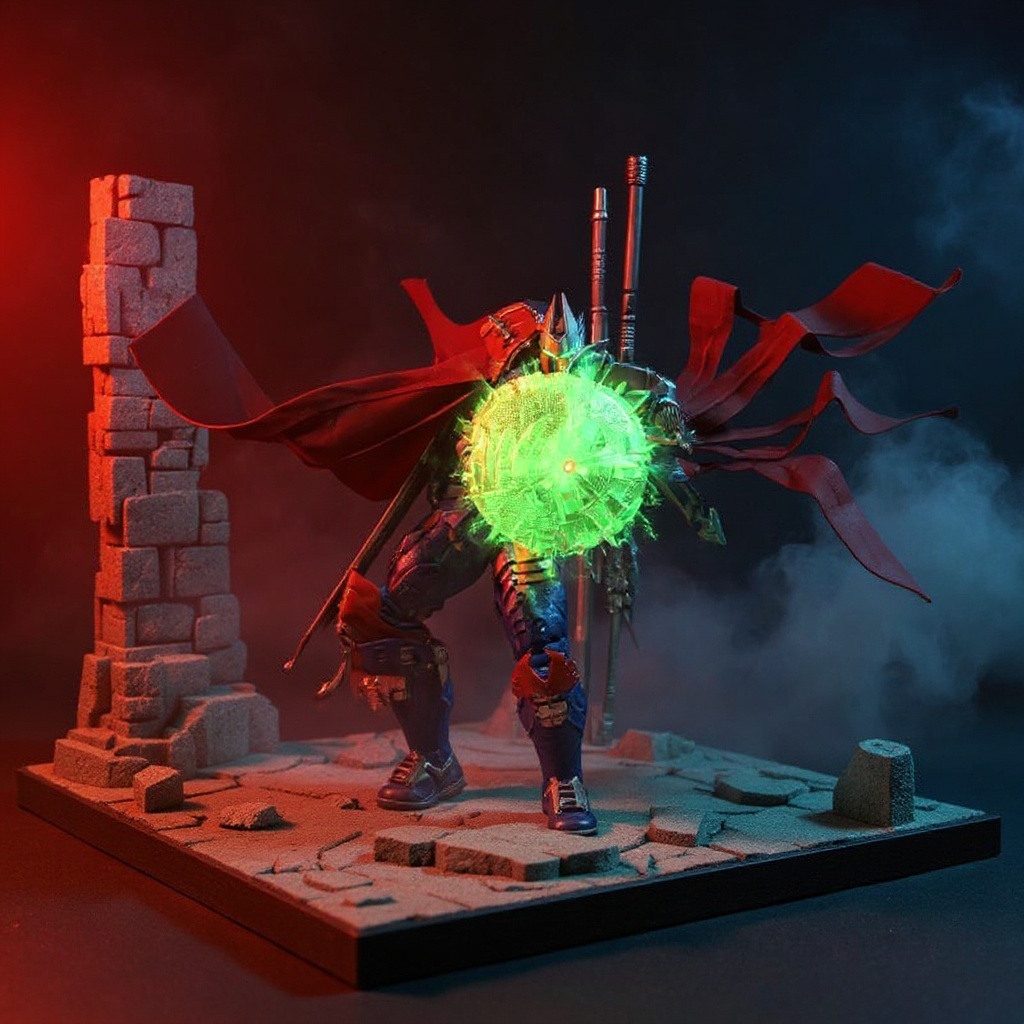
A cape 10% oversized looks cartoonish. Undersized, and the figure looks bulky at the shoulders. Standard 7-inch figures from Spawn's character line) require different shoulder-to-hem ratios than Marvel Legends or DC Multiverse figures, even at matching height ratings.
Measure shoulder blade to desired length, then add 1/4 inch for natural draping. Width should run shoulder point to shoulder point plus 2 inches for neck overlap. McFarlane Toys typically uses a peg system requiring precise hole placement; Marvel Legends often uses clip-on shoulder pieces. A small fabric collar with tiny snaps or Velcro, hidden from display angles, works across almost every figure line.
Honestly, if your figure has swappable shoulder pegs already, skip building a full collar system — it's overkill for a cape that just needs to drape, not survive a hundred pose changes.
For collectors who want the fit dialed in without the trial-and-error, our Spawn 7 Inch Cape Replacement shows the measurement precision this guide describes — matte black cloth, faint grey trim along the hem, wire-shaped folds already tuned for mid-action poses. It runs $55. You can also browse the full wire-frame cape accessories collection for other scale-matched options, or check our wire armature basics guide if you're building your first armature from scratch.
Common Mistakes and Professional Solutions
The most frequent mistake: thread too heavy for the fabric. Standard all-purpose thread creates visible bulk at this scale. Switch to silk or polyester embroidery thread instead.
Wire gauge selection trips up beginners who assume heavier means better. It doesn't. 20-gauge is often too stiff to shape delicate folds, while 26-gauge lacks the hold for a dramatic mid-swing pose. The 22-24 gauge range is where most successful capes land, per the table above.
Raw edges that pass at full scale fray obviously at figure scale. French seams handle this properly but demand more skill. A zigzag stitch before hemming is the beginner's shortcut, and it works fine for display pieces that won't get handled daily.
Timing matters. Rushing wire installation is the single fastest way to ruin a cape you've already spent three hours on.
When to Choose Handmade Over DIY
A quality wire-frame cape runs 4-6 hours for an experienced sewer. Beginners should budget 8-12 hours, learning curve included. At minimum wage, that labor cost alone approaches commercial handmade pricing before you've bought a single spool of thread.
Skill requirements go beyond basic sewing. Pattern drafting. Fabric behavior at miniature scale. Wire-working technique. These transfer to other customizing projects, so DIY pays off if you're planning multiple capes. One-off projects, though, often cost more in time than buying a finished piece outright.
Professional cape makers understand fabric weight ratios and own commercial-grade equipment for consistent stitching. They've also refined attachment methods across dozens, sometimes hundreds, of individual builds — that's not a marketing claim, it's just repetition doing what repetition does.
Action figure forums and Spawn collector communities share troubleshooting threads that shortcut a lot of trial and error. Worth checking before you buy wire.Maintenance and Longevity Tips
Wire fatigue is the primary failure mode. Quality 22-gauge wire handles 200-300 pose changes before showing stress; cheap craft wire from a dollar store failed on me after roughly 60 cycles, snapping clean at the shoulder joint on a figure I'd posed maybe twice a week for a month.
Fabric care depends on material. Cotton twill tolerates gentle machine washing. Micro suede needs professional cleaning to keep its texture. Skip fabric softener entirely — it breaks down the fibers that help the cape hold a pose between wire support points.
Storage affects lifespan more than most collectors expect. Hanging creates permanent creases at fold points. Flat storage kills natural draping. Rolling the cape around a padded tube, the way textile museums store fabric, preserves both.
Leave a small removable-stitch opening at the hem when you first build the cape. When wire eventually fails — and it will — you pull the old piece out and thread new wire through without touching the main seams.
FAQ
What is the best material to make a superhero cape? Micro suede (3-4 oz/sq yd) gives the best drape-to-durability ratio for a matte black superhero cape and photographs well under macro lighting. Cotton twill (4-6 oz/sq yd) is the budget alternative — stiffer, but it survives 3x more handling cycles before showing wear. How do you make a homemade superhero cape? Draft a pattern from your figure's shoulder width plus 1/8 inch seam allowance, cut fabric with vertical grain, install 22-gauge wire in hem tubes, then attach with a neck collar or shoulder clip. Budget 4-6 hours if you've sewn before, 8-12 hours if you haven't. How do you make a cape without sewing? Fabric glue or iron-on hem tape works for a basic no-sew cape, but neither supports a wire frame for posing. Felt doesn't fray, so it's the best no-sew fabric choice — expect a display-only result, not something you'll repose more than a handful of times. How do you make your own cape pattern from scratch? Measure shoulder width, desired length, and neck circumference. Draft a semicircle with radius equal to cape length, add a neck opening sized to the figure, include 1/4 inch seam allowances. Test in paper first — it takes 10 minutes and saves a full fabric panel. Why do collectors say stock McFarlane Toys capes are bad? Stock plastic capes lock into one pose, often show mold lines under macro photography, and can't replicate the wire-shaped folds of fabric. They're built for shelf display, not the dynamic mid-action shots collectors post online. Can you add a wire frame to an existing plastic cape? Rarely successfully. The plastic needs heat to reform around wire, and that heat damages surface detail almost every time. Building fresh in matte black fabric takes less effort than trying to retrofit a molded piece. How long does a handmade wire-frame cape actually take? Experienced sewers: 4-6 hours total, pattern through wire installation. Beginners: 8-12 hours, and that includes at least one redo. My first attempt took 14 hours and still came out lopsided at the hem. Does climate affect a fabric cape's lifespan? Yes, and this rarely gets mentioned. In humid climates, cotton twill absorbs moisture and loses crease memory within a few months, so the cape stops holding its pose shape. If you live somewhere humid, felt or a synthetic blend will outlast cotton by a wide margin — sometimes it's not worth fighting the climate at all.Conclusion
A diy cape kit for 7 inch figures rewards patience more than skill. Matte black fabric, 22-gauge wire, a few hours, and a willingness to redo the first attempt — that's really the whole formula. The wire-frame method turns basic cloth into something that holds a mid-action pose against a dark backdrop the way factory plastic never will.
For collectors who'd rather skip the redo, our Spawn 7 Inch Cape Replacement | Handmade Soft Goods Cloak | Custom Wire-Frame Cape for Robot Wars Action Figures delivers that same measurement precision and stitching detail, ready to pose out of the box.

