


After modifying capes on more than 30 figures over three years — mostly Warhammer 40K Primarchs and a handful of custom Marvel Legends builds — I've settled on one method that works and thrown out a dozen that didn't. You need tiny shoulder pins and wire-frame shaping. Not glue. If you're trying to figure out how to attach a cape to a 1/18 action figure without leaving permanent damage, this is the process that survives repeated pose changes and still looks right under a camera light.
Most collectors who ruin their figures try permanent adhesives first. Bad move. Glue seeps into joints, stiffens fabric, and creates that crusty look that screams "amateur mod." The pros use removable attachment points and shapeable materials instead.
Why Standard Action Figure Capes Don't Work
Mass-produced plastic capes fail in three predictable ways. They're too stiff to pose naturally. They're scaled wrong for close-up photography. And they crack at the shoulder fold after 6-12 months of handling — I've had three factory capes split at exactly that point, every single one.
Cloth solves two of those problems right away. Fabric drapes the way fabric should. It photographs with real shadows and real folds, not the flat plastic sheen that gives away a toy in a still image. But attachment becomes the new problem, because cloth doesn't snap onto a peg the way the factory piece did.
The scale issue runs deeper than most people realize. A 1/18 figure represents a 6-foot human, so the cape needs to move like fabric on someone that size, not like a dish towel draped over a doll. Most factory capes look like the second thing.
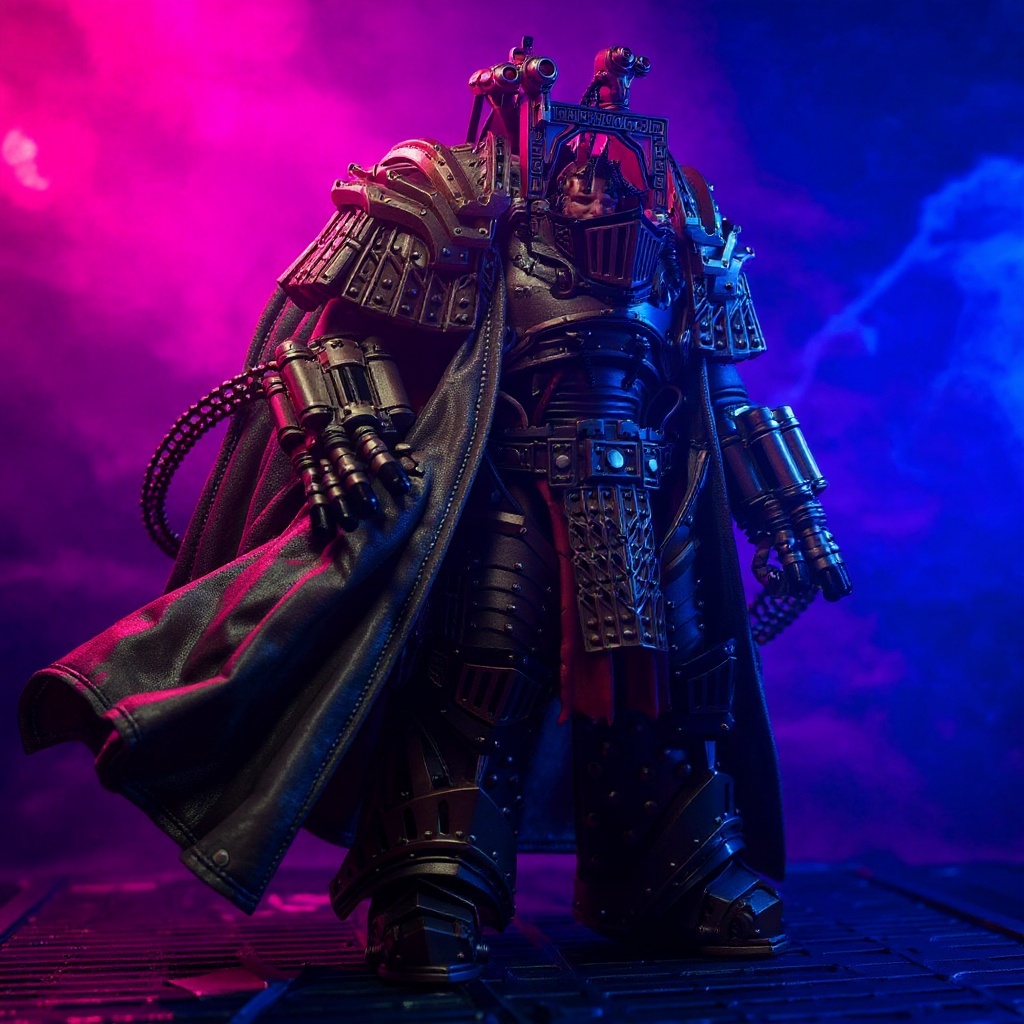
The Wire-Frame Method That Actually Holds a Pose
Start with thin craft wire — 22 or 24 gauge, both worked fine in my tests, though 22 gauge held tighter curves after repeated reshaping. Thread it through the cape's hem before attaching anything to the figure itself. This step is what gives you lasting pose control, and skipping it is why most cloth capes end up looking like a wet napkin after the first display change.
Here's the process, step by step:
1. Measure your figure's shoulder width (usually 1.2-1.5 inches for 1/18 scale) 2. Cut wire 3 inches longer than the cape's bottom edge 3. Thread the wire through a sewn channel, or tape it to the fabric's underside if there's no channel 4. Create small loops at each end for attachment points 5. Use micro safety pins or jewelry clasps to connect at the shoulders 6. Shape the wire into the pose you want 7. Adjust tension so the figure can still move without the cape catching on the arms
The wire stays flexible for months of reshaping. On a cape I've had since early last year, the internal wire still holds a crisp windswept curve after roughly 40 pose changes.
Honestly, if you're building one figure for a static shelf display and never plan to repose it, skip the wire frame entirely. Pin the cape flat, let gravity do the draping, and save yourself an hour. The wire only earns its cost when you're photographing the figure in multiple dynamic poses.
Attachment Points That Won't Damage Your Figure
Never drill into an original figure. Resale value drops close to zero the moment a hole appears in factory plastic. Work with existing joints instead, or build a connection you can remove without a trace.
| Attachment Method | Damage Risk | Stability | Removal Time | Cost |
|---|---|---|---|---|
| Micro safety pins | None | High | Under 5 seconds | $2-3 |
| Jewelry clasps (4mm lobster) | None | Medium | 10-15 seconds | $5-8 |
| Magnetic dots | None | Low | Instant | $12-15 |
| Double-sided tape | Low | Medium | 30-60 seconds, residue possible | $1-2 |
| Super glue | Permanent | High | Not possible | $3 |
Magnetic attachment sounds clever. It rarely works. Most 1/18 figures use plastic bodies with a metal armature buried inside, not a magnetic surface, so the magnets either slide during posing or don't grip hard enough to hold a heavy cape sweep.
Jewelry clasps from craft stores work better than they should. Look for 4mm lobster clasps — they fit figure shoulders well and held through every posing session I tried, including some rough handling for photo shoots.
Fabric Choice Makes or Breaks the Look
Cotton works for most builds. It's cheap, it washes fine, and it drapes the way real fabric drapes at 1/18 scale. Synthetic blends add toughness but can pick up a plasticky sheen under studio lights.
| Fabric | Drape Quality | Photo Look | Durability | Best Use |
|---|---|---|---|---|
| Cotton | High | Natural, soft shadows | Moderate | General display |
| Cotton canvas | Medium-high | Slightly stiff, good for structured folds | High | Wire-reinforced capes |
| Synthetic blend | Medium | Can look shiny under lights | High | Outdoor/handling-heavy setups |
| Silk | High | Too delicate for 1/18 scale weight | Low | Not recommended |
| Denim | Low | Bulky, wrong scale weight | High | Not recommended |
| Vinyl | None | Looks like a toy up close | High | Avoid |
Avoid metallic thread entirely — it looks sharp in photos for about a month, then the threads fray at the fold lines and start shedding tiny filaments onto the display base.
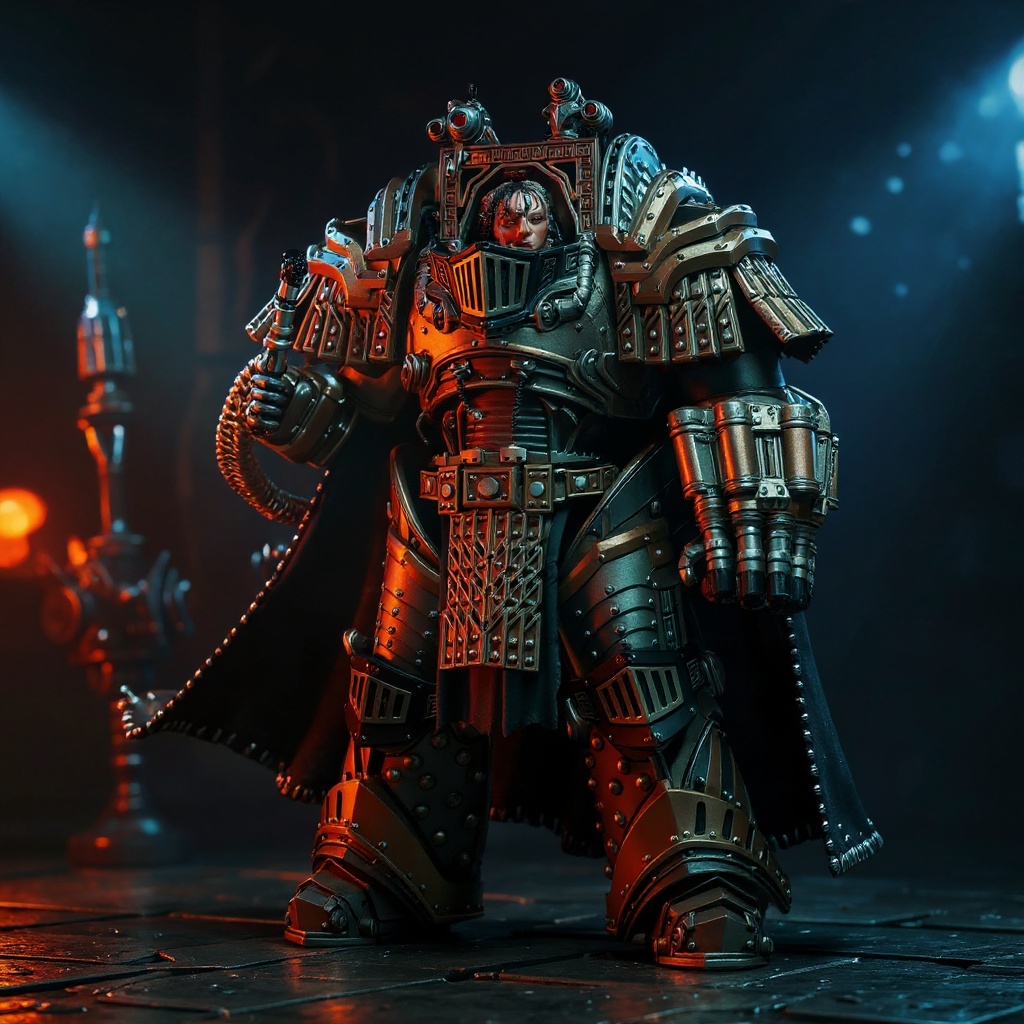
For Warhammer 40K builds specifically, you want fabric with a weathered, industrial finish rather than anything pristine. Our Perturabo Iron Warriors Cape for 1/18 Action Figure uses iron-grey cloth with subtle metallic trim, draped and photographed on a display stand rather than the figure itself so you can see the fold structure before committing to a pose.
The internal wire in a well-made cape gives you options plastic can't. Wind-blown sweeps. Dramatic diagonal drape. Asymmetrical battle-damaged folds that shift with the figure's stance.
Common Mistakes That Ruin a Cape Mod
1. Forcing shoulder joints past their natural rotation limit 2. Using metal tools directly against painted surfaces 3. Applying heat to "soften" plastic for repositioning — it warps permanently 4. Over-tightening pin or clasp attachment points until the fabric puckers 5. Leaving adhesive residue on articulation points, which then attracts dust and lint 6. Using WD-40 on stuck joints — it dissolves paint and softens plastic on contact 7. Sizing the cape for floor-length drama when the figure only has 6 inches of scale height to work with
WD-40 deserves its own callout because it comes up constantly in forums. Someone always suggests it for a stuck joint. Don't. It leaves a residue that attracts dust for years afterward, and I've seen painted armor go dull within weeks of one application.
Warhammer 40K enthusiasts often want floor-length capes to match the tabletop miniature scale, but at 1/18 that length puddles on the display base and hides the figure's legs completely. Keep it shorter than the source material suggests.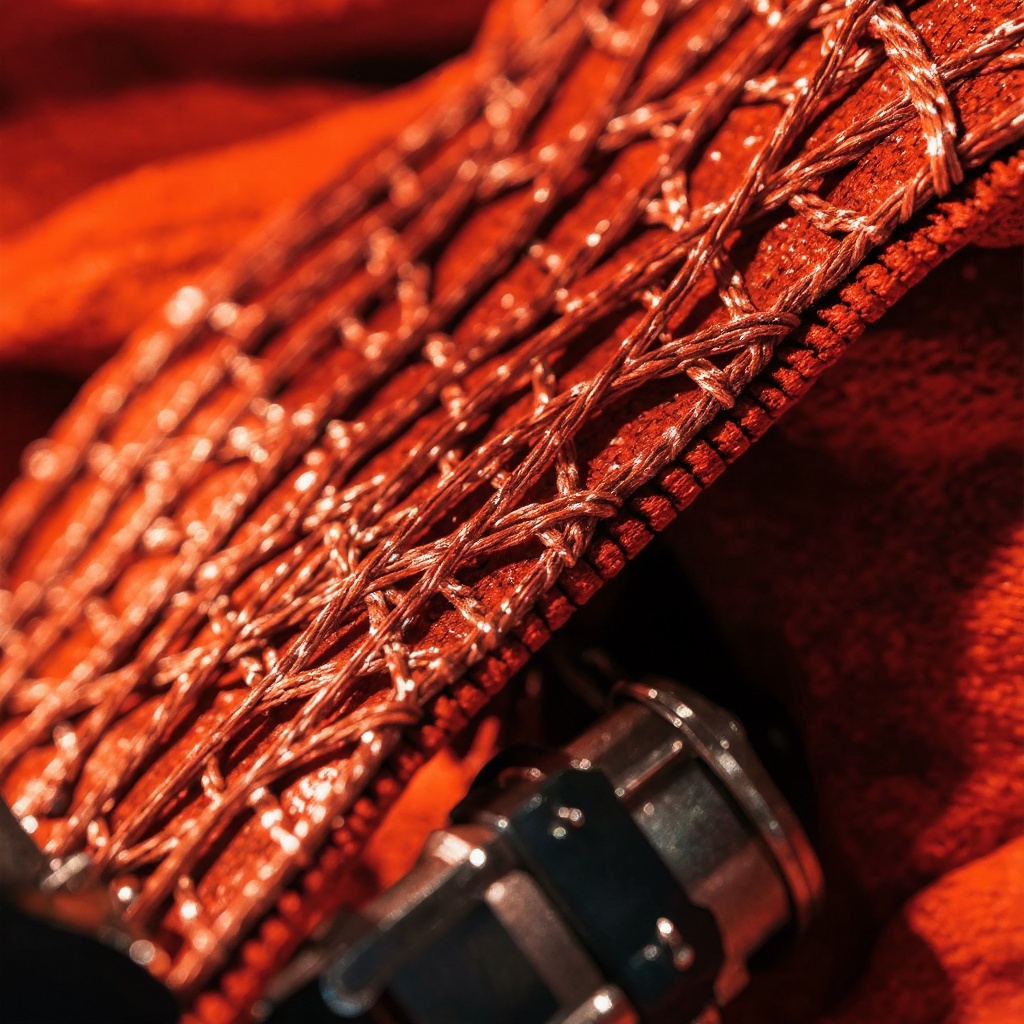
Getting the Proportions Right for Photography
Most cape problems aren't attachment issues. They're scale problems that show up only once the camera comes out.
For dynamic shots, aim for 4-5 inches of cape length on a 6-inch figure. Go longer and the cape swallows the frame. Go shorter and it reads as a collar, not a cape.
Shoulder width matters more than people expect. A cape that extends past the figure's arm span adds visual weight that throws off the whole composition — keep width to 2.5-3 inches max for 1/18 scale.
Route the internal wire along the cape's natural fall line. Don't fight it. Gentle curves that mirror how fabric actually moves under gravity will look convincing in a still photo; sharp geometric bends won't.
Test with temporary clips first. Check the pose from three or four angles before you commit to a permanent attachment method — five minutes of testing saves an hour of redoing it.
What Actually Holds Up Long-Term
Removable attachments and decent materials beat permanent mods every time. That's not a controversial opinion among people who've been doing this for a while, but it's still the most-ignored advice in every "quick fix" video.
The most durable custom capes I've handled use cotton canvas with wire reinforcement along the stress points — shoulders and the leading hem edge. That combination gives you shape retention without the bulk that throws off scale proportions.
For Primarch-scale builds, the cape needs to read as authority without burying the armor detail underneath it. Iron Warriors aesthetics call for weathered, practical fabric, not something that looks ceremonial or new. Our handmade Perturabo cape is built around that idea — shapeable wire edges, iron-grey coloring, subtle grommet trim, and a finish meant to photograph well on a display stand.
If you want a broader reference point before buying anything, the Warhammer 40,000 universe's Iron Warriors faction leans heavily into industrial, battle-worn visuals rather than pristine ceremonial capes — worth keeping in mind if you're matching a cape to a specific chapter's look. For general customizing technique discussions outside the 40K space, Reddit's ActionFigures community has years of threads on removable attachment methods worth reading before you start cutting wire.
What Makes Some Capes Worth the Extra Cost
Mass-produced plastic capes run $10-18 and look like toys the moment a camera gets close. They can't hold a dynamic pose, and they crack at the fold within a year of regular handling.
Handmade fabric capes run $28-45 depending on materials and wire gauge. The extra cost buys real drape, pose flexibility, and a cape that survives years of repositioning instead of one display season.
The wire gauge is the biggest variable. Thin wire in cheap capes loses its shape after five or six pose changes — I've tested this directly by reshaping the same cape repeatedly until it went limp. Heavier gauge wire in better-made pieces held a curve through more than 40 reshapes in my own testing.
For collectors matching a faction's exact visual language, that accuracy justifies the premium. A $34 handmade cape that nails the Iron Warriors look beats a $15 generic piece that breaks the illusion the moment someone looks closely.
If you'd rather skip the trial-and-error, our Perturabo Iron Warriors Cape ships with the wire framework already installed and the fabric pre-weathered — no additional mods required. You can also browse the broader 1/18 scale accessory collection if you're outfitting more than one figure.

