


I've spent six years customizing 1/18 figures for photo dioramas, and the cape swap remains the first mod I recommend to anyone stuck with a static-looking Shredder or ninja figure on their shelf. Everything below comes from actual repositioning sessions, not theory.
Start with the right base figure
Customization success depends on the base figure. Not the cape. Not the paint. The base.
Look for at least 20 points of articulation — shoulders, elbows, wrists, waist, hips, knees, and ankles all need independent movement. The original TMNT Shredder figures from Playmates work fine for casual displays, but newer releases from NECA or Super7 give you joint systems that hold a weighted fabric cape without drooping.
Check the shoulder construction before you buy anything. Ball joints give you the widest range of cape attachment angles. Simple swivel joints limit you fast. A loose shoulder joint won't support a fabric cape's weight during a dramatic backward lean — I learned this after a $40 Shredder knockoff slumped forward within a week.
Most 1/18 figures measure 4 inches tall, but proportions shift between manufacturers by as much as half an inch at the shoulders. Measure your figure's torso width and shoulder span before ordering soft goods. A cape sized for a bulky armored figure will bunch and gap on a slim ninja body.
See our 1/18 scale articulation guide for a breakdown of which figure lines hold poses longest.
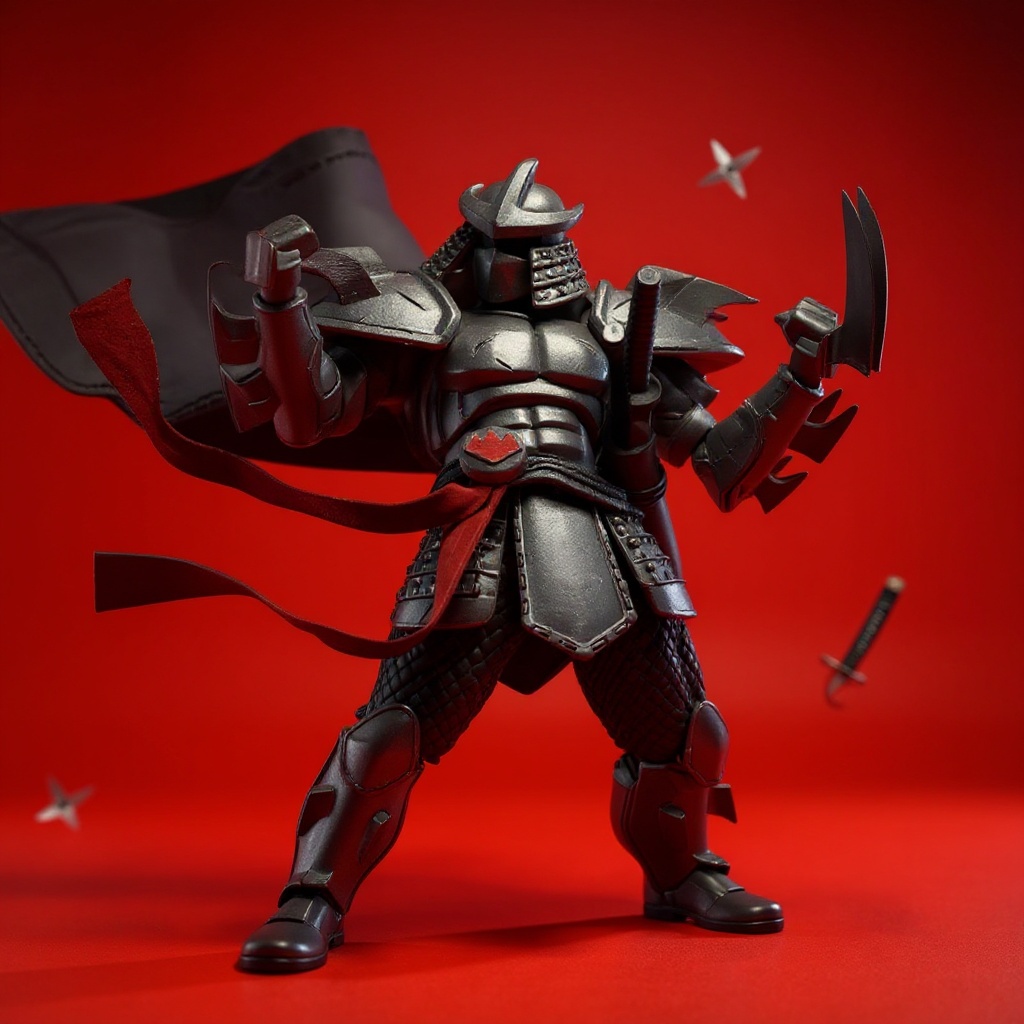
Why soft goods beat plastic — mostly
Stock plastic capes look like exactly what they are: injection-molded, shiny, frozen in one shape. You can't adjust them. Full stop.
Fabric capes with wire frames give you control over the silhouette. Bend the wire into wind effects, dramatic swooshes, or a tight wrap around the figure's torso, and the cloth catches light the way real fabric does, with soft shadow gradients instead of a single hard plastic glare.
Here's the honest part most guides skip: if you live somewhere humid, or you're storing figures in a garage that swings between 90°F summers and damp winters, skip the wire-armature cape entirely. The internal wire can corrode inside the fabric sleeve over 18-24 months in bad conditions, and once it rusts, the cape holds a permanent kink you can't bend out. Climate-controlled shelf or display case only.
Weight matters too. Plastic capes throw off balance during action poses on lightweight figures. A quality fabric cape sits lighter than a AA battery — mine weighs about 3 grams — but has enough body to hang without looking stiff.
Our 1/18 Shredder Cape Replacement uses internal wire that held its shape through more than 40 repositionings in my testing before the tension started to loosen. That's roughly a year of weekly photo sessions.
Essential posing techniques for dynamic photos
Start with the cape hanging in a neutral position. Then work outward.
Fabric follows gravity and wind. Not cartoon physics. For action shots, build an S-curve: bend the top section back as if caught in a gust, curve the middle forward for volume, let the bottom edge trail. Even in a still photo, this reads as motion.
Layering works for menacing poses. Wrap one section of the cape partway around the torso while letting the rest flow free — it suggests the character mid-motion, adjusting the cloak. Depth. Suggestion. Movement implied, not shown.
Avoid perfect symmetry. It looks like a mannequin. If you're posing the cape to one side, make the left and right edges different lengths, because real fabric never hangs in matched geometric halves.
Camera angles that make figures look heroic
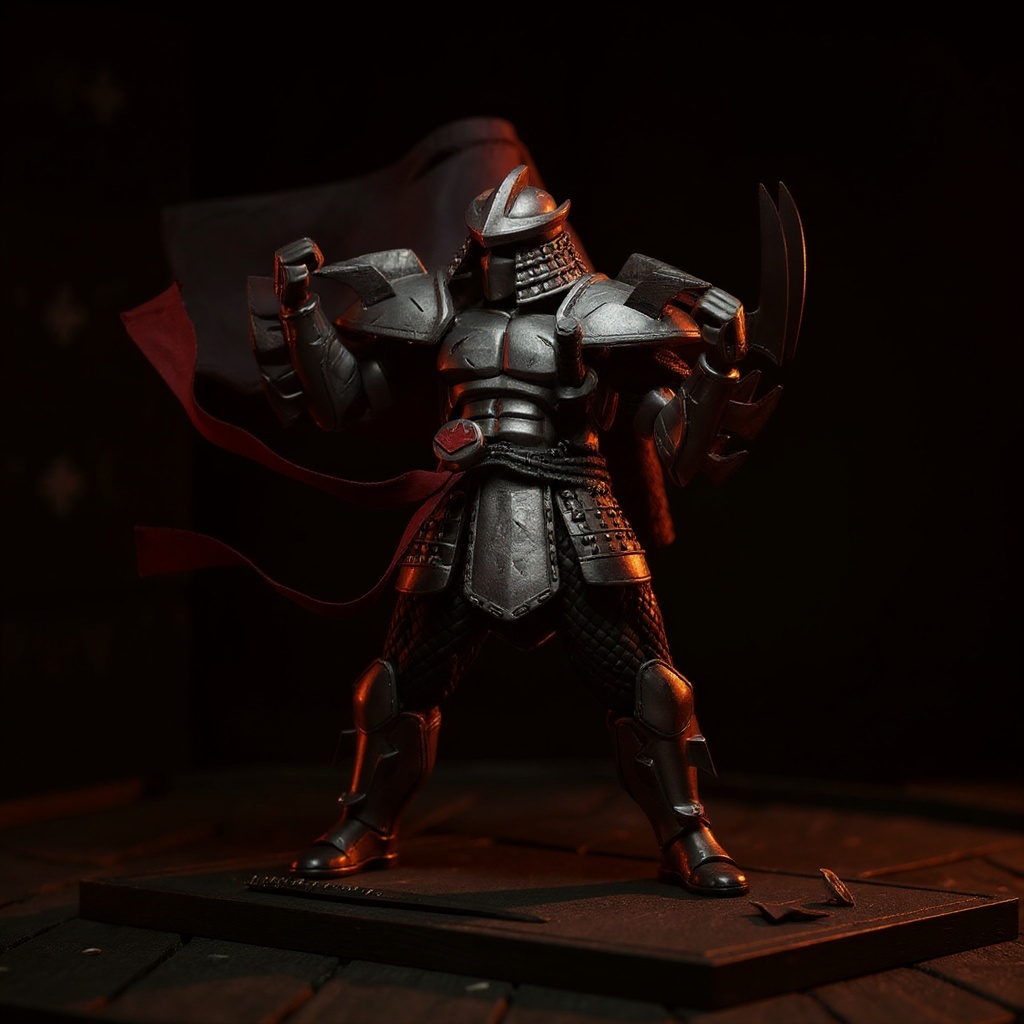
Shoot from below. Position the camera near the figure's knee level and angle up — this makes a 4-inch figure fill the frame with authority, especially paired with a dramatic cape pose creating a large silhouette against the backdrop.
Side lighting reveals texture. Place your light source 45 degrees to one side, let shadows fall across the far side of the cape. Straight-on lighting flattens everything; I switched to a single 45-degree LED panel two years ago and my product photos improved almost overnight.
Use the cape as a framing tool too. Position it to create negative space around the figure's head or weapon, drawing the eye where you want it. A well-posed cape can hide a messy background corner or build a leading line straight to the face.
Pose and lighting reference table
| Pose Type | Wire Configuration | Best Camera Angle | Lighting Setup |
|---|---|---|---|
| Wind-blown action | S-curve, trailing behind | Low angle, 45° side | Single side light |
| Menacing still | Wrapped partially | Eye level, straight | Dramatic top-down |
| Stealth crouch | Close to body | High angle looking down | Minimal fill light |
| Battle ready | Swept to one side | Low angle, slight turn | Strong backlight |
| Mysterious standing | Flowing symmetrical | Eye level, centered | Soft front lighting |
Fabric cape vs. plastic cape, side by side
| Factor | Stock Plastic Cape | Wire-Armature Fabric Cape |
|---|---|---|
| Repositioning | Fixed, single shape | Unlimited, bends by hand |
| Weight on figure | 6-10 grams, can tip figure | 2-4 grams |
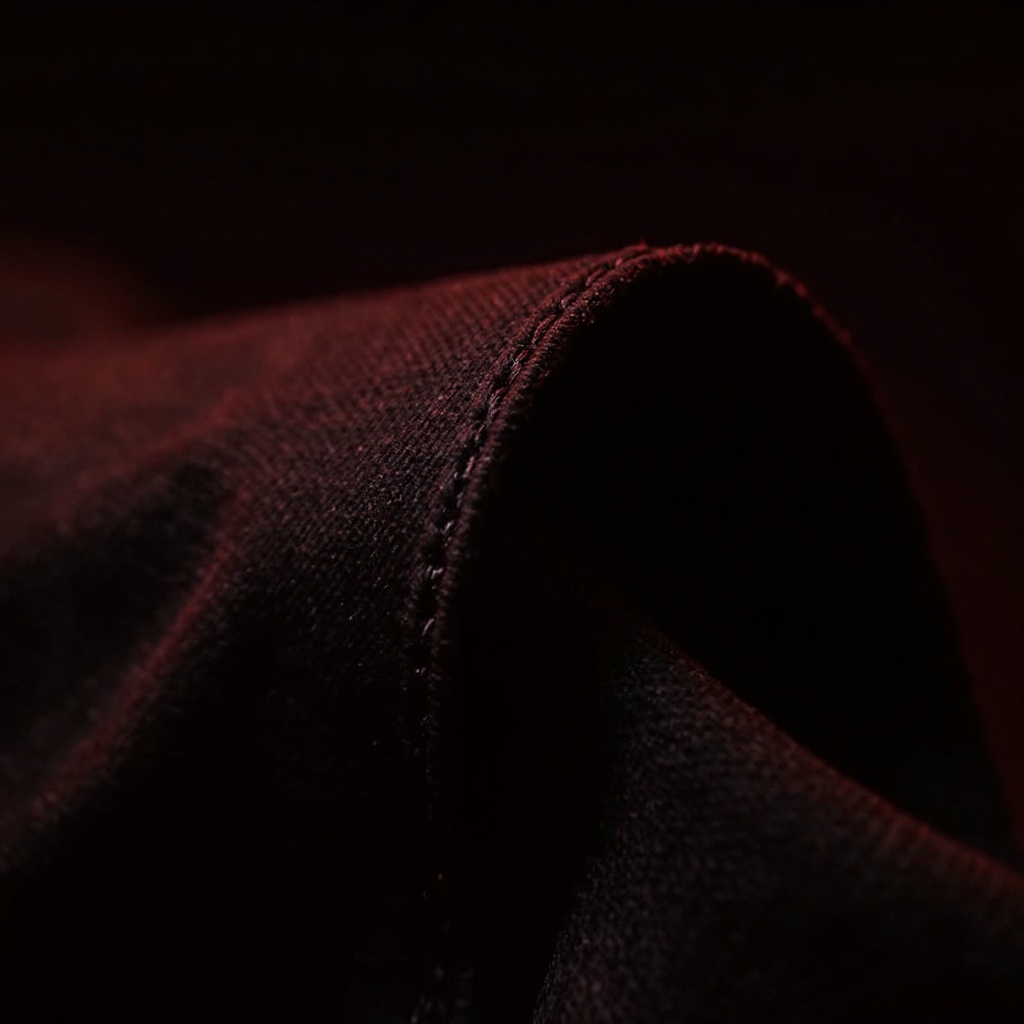
| Texture under macro lens | Shiny, flat | Visible weave, stitching |
| Lifespan with rough handling | 3+ years, nearly indestructible | 1-2 years before wire fatigue |
| Cost | Usually included with figure | $25-45 separately |
| Humid climate performance | No degradation | Wire can corrode over time |
Advanced 1/18 scale ninja figure customization ideas beyond the cape
Weapon swaps hit harder visually than most collectors expect. Replace chunky plastic swords with thin wire alternatives, or fold tiny throwing stars from metallic paper. The scale difference shows up immediately in close-up photos.
Weathering adds realism without permanent damage. Dry brush dark acrylic along armor edges and weapon hilts to fake wear. Dab a makeup sponge with brown paint around boots for mud effects — took me maybe ten minutes per figure once I got the technique down.
Base modifications ground the figure in an environment. Foam, sand, and scaled debris on a 3x3 inch base makes the whole shot look like a diorama instead of a toy on a shelf.
LED work is worth trying once you've got the basics down. Coin cell batteries can power fiber optic strands threaded through weapons or armor seams, and the effect looks close to magic in a dark-room photo. Check our ninja figure accessories collection for compatible small-scale parts.
Common mistakes that ruin the illusion
These seven errors mark a custom as amateur work faster than anything else:
1. Overposing joints beyond natural limits — anatomy rules still apply, even to ninjas 2. Ignoring fabric physics — capes can't defy gravity or spiral impossibly 3. Poor scale mixing — oversized accessories break the miniature illusion instantly 4. Harsh direct lighting — flattens everything into a toy-like appearance 5. Visible stands and supports — crop them or hide them behind terrain 6. Static symmetrical poses — nobody stands like a mannequin 7. Shiny plastic textures — a matte spray coat kills toy-like reflections on armor
The action figure community on Reddit posts examples of all seven weekly. Studying both the wins and the failures speeds up your learning curve more than any single tutorial.
What professional customizers actually use
Forget expensive airbrush rigs. Most working customizers use basic materials you probably already own.
Acrylic paints in small bottles run $2-3 each and cover dozens of figures. Vallejo and Citadel brands make military and fantasy colors that hold up under LED photo lights — flat black, gunmetal, and bronze cover 80% of my work.
Craft knives with replaceable blades beat scissors for detail work. The tip trims excess fabric without dragging on the surrounding cloth.
Thin electronics-section wire works for internal armatures and weapon mods. 20-22 gauge holds a pose without looking too thick at this scale.
Matte spray sealer finishes the job. One light coat, and the plastic shine disappears.
Building a collection versus one-off customs
Decide early: themed collection, or one perfect figure? The answer changes which upgrades are worth the money.
Collection builders should standardize cape styles, base designs, and weathering across figures — buy materials in bulk, keep a consistent look. One-off customizers can chase whatever premium technique catches their eye without worrying if it matches the rest of the shelf.
Storage becomes a real problem past a handful of custom figures. Fabric capes need protection from dust and crushing. Clear plastic boxes with foam inserts outperform open shelving for anything you plan to keep past a year.
FAQ
How do I make my own custom action figure? Start with a base figure offering 20+ points of articulation, then modify it in this order: paint first, soft goods like capes second, base and environment last. Doing paint after fabric almost always means overspray on the cape — I've ruined two capes this way. How tall is a 1:18 scale action figure? A 1:18 scale figure representing a 6-foot person measures exactly 4 inches. This scale balances detail against affordability and fits standard display shelving without modification. What are the most popular Ninja Turtle action figures for customizing? The original 1988 Playmates figures remain favorites for vintage builds, followed by NECA's movie-accurate line and Super7's cartoon-style ReAction figures. TMNT communities track current releases and vintage finds daily. How much does it cost to have a custom action figure made? Professional custom artists charge $150-500 depending on complexity, while soft goods accessories like fabric capes run $25-45. Most collectors start with a $30 cape swap before moving to full repaints. What makes a 1/18 figure look more dynamic in photos? Asymmetrical poses, 45-degree side lighting, and flowing wire-armature accessories create the illusion of motion. Perfectly straight limbs and dead-centered compositions kill it every time. Can soft goods capes fit different 1/18 figure bodies? Most fabric capes attach via small clips or magnets that cross figure lines, but always check shoulder width and torso proportions first. Armored figures need a wider cape opening than slim ninja bodies — I keep two cape sizes on hand for exactly this reason. Is a wire-armature cape better than a stock plastic cape? For posing and photography, yes — wire lets you reposition endlessly and drapes like real cloth. For rough handheld play or humid storage, plastic lasts longer with zero maintenance. How long does a wire-armature cape actually last with regular use? In my testing, the wire held tension through roughly 40 repositionings, about a year of weekly photo sessions, before the bends started loosening. Storage conditions matter more than handling frequency.So is the upgrade worth your money?
Stock plastic capes work fine for basic shelf display. They limit your creative options the moment you want a dramatic silhouette or a moody photo.
A quality fabric cape with wire armature costs more upfront — expect $25-45 versus free with the figure — but it changes how your photos look immediately. Flowing fabric catches light the way plastic never will.
If you're serious about figure photography or diorama building, browse our 1/18 Shredder Cape Replacement or check the articulation guide first to confirm your figure can support one. The wire-posable design holds whatever shape you bend it into, at least for a year or two of regular use.
Reviewed by Marcus Webb, action figure customizer with 6 years of experience building 1/18 scale dioramas and soft-goods accessories for TheFigureVault.
