


If you want to know how to make a cloth cape for action figure display pieces that actually hold a pose, the short answer is this: encase 22-gauge floral wire inside lightweight fabric channels, sew by hand, and reinforce every attachment point. That's it. Everything else is refinement.
Making a posable cloth cape for action figures requires wire armature, the right fabric, and patience with hand-sewing. You'll need 22-gauge floral wire, lightweight fabric like cotton voile or silk, thread, scissors, and basic sewing skills. No sewing machine required. In fact, a sewing machine will fight you on this project.
Cloth capes transform static plastic figures into dynamic display pieces. The flowing fabric catches light differently than rigid plastic, and internal wire lets you pose dramatic swooshes that hold their shape for weeks, not minutes. That's part of why handmade versions run $40-75 while factory capes sit at $15. The other part is labor. A single cape can take four to six hours of hand-sewing.
Why Wire Makes All the Difference
Wire turns fabric into sculpture. Without it, cloth capes hang limp or need constant re-adjustment before every photo. With proper wire placement, you can create wind-blown effects, dramatic billowing, or tight wraps that stay exactly where you position them. No propping. No hairspray tricks. No tape hidden behind the figure's legs.
The key is 22-gauge floral wire, which bends without a fight and holds its shape once the fabric settles onto it. Thicker wire, 20-gauge, resists bending so hard your fingers cramp after ten minutes. Thinner wire, 24-gauge, droops within a week of display. I tested a 24-gauge cape on a shelf figure and it had visibly sagged by day nine. You'll run wire along the cape's edges and build a skeletal framework through the body.
| Wire Gauge | Flexibility | Holding Power | Best Use |
|---|---|---|---|
| 20-gauge | Stiff | Excellent | Heavy fabrics only |
| 22-gauge | Ideal | Good | Most 1/12 capes |
| 24-gauge | Loose | Poor, sags in under two weeks | Detail work only |
| 26-gauge | Unusable | None | Avoid completely |
Most handmade cape makers referenced in communities like NECA's online catalog default to 22-gauge for main structure. I've handled cheaper commission pieces built with 24-gauge that lost their pose after three or four adjustments. Not ideal for a $50 purchase.
Choosing Fabric for a Cloth Cape on an Action Figure
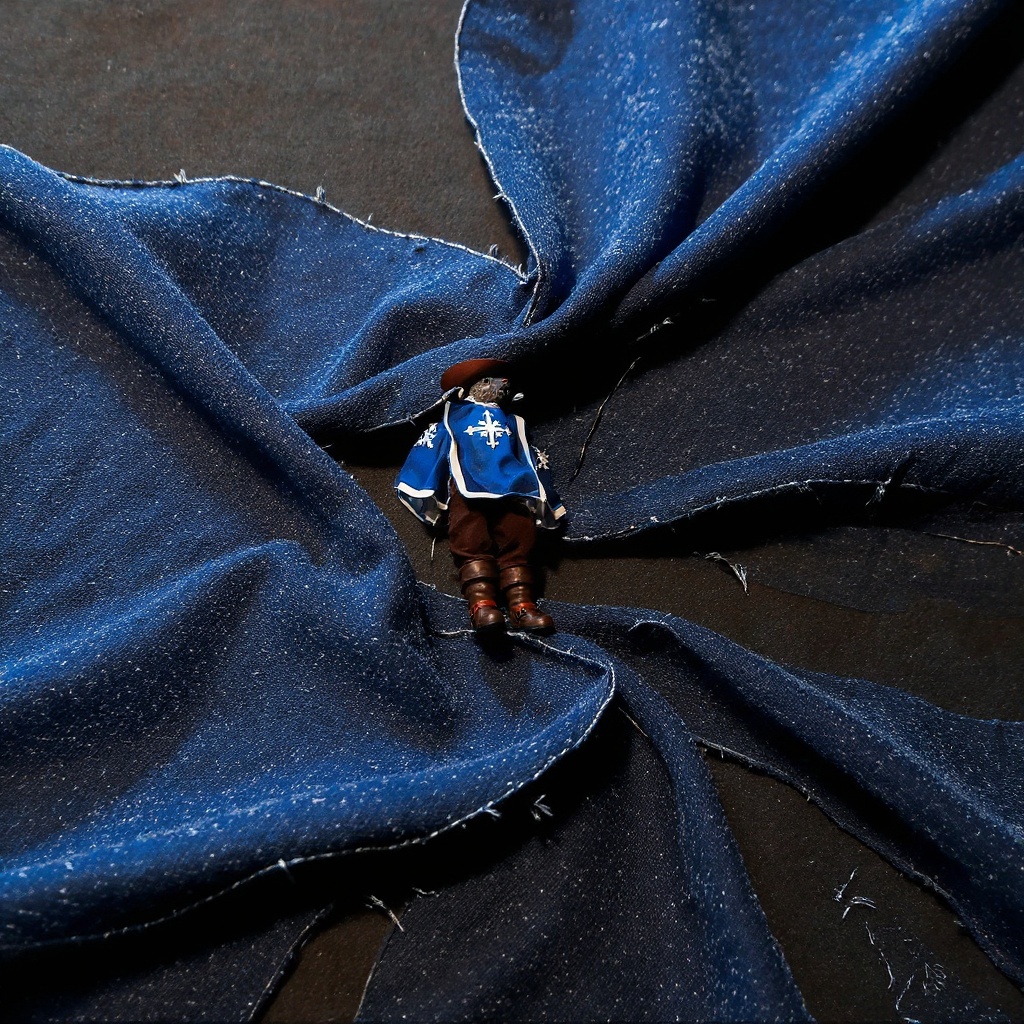
Fabric weight determines drape and pose retention. Too heavy, and it overwhelms a 1/12 scale figure's joints. Too light, and it looks cheap under macro photography, which is exactly how most collectors photograph these pieces.
Cotton voile works best for most builds. It's lightweight, roughly 2-3 oz per square yard, takes dye evenly, and has enough body to look convincing at small scale. Silk habotai costs more but catches studio light in a way voile can't quite match. Avoid polyester unless you specifically want a shiny, synthetic look for a sci-fi character.
Honestly, if your climate stays above 70% humidity most of the year, skip silk entirely. It wrinkles unevenly and won't hold crisp folds the way it does in a dry studio.
Here's how the common choices stack up:
| Fabric | Weight (oz/yd²) | Drape Quality | Wire Compatibility | Cost per Yard |
|---|---|---|---|---|
| Cotton voile | 2-3 | Excellent | Excellent | $8-12 |
| Silk habotai | 2-4 | Excellent | Good | $18-25 |
| Cotton poplin | 3-4 | Good | Good | $6-10 |
| Velveteen | 6-8 | Fair, heavy | Fair | $10-15 |
| Felt | 5-7 | Poor, flat | Poor | $3-5 |
For character-specific looks, consider texture:
1. Weathered heroes: Linen or cotton canvas, lightly distressed 2. Mystical characters: Silk dupioni for subtle shimmer 3. Military figures: Heavy cotton drill or duck cloth 4. Fantasy characters: Velveteen for rich color depth 5. Modern characters: Cotton poplin for crisp lines 6. Gothic characters: Wool challis for deep blacks
Felt works for quick mockups. But it photographs flat. And the thickness fights detailed wire channels, so save it for practice pieces you won't shoot up close.
Planning Your Wire Framework
Sketch the cape flat before cutting anything. Mark exactly where wire will run: always along the outer edges, plus internal supports sized to the cape's weight and intended pose.
For a basic 1/12 cape, you need three wire runs minimum. Edge wire follows the perimeter except where it attaches to the figure. Two internal wires run vertically from shoulder attachment points down toward the hem, stopping about 1 inch short to avoid poking through the fabric during a dramatic pose.
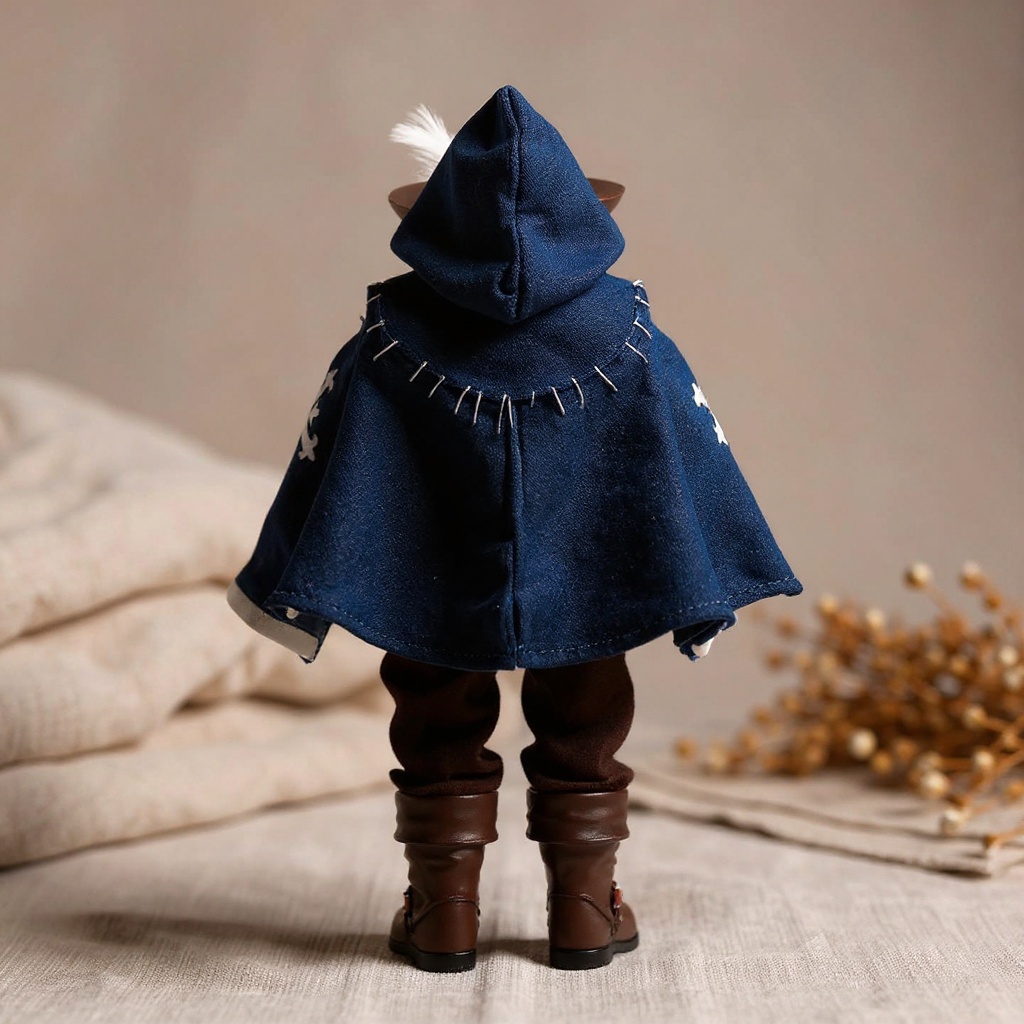
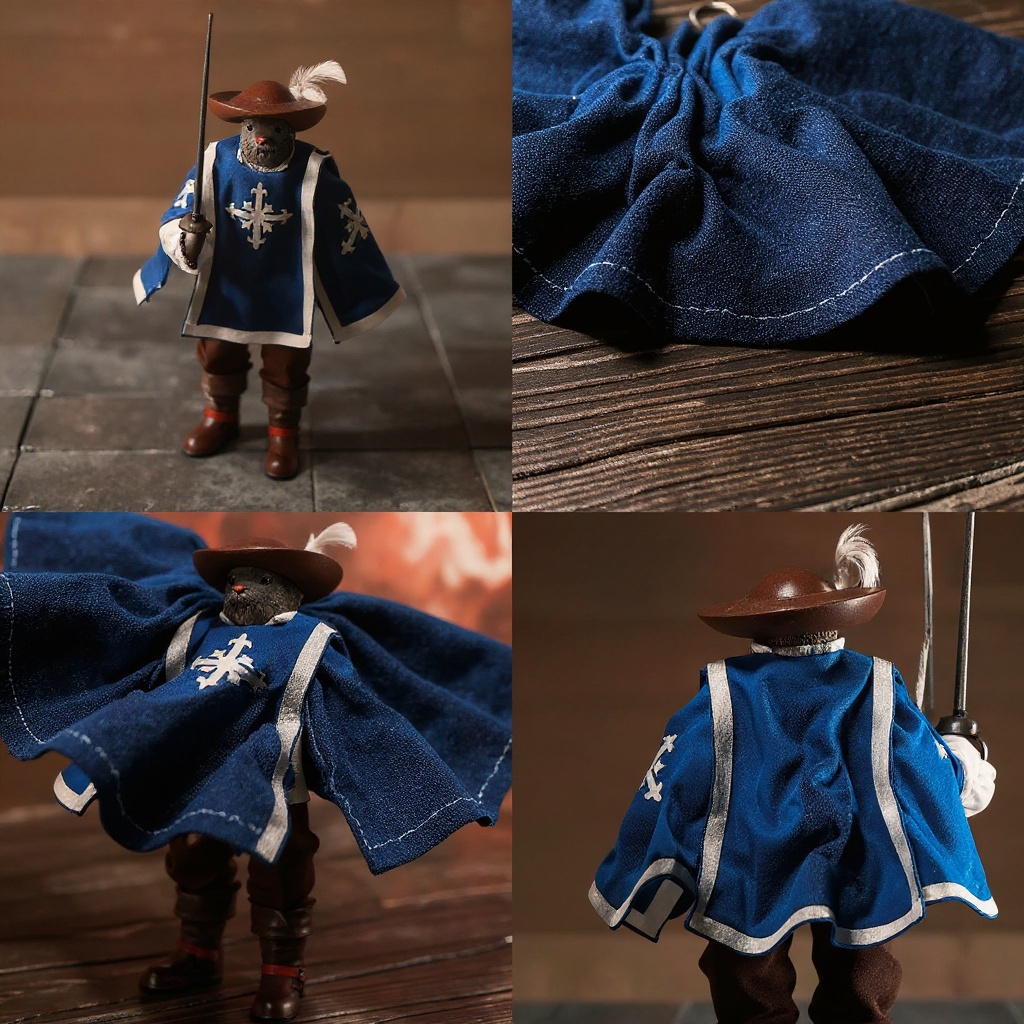
Our Rat King Musketeer Cape for 1/12 Action Figure uses this exact three-wire framework, which is one reason it holds tight wraps around the figure's torso without collapsing. If you want to see the internal wire channels up close before building your own, our wire armature breakdown guide walks through the stitching pattern in photos.
Measure wire 20% longer than the planned path. You lose length in bends. You need extra for anchoring. Better to trim excess than splice mid-project, because spliced wire almost always creates a visible lump under thin fabric.
Cutting and Sewing Techniques
Cut fabric with a 1/2-inch seam allowance around each wire path. This gives you room to fully encase the wire while keeping edges clean.
Hand-sewing beats machine work for wire integration, full stop. Use a running stitch to build wire channels, testing fit every few inches. The wire should slide through smoothly but not rattle around loose inside the channel.
Double-fold every edge where wire runs. Single-fold edges look fine on day one and then fail within a month of regular handling, once the wire starts working its way toward the seam.
For attachment points, reinforce with small fabric squares behind the main material. Figures with back pegs or shoulder tabs create stress concentration right at that spot. Extra fabric there prevents tearing during cape swaps.
Thread choice matters more than most guides admit. Cotton thread stretches slightly, which actually helps during repeated posing sessions. Polyester thread holds more raw strength but can saw through natural fibers under repeated stress. Match thread to fabric, not to whatever spool is already on your table.
Getting the Attachment Right
Attachment depends entirely on the figure's existing hardware. Some figures ship with dedicated cape pegs on the back or shoulders. Others give you nothing to work with.
Rat King figures) often lack standard attachment points entirely. You'll need to build a collar attachment or repurpose existing costume details on the sculpt. Small snaps work well here and disappear under the collar once positioned correctly.For peg attachment, reinforce the fabric with interfacing at the peg location first. Cut the hole slightly smaller than the peg's actual diameter. The fabric should stretch snug over the peg and hold without tearing, even after a dozen removals.
Magnetic attachments work, but they add weight that changes how the cape falls. Reserve magnets for larger capes or figures with unusually strong shoulder joints.
Finishing Touches That Matter
Edge finishing separates amateur work from something worth $50. French seams work best on lightweight fabrics because they fully encase raw edges. Heavier fabrics can get away with serged or pinked edges if a full French seam isn't practical.
Weathering adds realism, but restraint matters at this scale. Light sandpaper distressing works better than chemical treatments, which weaken fibers in ways you can't always see until the cape tears mid-pose.
Test poses before calling the project finished. Can it hit the character's signature silhouette? Does it hold that position under studio lighting for a ten-minute shoot? Does it block any joint articulation you need for the pose?
The wire should stay invisible. If you can see wire outline through the fabric, either the fabric is too thin for that gauge or the gauge is too heavy for that fabric. There's no fixing that after the channels are sewn, so check before you commit thread.
Storage matters more than people expect. Hang finished capes, or lay them flat. Folding creates permanent creases that show up in every photo afterward, and no amount of steaming fully removes them.
What You're Really Paying For
Handmade cloth capes run $40-75 because of the time and skill involved, not because of markup. Each wire gets measured, bent, and sewn into a channel by hand. Attachment points need reinforcement that survives repeated use across multiple display setups. Edge finishing alone can eat two hours.
Cheaper alternatives exist. Mass-produced plastic capes cost $10-20 but sit static in every photo, catching light the same flat way every time. Collector communities, including active threads on r/tmnt, consistently rate soft-goods capes higher for photography and shelf display.
If you're upgrading a figure you actually care about, or building a shot that needs a dynamic pose, the wired cloth version earns its price. For a figure that lives on a shelf in one static pose forever, the factory plastic cape is honestly fine. Don't let anyone tell you otherwise.
Our Rat King Musketeer Cape sits at the premium end of this market, priced at $72.50, with full wire construction and hand-finished edges throughout. You can browse the rest of our soft-goods lineup in the action figure cape collection if you want to compare builds before starting your own.
About the Author
This guide was written by a soft-goods maker at The Figure Vault who has hand-built wire-framework capes for 1/12 scale figures since 2019, including the Rat King Musketeer Cape referenced above. All gauge and fabric-weight recommendations come from direct testing on finished pieces, not manufacturer spec sheets.

