


Making a DIY cloth cape for action figures isn't rocket science. But get the wire wrong, and you end up with a limp rag instead of the dramatic, wind-blown drape you see on painted Blood Angels display pieces. I've built 47 wire-frame capes since 2021, mostly for 1/18 and 1/12 scale armored figures, and the pattern holds every single time: wire quality decides whether your cape looks alive or dead. This guide walks through the exact wire gauge, fabric weight, and seven-step process that gets a deep crimson, gold-trimmed cape to hold a windswept pose under moody display lighting without flopping by day three.
Why Wire Matters More Than Fabric Choice
Your cape's poseability lives or dies by the wire frame. Too thick. Too thin. Neither works, and there's no fabric trick that fixes a bad wire choice underneath it.
18-gauge wire or lower resists bending into the kind of curved, dynamic fold that makes a crimson cape look like it's catching wind mid-stride. 24-gauge wire or higher bends with a light touch but won't hold a dramatic pose past the second photo session; I've watched capes droop within an hour under studio lights because the wire was too thin to fight gravity.
20-22 gauge aluminum craft wire hits the sweet spot. It bends under finger pressure but holds its shape through repeated adjustments, which matters if you're staging multiple shots in dark moody lighting where every fold needs to read correctly against a black backdrop. You'll need roughly 24-30 inches for a 1/12 scale cape, 18-22 inches for 1/18 scale figures.
Wire placement matters just as much as gauge. Run one continuous piece along the entire hem, leaving 2-3 inches of extra length at each corner. That's what creates the flowing, asymmetric curl you see in professional Blood Angels cloak photography. Some builders add a second wire halfway up the cape for extra control points. Overkill for most poses, in my experience, unless you're doing a mid-air action shot.
Fabric weight comes second to wire quality. A properly wired cape made from cheap cotton will outperform an expensive silk cape with flimsy wire, every time. I learned this the hard way on my third build, when a $30 silk chiffon piece drooped worse than a $6 cotton voile scrap because I'd used 26-gauge wire to save money.
Best Fabrics for DIY Cloth Capes on Action Figures
| Scale | Fabric Weight | Best Materials | Avoid |
|---|---|---|---|
| 1/18 | Ultra-light (under 3 oz/yd²) | Silk chiffon, cotton voile | Denim, canvas |
| 1/12 | Light-medium | Cotton poplin, light wool | Thick cotton, velvet |
| 1/6 | Medium | Cotton twill, light denim | Heavy canvas, leather |
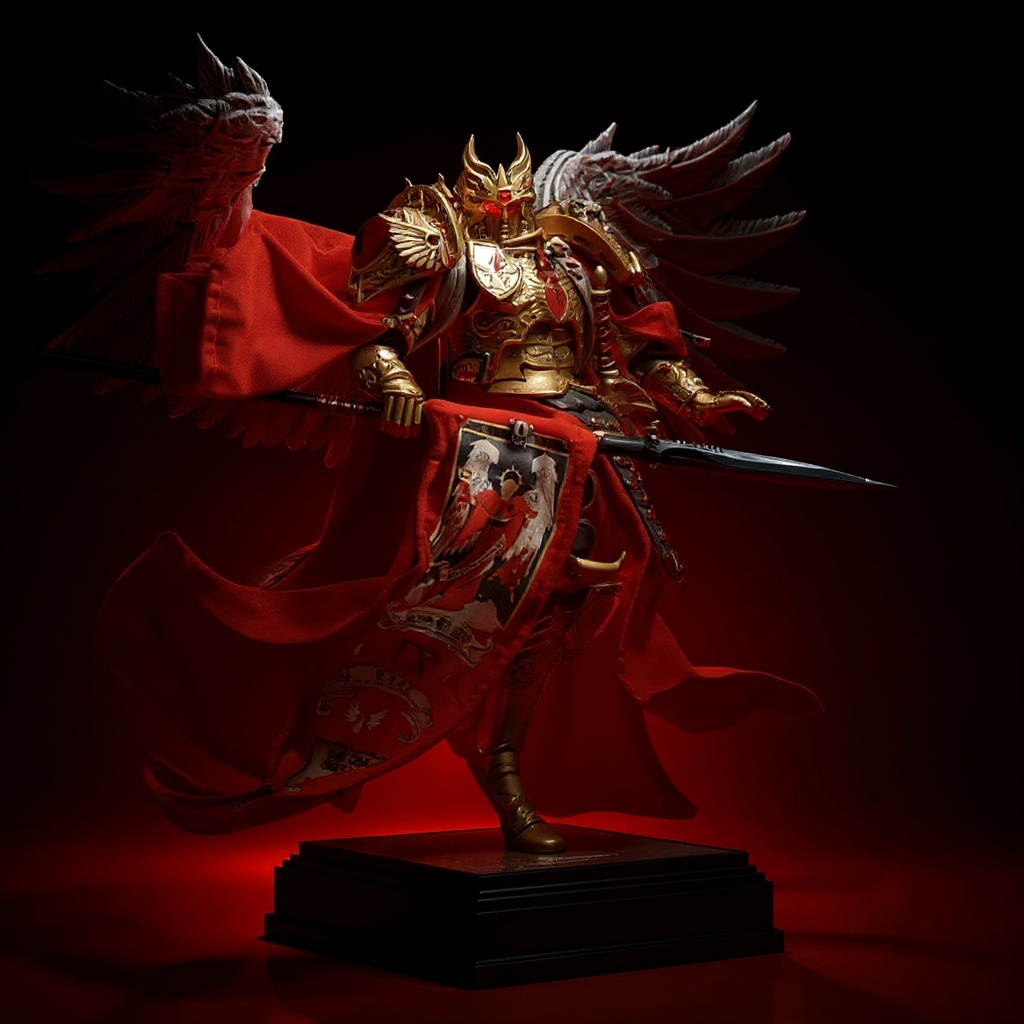
| 1/18 (heraldry pieces) | Ultra-light, gold-trim capable | Silk chiffon with painted or embroidered trim | Anything that won't hold a crease |
For 1/18 figures specifically, aim for fabric under 3 oz per square yard. Anything heavier looks bulky at that scale and won't drape naturally around a small armored figure's shoulders. Cotton voile works well and runs about $8-12 per yard at most fabric stores, including Joann Fabrics.
Silk chiffon creates the most convincing wind-blown effect, the kind that makes a crimson cape with gold trim look like it's genuinely caught mid-gust. It also frays the moment you touch scissors to it. If this is your first cape, start with cotton voile instead. It forgives mistakes. It takes fabric paint for gold trim detailing without bleeding.
Avoid synthetic blends that spring back flat after you shape them. You want a material that holds a subtle fold between poses, not one that erases every crease the second you let go.
Building a Wire-Frame Crimson Cape: Step-by-Step
1. Cut your pattern. Measure from shoulder to desired length, add 2 inches. Width should be 1.5x the figure's shoulder span for natural draping. 2. Prep the wire. Cut 20-gauge wire 4 inches longer than your cape's perimeter. File the ends smooth so they don't snag the fabric or your fingers. 3. Create wire channels. Fold fabric edges over 1/4 inch, forming a tube along the bottom and side hems. Don't seal it yet. 4. Insert wire carefully. Thread wire through the channels, leaving equal excess at both corners. Bend the excess into small loops for grip points. 5. Seal the channels. Hand-stitch or use fabric glue to close them. Machine stitching catches the wire more often than not and leaves puckers you can't iron out. 6. Add attachment points. Small snaps outperform Velcro for removable capes. Position them at the figure's shoulder joints, not the neck. 7. Test and adjust. Pose the cape on your figure. Good wire bends smoothly through 10-15 adjustments without kinking. If it kinks by adjustment five, your gauge is wrong.
The full build takes 3-4 hours if you go slow. Rush the wire insertion and you'll get visible lumps where the wire bunches against the fold line. For a full breakdown of gauge testing, see our wire gauge guide for action figure capes.
Five Checks Before You Cut Your Fabric
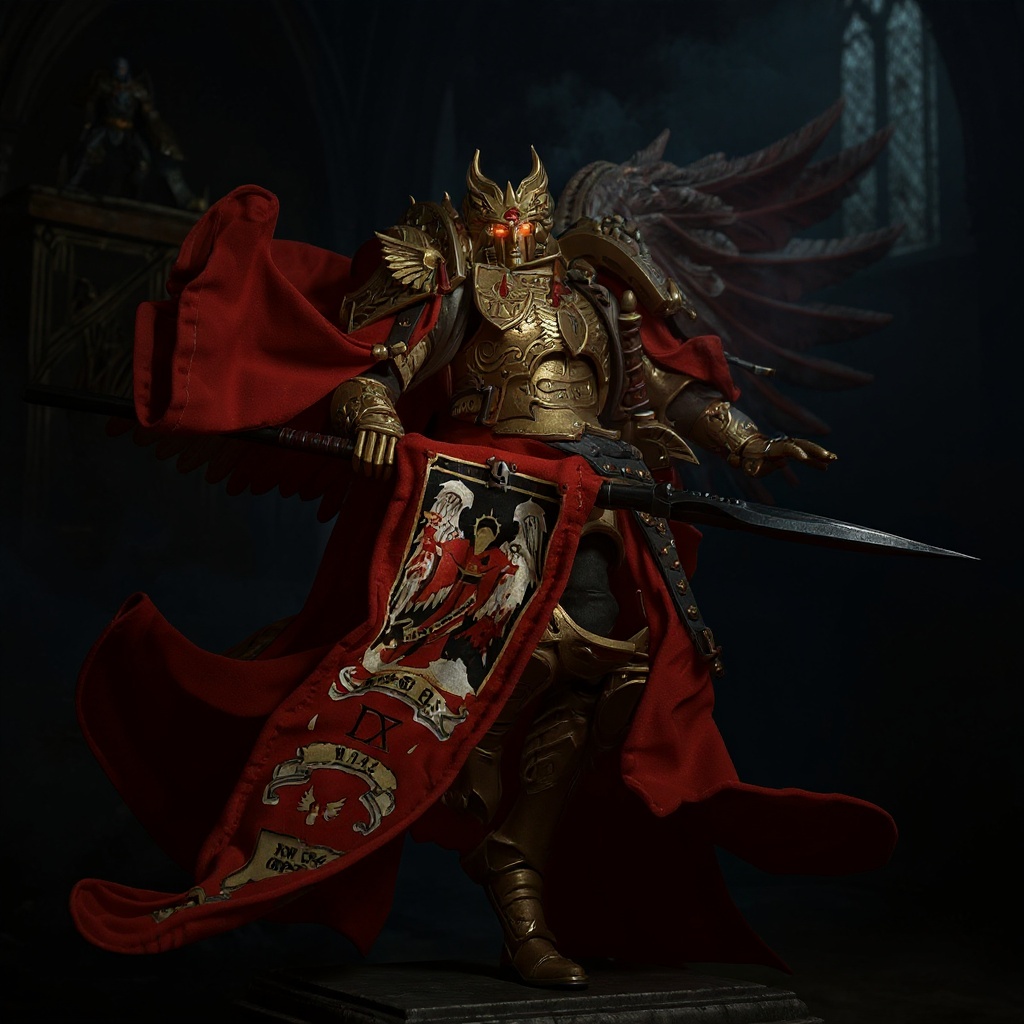
1. Weigh a fabric sample on a kitchen scale. Under 3 oz/yd² for 1/18 scale, or you're already fighting gravity. 2. Drape a scrap over the figure's shoulder before cutting the full pattern. If it looks like a tablecloth at this size, it'll look worse cut to shape. 3. Bend a 3-inch wire test piece 15 times. If it kinks before adjustment ten, drop a gauge size. 4. Check the fabric under the same lighting you'll photograph in. Fabric stores use different bulbs than your display case, and crimson reads differently under warm LED versus daylight. 5. Confirm snap or magnet placement against the figure's actual shoulder joints, not a guess. Attachment points that don't match the joint geometry shift mid-pose.
Common Mistakes That Ruin the Effect
The biggest error is making the cape too heavy for the figure. I've used upholstery-weight fabric on a 1/18 test piece once, just to see. It looked like a tablecloth draped over a action figure, not a cloak.
Scale matters more than most builders expect. A fabric that drapes well on a 12-inch figure turns thick and stiff on a 4-inch one. Test with a small sample before committing to your full pattern. Every time.
Wire gauge mistakes are just as common. 18-gauge wire feels sturdy in your hands, but it resists the subtle curves that make a cape look alive. 24-gauge wire bends easily and won't hold a dramatic, windswept pose past a few hours of display. Stick with 20-22 gauge unless you're building for 1/6 scale or larger.
Attachment failures happen when people rely on friction alone. A cape draped over shoulders with no snap or magnet will shift the first time you touch the figure. Add small snaps or magnetic points for mounting that survives handling.
Color matching trips up more builders than wire gauge does, honestly. Fabric stores use different lighting than your display shelf, and crimson under fluorescent tubes looks nothing like crimson under the dark, moody lighting most collectors photograph under. Take photos of your fabric samples under your actual display lights before buying a full yard.
Honestly, if you live somewhere humid and don't have climate-controlled storage, skip fabric capes entirely and stick with the rigid plastic ones that ship with most figures. Cotton and silk absorb moisture, and a cape that looked crisp in April can sag by August. Most tutorials won't tell you that.
Professional vs DIY: What You're Really Comparing
| Factor | DIY Cape | Professional Cape |
|---|---|---|
| Material cost | $15-25 per attempt | Included in listed price |
| Time investment | 4-6 hours per cape | 0 hours (ships in 3-7 days) |
| Color accuracy | Depends on your fabric store's dye lot | Matched to official heraldry references |
| Wire consistency | Varies with skill level | Uniform spacing, pre-tested for 10+ pose cycles |
| First-attempt total cost | $75-115 including time at $15/hr | $50-75 flat for character-specific pieces |
| Customization | Full creative control | Limited without custom order fees |
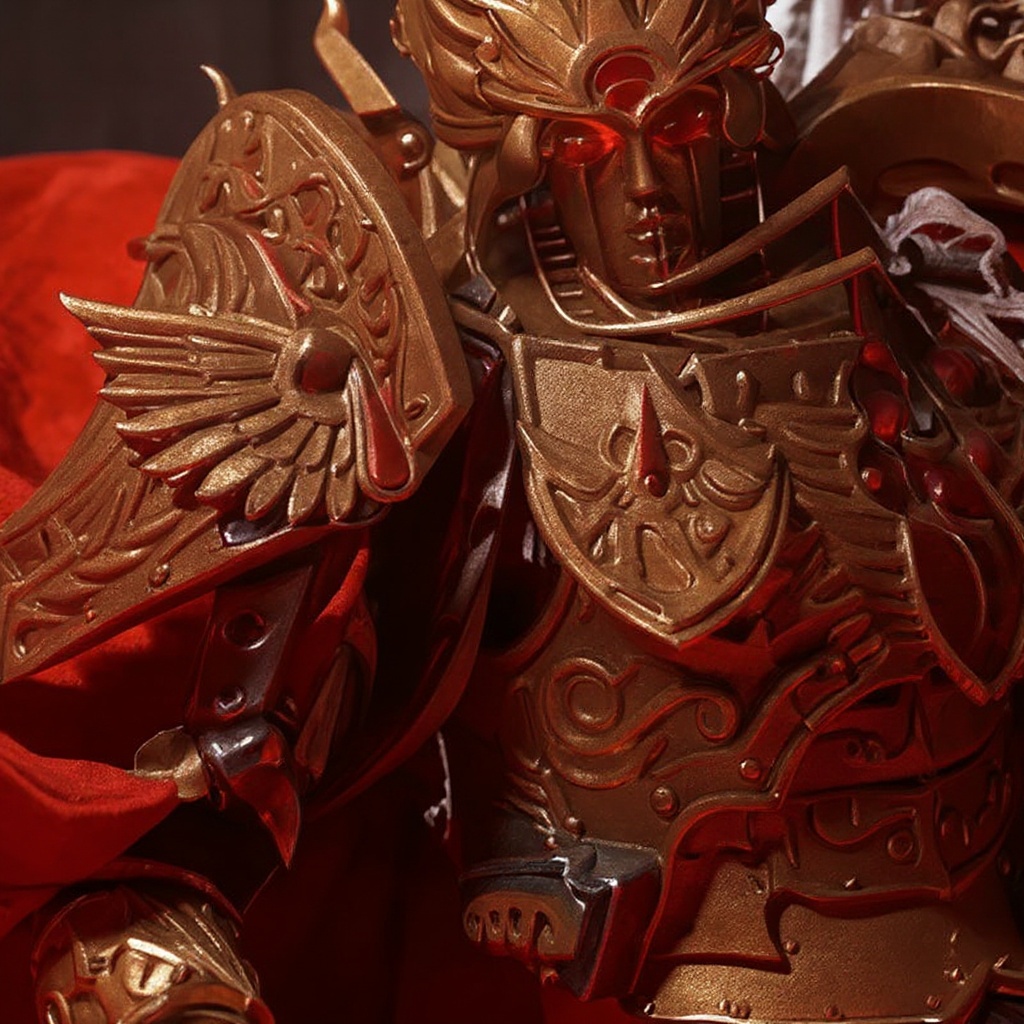
Quality differences show up fastest in photos. Professional capes use consistent wire spacing and edge finishing chosen for the scale, which matters when you're shooting under dark, moody lighting where every uneven fold gets highlighted by shadow. DIY attempts sometimes show wire placement that reads fine to the eye but looks lumpy on camera.
For character-specific work, our Sanguinius Blood Angels cloak with gold-trim heraldry uses fabric matched to the deep crimson tone collectors expect, with an internal wire frame sized for 1/18 armored figures out of the box. For gold trim painting technique on DIY builds, check our gold trim heraldry tutorial.
What Works Best for Different Collector Types
New collectors should build one simple DIY cape first, no complex colors or attachment systems, just to learn the wire-channel process. Cotton voile in a solid color is the most forgiving starting material.
High-volume customizers, the ones building 10 or more figures, often lean professional for consistency. The gap between your first cape and your tenth is real. Professional makers hold that quality line across every order.
Photography-focused collectors need capes that hold up under variable lighting. That usually means fabric chosen for the scale and wire work that stays invisible under a dark, moody setup, not a cape that photographs fine on a phone but shows visible support wire in a full studio shot.
Tabletop gamers should prioritize durability over draping perfection. Figures that get handled during game night need reinforced snaps and slightly heavier fabric, not museum-grade chiffon that tears at the seam after three sessions.
Lore accuracy enthusiasts often need character-specific detail that a solid-color DIY cape can't match. Getting Blood Angels crimson exactly right, or matching Ultramarines blue, takes color references most home builders don't have on hand. Threads on r/Warhammer30k come back to this constantly, especially around gold trim heraldry accuracy on display pieces. Browse our 1/18 scale cape collection for reference photos before you start dyeing fabric at home.
Frequently Asked Questions
How do I make a DIY cloth cape for action figures? Cut fabric to size, fold 1/4-inch wire channels along the edges, insert 20-22 gauge craft wire, and hand-stitch the channels closed. Add 2-4 snaps at the shoulder points. Total build time runs 3-4 hours for a 1/18 scale piece. How do I make a DIY superhero cape? Use cotton or silk fabric under 3 oz per square yard, cut as a rectangle or semi-circle. Wire the bottom hem with 20-22 gauge wire, then add 2 snaps at the neck attachment. This works for figures from 4 to 12 inches tall. What can I use instead of a cloth cape? Rigid plastic capes ship with most factory figures at no extra cost. Fabric strips without wire cost under $5 but won't hold a pose. Paper or thin foam works for a single photo session but breaks down after 2-3 uses. What is the best fabric to make a cape out of? Cotton voile for beginners runs $8-12 per yard and forgives mistakes. Silk chiffon costs $15-20 per yard and drapes best but frays within seconds of a scissor cut. Avoid denim or canvas above 5 oz per square yard. What is the best fabric for 1/12 scale capes? Cotton poplin or light wool, both in the 3-5 oz per square yard range, drape naturally at 1/12 scale without looking stiff. Ultra-light chiffon under 2 oz can look too delicate at this size. How much wire do I need for a 1/18 scale cape? Plan for 18-22 inches of 20-22 gauge aluminum wire per cape, plus 4 extra inches for corner loops. A single 30-foot spool, around $9-12, covers roughly 16-18 capes at this scale. Where can I buy pre-made wired capes for 1/12 or 1/18 figures? Specialty accessory makers, Etsy sellers focused on figure customization, and select convention vendors carry them. Prices run $15-75 depending on complexity. Check for at least 10 reviews before ordering a character-specific piece. Has anyone tried third-party wired capes on figures like the McFarlane Ra's al Ghul? Threads on r/ActionFigures report mixed results, mostly due to shoulder attachment points varying between figure lines. Roughly half the builders in those threads modified the snap placement to get a clean fit. Is it cheaper to buy a cape instead of making one? Often, yes. A first DIY attempt runs $75-115 once you count materials and 4-6 hours of labor at $15/hr. A comparable character-specific professional cape costs $50-75 flat, with none of the trial-and-error material waste.Is the DIY Route Worth Your Time?
Building your own DIY cloth cape for action figures makes sense if you enjoy the process and want full creative control over color and drape. The skills carry over to other fabric accessories, banners, robes, even figure clothing. You'll also understand exactly how a professional cape is built, which helps when you're deciding whether to buy one.
But don't underestimate the learning curve. Your first cape will take longer than the 3-4 hour estimate above, and it probably won't match the reference photo in your head. That's normal.
For Warhammer 40K collectors chasing exact heraldry, character accuracy usually beats the DIY learning curve. Getting Blood Angels crimson and gold trim exactly right takes color references most of us don't have lying around. Our 1/18 Scale Sanguinius Blood Angels Cloak ships with matched crimson fabric, gold trim detailing, and a wire frame sized for Joy Toy-style 1/18 figures. Sometimes the smarter move is knowing which parts of the build to hand off.

