


A DIY cloth flag for action figure displays needs three things: a 2.5 by 3.5 inch rectangle of thin cotton, a 6-inch length of 24-gauge wire, and a 9-inch dowel about 1/8 inch thick. Paint a gold cross on red cotton, seal the raw edges, fold the top and fly hems around the wire, stitch a pole sleeve, then bend the cloth into a fold. Expect about 45 minutes of core hands-on work plus drying.
I built 11 of these banners over three weekends for a 6-inch crusader knight. Five went into a wire-gauge test. Six went into fabric and paint trials. That is a small sample, not a lab study, but the same patterns showed up every time.
What You Need for a DIY Cloth Flag for Action Figure Builds
- Fabric: dark red quilting cotton, about 4 oz per square yard. A 4 by 5 inch scrap is plenty. - Wire: 6 inches of soft 24-gauge craft wire (0.5 mm) per flag. - Pole: one 1/8 inch (3 mm) hardwood dowel, bamboo skewer, or styrene rod, cut to 9 inches so it stands taller than the figure's head when held. - Sealant: fray-check liquid. - Emblem: gold acrylic paint, fabric medium, and freezer paper for a stencil. - Tools: fine scissors, a needle with dark red thread, round-nose pliers, a craft knife. - Optional: brown acrylic paint for mud, and a small bead for a pole finial.
Three fabrics to avoid. Polyester: too shiny. Felt: too fuzzy. Canvas over 8 oz: too stiff, and it folds into blocky creases instead of soft ones. Your banner should read as cloth, not as a miniature tarp.
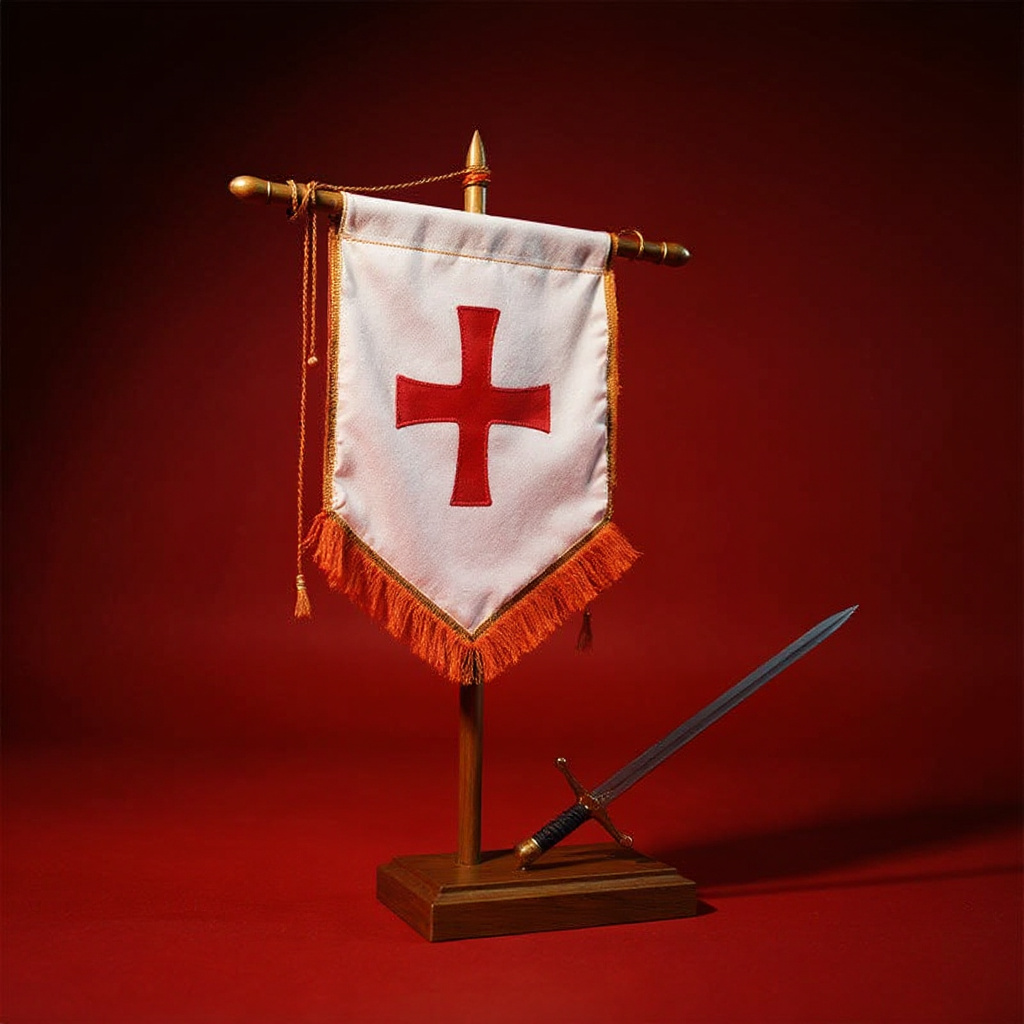
Scale Check: Why a 2 by 3 Inch Flag Works
A 6-inch figure sits near 1/12 scale, so one inch on the figure stands for one foot on a real person (the action figure overview on Wikipedia covers the scale conventions). A 2 by 3 inch banner therefore equals a 2 by 3 foot battle standard, a believable size for a soldier to carry. The cut size is simple arithmetic: 2 inches plus 0.25 inch on each side gives 2.5 inches, and 3 inches plus the same allowance gives 3.5 inches.
Watch out for guides written for 12-inch, 1/6 scale figures. The One Sixth Warriors forum has excellent cloth-aging threads, but every dimension there needs cutting in half for a 6-inch figure. The Mythic Legions community on Reddit is a better place to see banners photographed in the hands of 6-inch figures.
How to Make a DIY Cloth Flag for Action Figure Displays: Step by Step
1. Wash and iron the cotton (5 minutes). Wash it in warm water to strip the factory sizing, then iron it flat. Sizing is the top cause of stiff, boardy folds. 2. Paint the cross (10 minutes, plus an overnight cure). Cut a cross pattée stencil about 1 inch across from freezer paper, iron it shiny-side down onto the fabric, and dab on gold acrylic mixed 1:1 with fabric medium. Peel the stencil while the paint is damp. Thick paint cracks at the folds, so keep the coat thin. 3. Mark and cut (5 minutes). Draw a 2 by 3 inch rectangle centered on the cross, then cut 0.25 inch outside that line to get a 2.5 by 3.5 inch piece. I cut along the grain. Bias-cut samples stretched and warped as soon as I folded the hems. 4. Seal the raw edges (5 minutes, plus drying). Brush a thin line of fray-check on every cut edge. Mine were touch-dry in about 15 minutes, but follow your bottle. Sealing happens before folding, so the hems tuck the sealed edge out of sight. 5. Bend the wire (5 minutes). Cut 6 inches of 24-gauge wire. Bend an L with a 2 inch leg for the top edge and a 3 inch leg for the fly edge, and round the corner with pliers. That uses 5 inches; fold the last 0.5 inch at each end into a tiny hook so no tip can poke through the cloth. 6. Hem around the wire (10 minutes). Fold the top edge 0.25 inch over the short leg, then the fly edge over the long leg, pin, and whip-stitch every 1/8 inch. Fold the bottom edge with no wire. I tried a machine zigzag first. The tiny piece fed unevenly and the needle snapped on the wire. Hand stitching won. Glue works too, and the FAQ below covers it. 7. Sew the pole sleeve (10 minutes). Fold the hoist edge 0.25 inch, then stitch a line 0.2 inch from the fold, leaving both ends open. The channel comes out just wide enough for a 0.125 inch dowel. A wider sleeve lets the flag slop around the pole. 8. Finish the pole (5 minutes). Sand the cut ends, paint the dowel dark brown or black, and glue a small bead on top. Slide it through the sleeve and dot glue at the sleeve ends. Test-fit the pole in the figure's fist before gluing anything, because hand openings vary between lines. 9. Pose and weather (10 minutes). Bend the wire into a shallow S so the fly edge lifts at one end and drops at the other. Dry-brush brown acrylic along the bottom third with an almost-dry brush. Add one small nick on the fly edge with a craft knife and tug two threads loose. One nick. Not five.
The prewash, pole finishing, and weathering add about 20 minutes on top of the 45-minute core build.
I also tea-stained three of the six red banners. On dark red cotton the stain barely showed. Skip it unless your fabric is cream or white, where the brown tint reads as age.
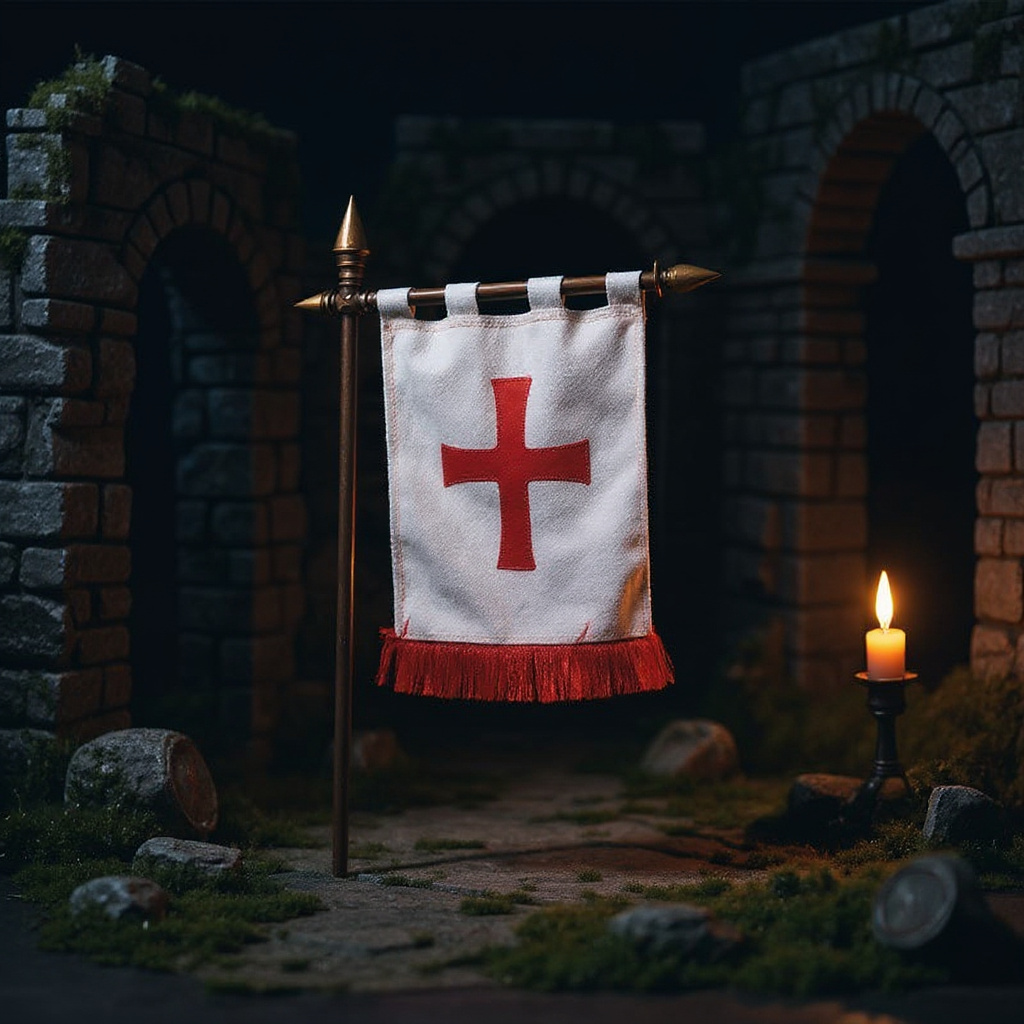
Wire Gauge Test: What Actually Holds a Pose
I made five flags identical in every way except the wire, then bent each one through 20 pose changes. Thicker was not better.
| Wire gauge | Diameter | Result after 20 bends |
|---|---|---|
| 20 | 0.81 mm | Held every pose, but a ridge showed through the hem and the corner bent into a hard angle |
| 22 | 0.64 mm | Held well, with a faint ridge visible under raking light |
| 24 | 0.51 mm | Held poses, no visible ridge, easy to reshape (my pick) |
| 26 | 0.40 mm | Held soft curves, sagged on sharp folds |
| 28 | 0.32 mm | Drooped on its own within a day |
Thin wire lets the cotton fall into soft folds, which is what sells the look of a banner with real weight. Soft craft wire also work-hardens, so move your bends to fresh spots instead of flexing one kink back and forth. Some builders on Reddit run a single wire along the top edge only. I preferred the L shape because the fly edge stays lifted and gives the cloth a second fold line.
Pole Attachment Options
| Method | Skill level | Removable? | What I found |
|---|---|---|---|
| Stitched sleeve | Beginner | Yes | Cleanest look, survived repeated pole swaps |
| Glued sleeve | Beginner | No | Fast, but glue lumps show at the seam |
| Wrap-and-glue | Beginner | No | Quickest, but the top corner peeled in one of two tests |
| Sewn loops or ties | Intermediate | Yes | Period-correct hanging look, fiddly at a 2 inch width |
The stitched sleeve is my default. It lets me swap a torn banner onto the same pole in about a minute.
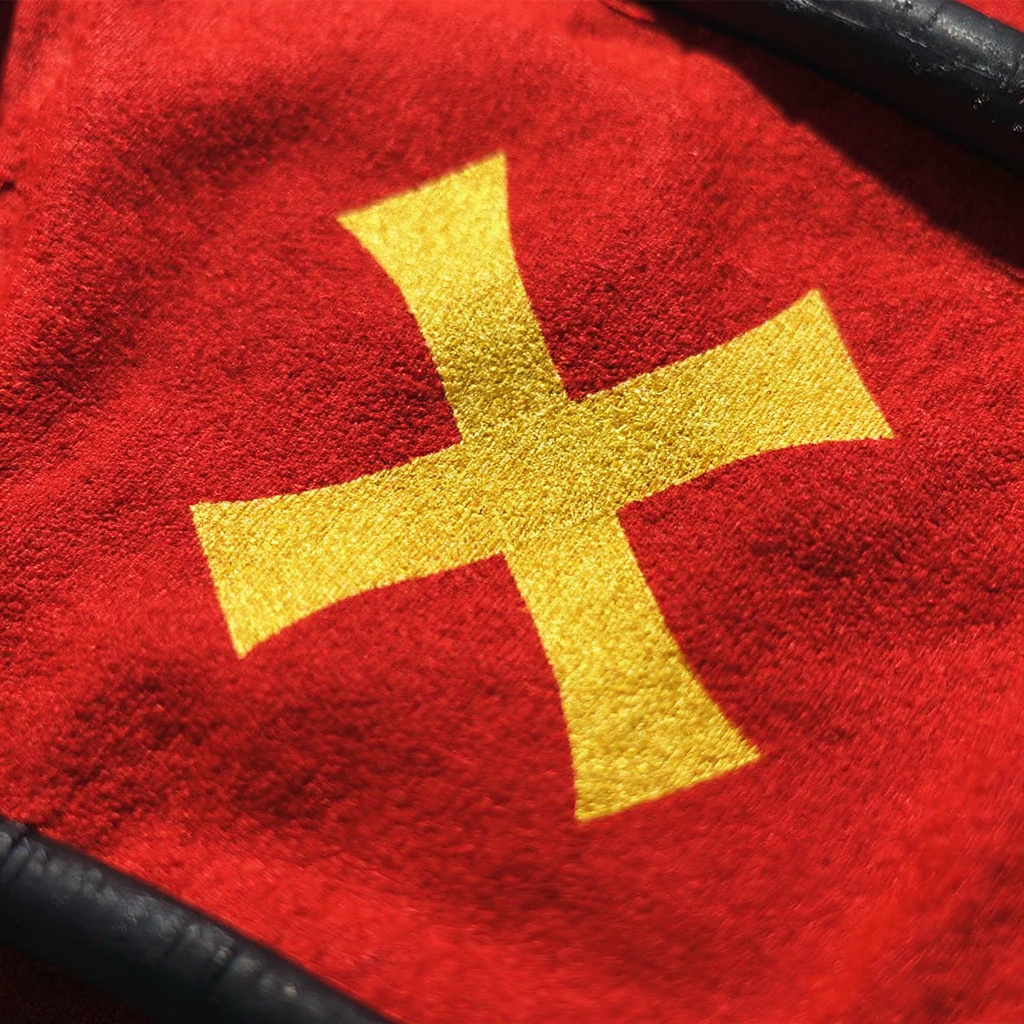
Troubleshooting Common Problems
1. Wire ridge shows through the fabric. Drop one gauge, or fold a second strip of the same cotton inside the hem. 2. The flag droops. The wire is too thin, or it has hardened at one bend. Replace it with fresh 24-gauge wire and bend at new spots. 3. Corners fray. Re-seal with fray-check, or dab clear nail polish on with a fine brush. 4. **Folds

