


A wire frame cape for action figures is a small cloth cape with bendable wire stitched into its hem, so the fabric holds a wind-blown shape instead of hanging flat. To make one:
1. Cut a trapezoid of lightweight fabric, 5 inches tall and 8 inches wide at the hem. 2. Fold and stitch a 1/4-inch channel along the hem. 3. Thread 22-gauge wire through it, leaving 1 inch spare at each end. 4. Curl the wire ends, add ribbon ties at the neck, and bend the pose.
Budget about two hours for a first attempt.
What a Wire Frame Cape for Action Figures Does for Your Display
Gravity ruins shelf photos. A plain cloth cape drops straight down and hides the sculpt behind a limp rectangle. A wired edge fights back. Bend it once and the hem lifts, curls, or snaps sideways as if a gust caught it. Instant motion. No fishing line.
The look I was after was a Chinese-style cape and cloak set in deep red, black, and gold. The red outer layer has a soft sheen that catches light along every fold. Black lining shows wherever the hem flips over. Gold cloud-scroll motifs, worked in metallic thread, read as subtle embroidery rather than glitter. The wire runs inside the outer hem and leaves a raised ridge about 1 mm high, which sharpens the silhouette in photos. Draped over a 7-inch display stand with one side swept upward, the set looks caught mid-gust.
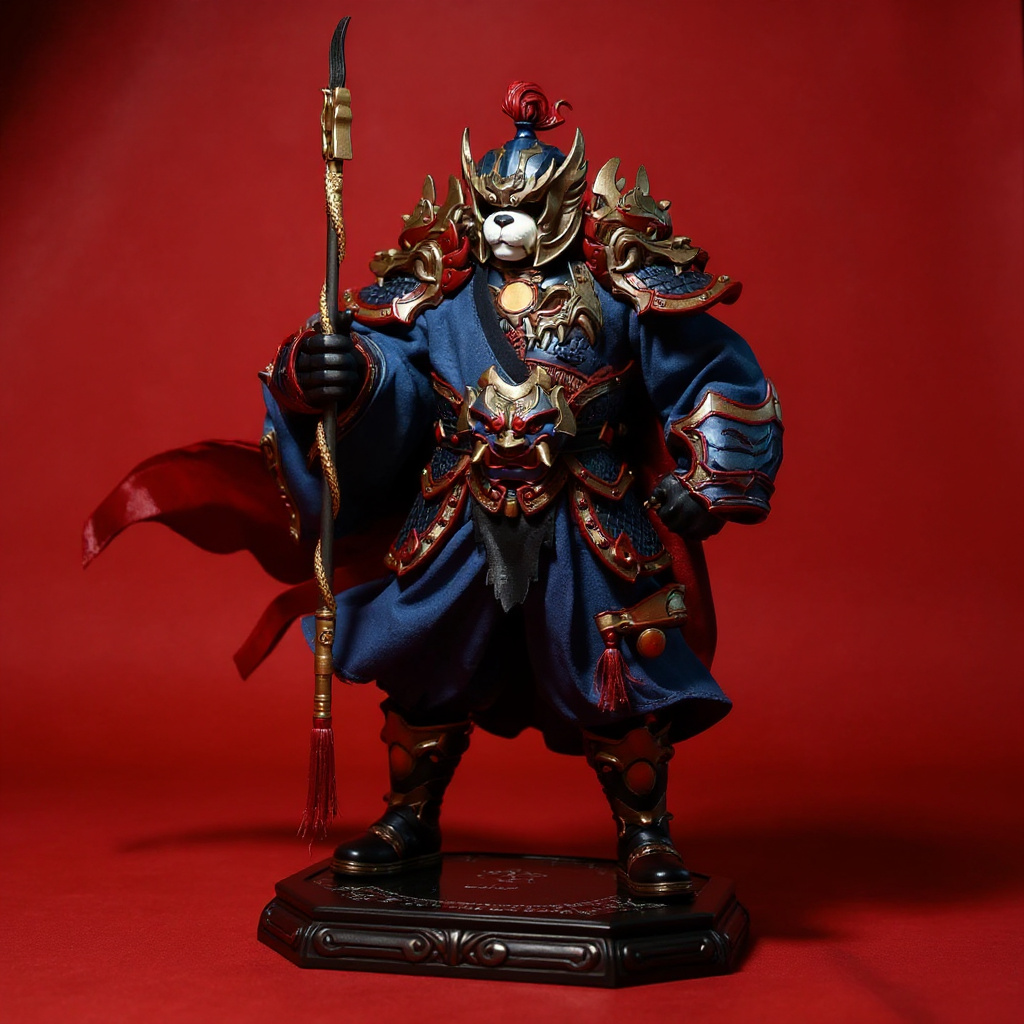
Build Notes: What I Tested Before Recommending Anything
Over three weekends in March 2025 I sewed five test capes for a 7-inch figure. Same fabric, same pattern, different wire. I bent each into the same wind-blown pose, left it on a shelf for 48 hours, then folded one hem corner back and forth at 90 degrees until the wire snapped. Small sample. One cape per wire type. Treat the numbers as a rough guide, not lab data.
| Wire (AWG) | Diameter | Result after 48 hours | Bends to snap (my test) | Verdict |
|---|---|---|---|---|
| 24, copper | 0.51 mm | Hem sagged by about 1/2 inch | 18 | Too soft for a hem |
| 22, copper | 0.64 mm | Held the pose | 14 | Best hold for 1/12 scale |
| 22, aluminum | 0.64 mm | Held, but the curves loosened | 22 | Forgiving, softer hold |
| 20, copper | 0.81 mm | Held stiff | 9 | Visible lumps under thin fabric |
Lower AWG numbers mean thicker wire, a detail that trips up many beginners (the American wire gauge scale explains why). The snapping comes from work hardening: every bend stiffens the metal until it cracks. Wide, rounded curves beat sharp folds every time.
So the gauge answer is simple. Use 22 AWG for a 7-inch figure. Reserve 20 AWG for 1/6 scale capes that are twice as long, where the extra stiffness is needed and the lumps hide in heavier cloth.
Materials for a DIY Poseable Cape
- Fabric: lightweight cotton-polyester blend, thin silk, or polyester satin, at least 6 x 9 inches - Wire: 22 AWG craft wire, copper or aluminum - Thread: strong polyester in a matching color, plus gold metallic thread for the pattern work - Ribbon: 1/8-inch, two 6-inch lengths for neck ties - Tools: sharp needle, fabric shears, needle-nose pliers, dry iron - Pattern paper: for a test drape before you cut
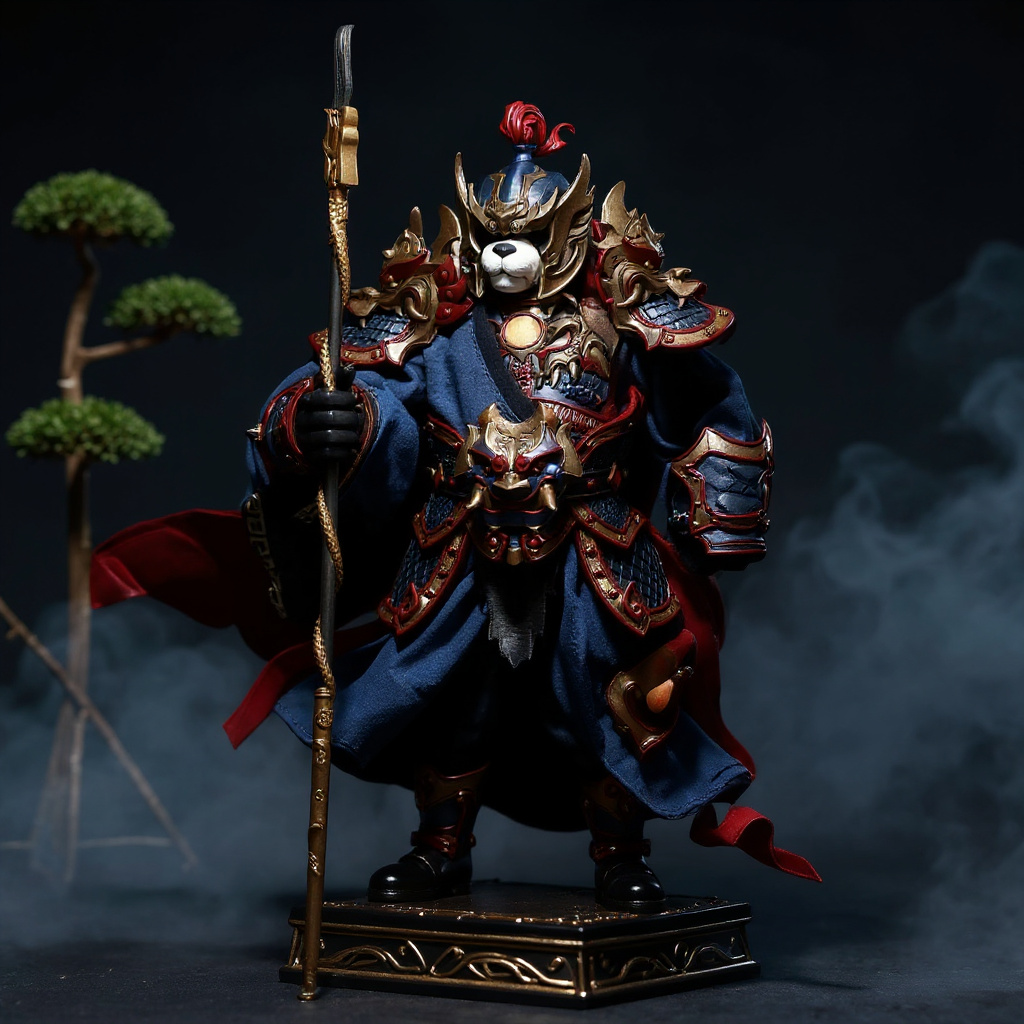
Pattern Dimensions, Wire Length, and Shoulder Attachment
For a 7-inch figure, the main cape measures 5 inches from shoulder to hem, 2.5 inches across the top, and 8 inches across the hem. Each side edge runs about 5.2 inches. A short over-cloak, if you want the layered set look, can be 2.5 inches tall and 4 inches across the bottom.
The wire formula is easy: channel length plus 2 inches. A hem-only channel of 8 inches needs a 10-inch wire. A hem plus both sides totals 18.4 inches of channel, so cut 20.5 inches of wire and round the corners rather than kinking them.
To attach the cape, sew a 6-inch ribbon tie to each top corner and knot it behind the neck. A tiny snap fastener works too. On a bare display stand, drape the top edge over the shoulders and hold it with a dab of removable museum putty.
Step-by-Step: How to Make the Cape
1. Draw the trapezoid on paper and test-drape it over your figure or stand. 2. Cut the fabric 1/2 inch larger than the paper along the hem and both sides. Leave 1/4 inch at the top. 3. Fold the hem over 1/4 inch, then again by 3/8 inch. Press with a dry iron on low. The double fold stops fraying and keeps the wire from poking through. 4. Stitch close to the inner fold. Leave 1 inch open at each end. No backstitching at the openings. 5. Cut the wire to channel length plus 2 inches. 6. Grip one wire end with pliers and feed it through in 1-inch bites so the fabric doesn't bunch. 7. Bend 1/2 inch of each wire end into a tight loop and tuck it inside the channel, then close the opening with two stitches. This is your seal. 8. Sew on the ribbon ties and stitch the gold motifs, or trace them with a metallic paint pen. 9. Bend the shape in wide arcs. Lift one corner higher than the other for a natural gust.
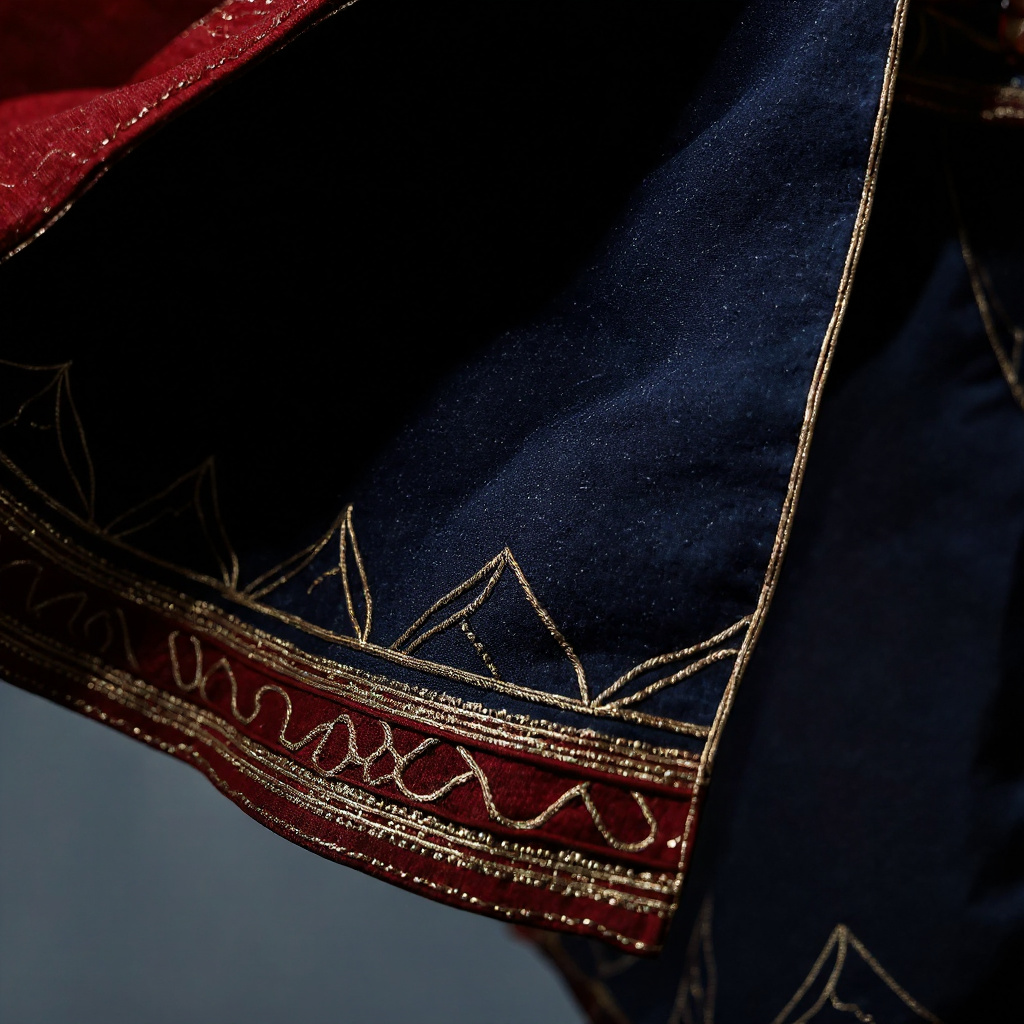
Fabric Choices for a Chinese-Style Look
Cotton blends are forgiving, and they take the wire without fuss. Thin silk drapes beautifully but frays when you handle it, and I would save it for a cape that stays put. Heavy brocade looks rich on a real robe. At 7 inches it becomes a stiff board that fights the wire.
| Fabric | Wire response | Detail look | Verdict |
|---|---|---|---|
| Cotton-poly blend | Holds shape well | Matte, takes paint pen well | Best for first builds |
| Thin silk | Drapes well, tears at stress points | Rich sheen, shows gold thread | Display pieces |
| Polyester satin | Smooth fold, slips when sewing | Glossy, close to the red-and-gold look | Good with a pinned hem |
| Linen | Wrinkles hold the pose | Rough texture, wrong for embroidery | Rustic characters |
| Heavy brocade | Fights the wire | Pattern too large for 7 inches | Skip |
When a Wire Frame Cape Is the Wrong Choice
Here is what most cape guides skip. If you re-pose your figures every week, a wired cape is the wrong tool. Wire fatigues, and my snapped samples prove it. Buy a cheap one and treat it as a consumable.
Humidity matters too. In a damp climate, bare copper can tarnish and leave green marks on pale fabric, so choose aluminum or coated wire. And if your figures live in a closed case where nobody touches them, skip the wire and pin a plain cape in place. Less work. Same result.
Common Mistakes
- Cheap cotton thread: it breaks under repeated posing. Use polyester. - Channels cut too tight: the wire needs a little room or it saws through the fabric. - Skipping the double fold: the wire finds the weak spot within a week. - Sharp kinks: they start the work hardening early. Bend in arcs. - Too much wire: wire on every edge makes the cape hard to pose naturally. Start with the hem.
Buy vs. Make: Costs I Saw
| Option | Typical cost | Time | Best for |
|---|---|---|---|
| DIY cotton-blend cape | $4 to $8 in scraps and wire | About 2 hours | Learning the technique |
| Mass-market polyester cape | $8 to $12 | None | Quick, disposable poses |
| Ready-made Chinese-style set | $19.50 | None | A finished red, black, and gold look |
| Custom commission | $25 and up | Several weeks | A specific pattern or character |
These are prices I found while shopping, not market statistics, and they shift by seller. If you'd rather skip the sewing, the Chinese Style Cape Cloak for 7 Inch Action Figure matches the look described above. It is a cape and cloak set in deep red, black, and gold with embroidered-style patterns and a visible wire frame edge, priced at $19.50. You can also browse more custom action figure accessories if you want matching pieces for a 1/12 or 1/6 scale figure.
The choice comes down to whether you enjoy sewing or just want the display. Both paths get you a poseable cape. Building one teaches you why the good ones cost what they do. Visit The Figure Vault for the full range.

