


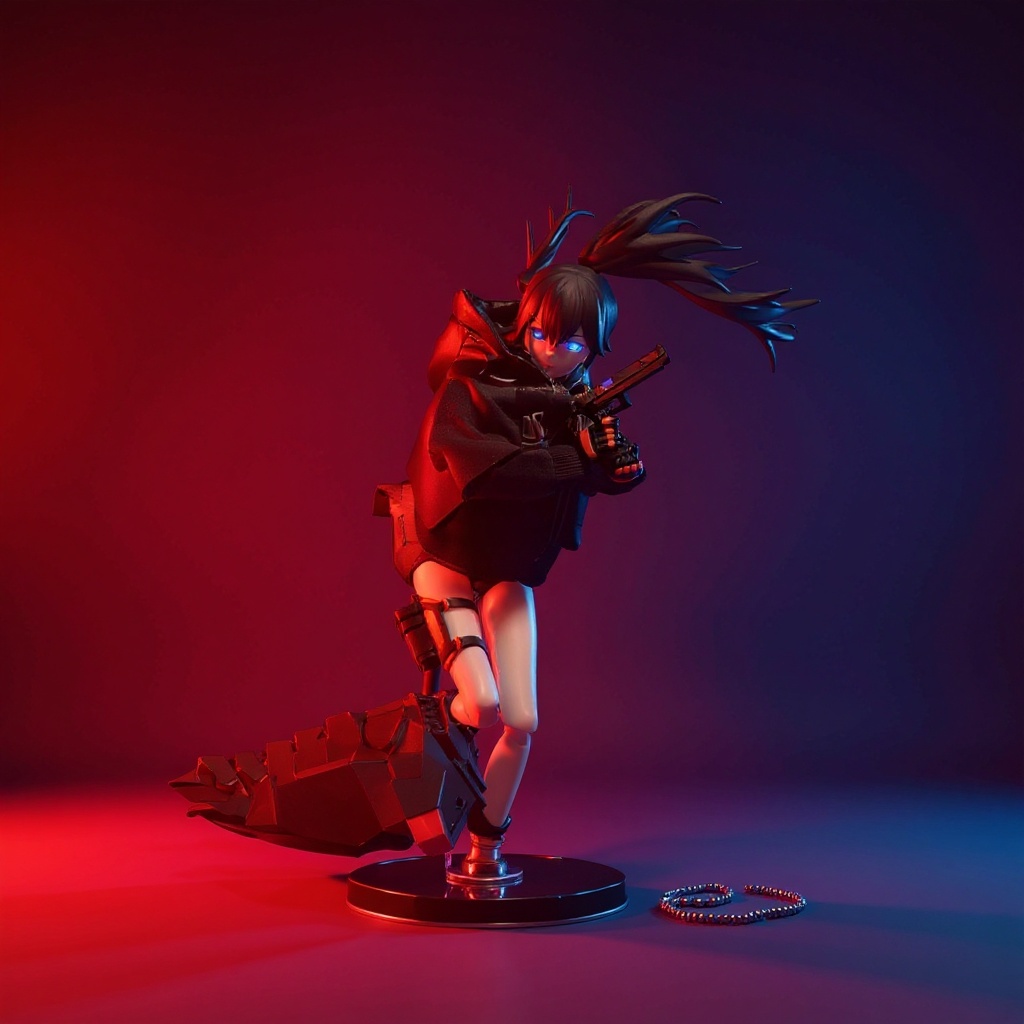
DIY doll clothes 1/12 scale projects take 6-8 hours for a simple jacket and 20+ hours for a layered costume with wire-reinforced hems. I've been sewing for 1/12 scale figures for about six years, mostly Figma-compatible bodies, and I still mess up seam allowances on a regular basis. This guide covers the tools, patterns, and construction tricks that actually work at 6-inch scale — including the wire-reinforced hem technique used on outfits like the Black Rock Shooter-style jacket and pleated skirt set.
Making clothes for 1/12 scale figures requires precision, patience, and techniques that differ from regular doll sewing. Six inches doesn't leave much room for error. Seam allowances measured in fractions of an eighth of an inch. Fabric that puckers if you breathe wrong on it.
Getting Started: DIY Doll Clothes 1/12 Scale Tools and Materials
Your fabric choices make or break miniature clothing. Cotton voile, silk organza, and lightweight jersey drape naturally at small scales, while a quilting-weight cotton that looks fine on a Barbie will make your 1/12 figure look like they're wearing cardboard. For a black-and-blue sailor-uniform-style jacket with a pleated skirt, you want something with body but not stiffness — a soft matte weave that still holds a crisp pleat line.
Thread matters more than you'd think. Use 60-weight cotton or polyester thread, not the heavier spools from your regular sewing kit. Keep seam allowances at 1/8 inch maximum, often less.
| Essential Tool | Why You Need It | Approximate Cost |
|---|---|---|
| Size 9-11 needles | Precise stitching without fabric damage | $3-5 |
| Small scissors (3-4 inch) | Clean cuts on tiny pieces | $15-25 |
| Seam ripper (fine point) | Fixing mistakes without destroying fabric | $8-12 |
| Rotary cutter (18mm) | Straight cuts on small pattern pieces | $12-18 |
| Clear ruler (6 inch) | Accurate measurements at small scale | $6-10 |
| Wonder clips (small) | Holding pieces without pin holes | $10-15 |
Fabric selection deserves its own comparison, since picking wrong here wastes more time than any other mistake.
| Fabric | Drape at 1/12 Scale | Fray Risk | Best Use | Cost per Yard |
|---|---|---|---|---|
| Cotton voile | Excellent | Medium | Shirts, linings | $8-12 |
| Silk organza | Excellent | High | Collars, sheer accents | $18-25 |
| Lightweight jersey knit | Good, stretches with joints | Low | Undershirts, bodysuits | $6-10 |
| Wool suiting (thin) | Fair, holds shape well | Low | Jacket shells | $14-20 |
| Quilting cotton | Poor, too stiff | Medium | Avoid for scale work | $5-8 |
| Metallic trim tape | N/A (accent only) | N/A | Small hardware accents | $3-6 per pack |
Sewing machine setup requires adjustments too. Drop your stitch length to 1.5-2mm and ease off the tension slightly. Test on scraps first. What works for human-sized clothes often puckers at doll scale, no exceptions.
Pattern Drafting: Scaling Down vs. Scaling Smart
Simply shrinking human patterns by 14% doesn't work. Human proportions don't translate directly to action figures, which often have exaggerated shoulders, narrow waists, and longer legs.
Measure your specific figure first. Figma bodies vary between releases, even within the same line. A jacket that fits one figure might be too tight on another because of different shoulder articulation designs.
Create a basic sloper by wrapping your figure in tissue paper and marking key measurement points. This becomes your foundation for every future pattern. Don't skip this step. I've wasted entire yards of fabric assuming two figures with the same product line number were identical, and they weren't.
For a sailor-uniform-style piece like the Black Rock Shooter Figma Outfit, the pattern has to account for the jacket's structured collar, the pleated skirt's fullness, and wire channels sewn directly into the hems. If you're drafting your own version, check the sizing reference guide before cutting fabric — measurements between figure generations shift more than people expect.
Construction Techniques for DIY Doll Clothes 1/12 Scale Projects
French seams become your best friend here. They prevent fraying on tiny garments that can't handle bulky serged edges. The process:
1. Sew pieces wrong sides together with 1/16 inch seam allowance 2. Trim seam to 1/32 inch — yes, that small 3. Press seam to one side 4. Fold right sides together, press again 5. Sew with 1/8 inch seam allowance, encasing raw edges 6. Press flat
Buttonholes at this scale require hand stitching. Machine buttonholes, even on the smallest settings, look cartoonish on 1/12 clothes. Use a single strand of thread and make tiny blanket stitches around a carefully cut opening.
Zippers are nearly impossible at this scale unless you're using doll-specific hardware. Velcro works better. The sew-on type, not adhesive, cut into 1/4 inch strips.
Honestly, if you've never hand-sewn a buttonhole before, skip the wire-reinforced hem technique on your first project. Most beginners get frustrated trying both new skills at once and quit halfway through a sleeve.
Advanced Details: Wire Reinforcement and Shaping
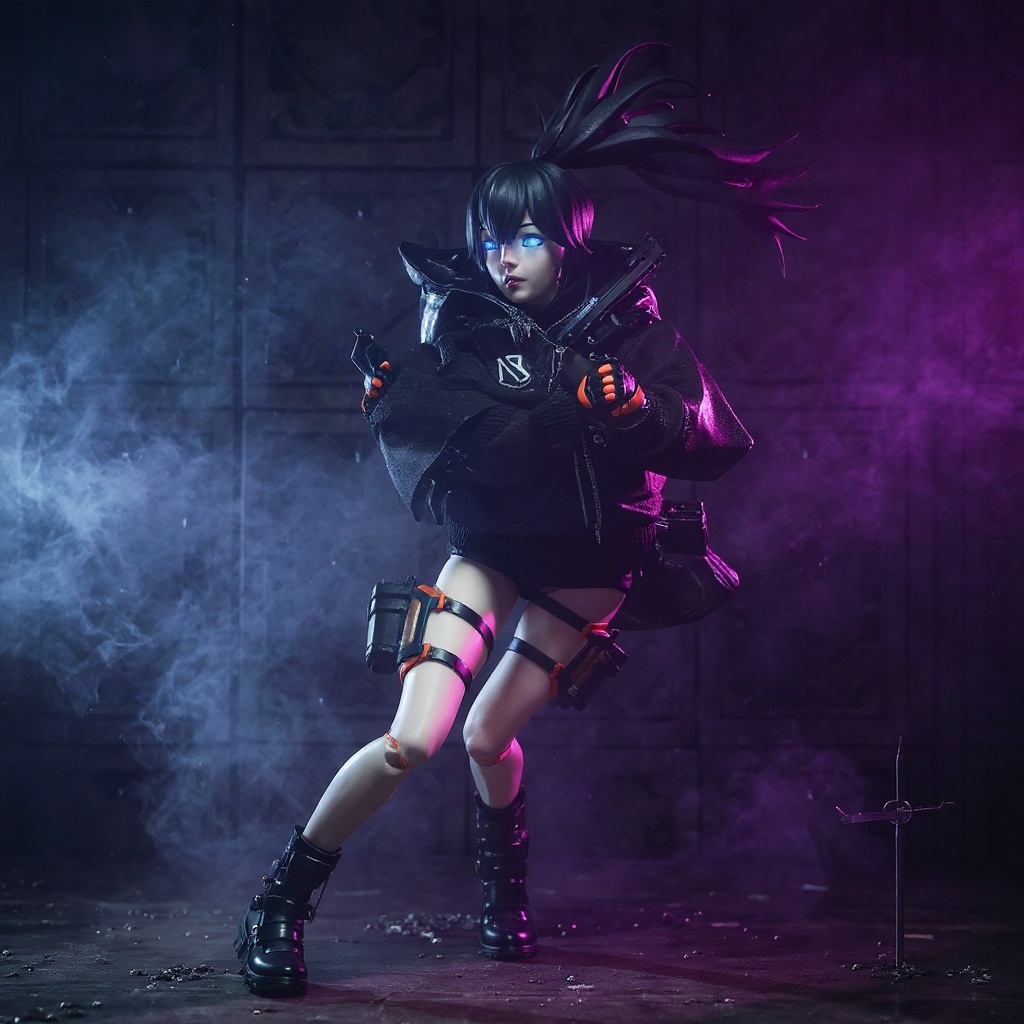
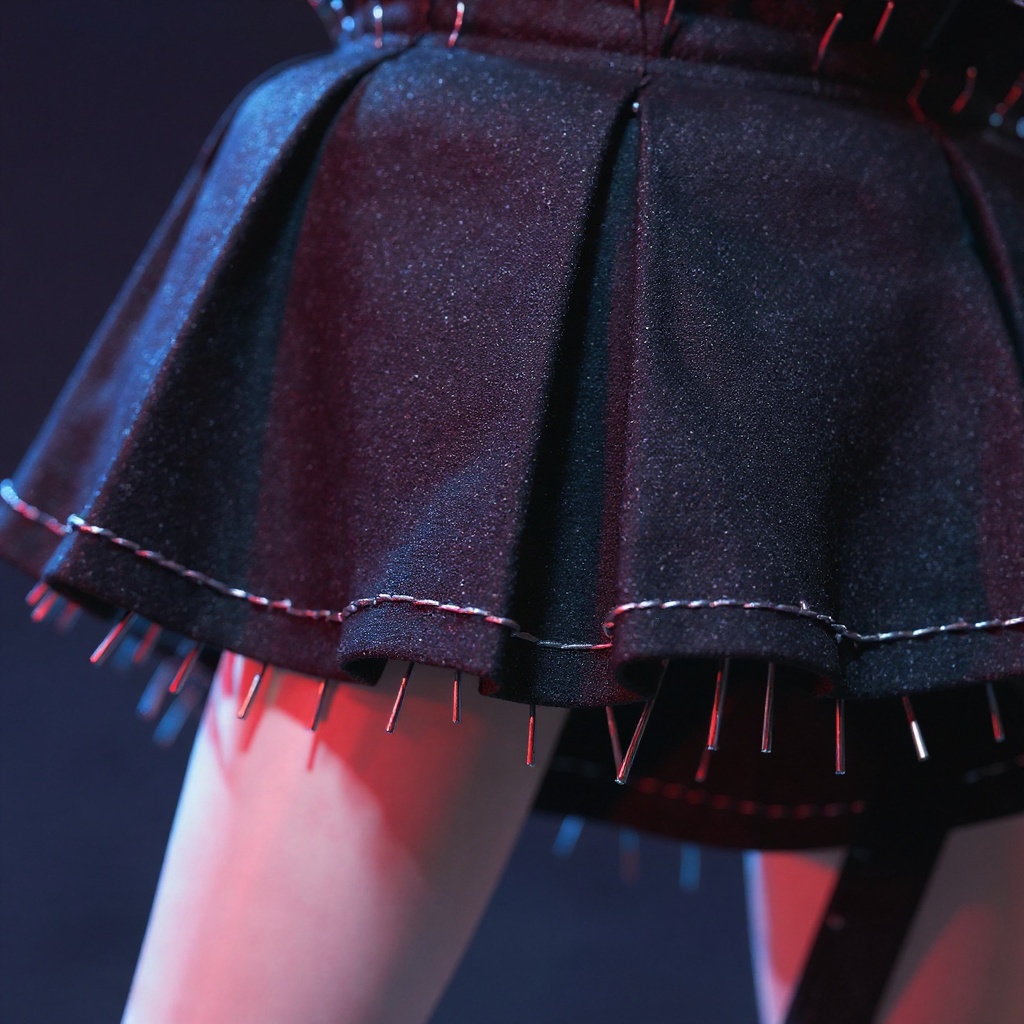
Wire-reinforced hems turn static fabric into poseable costume elements — the difference between a skirt that hangs flat and one that flares mid-pose like it's frozen in motion. Use 30-32 gauge craft wire, thin enough to bend by hand but strong enough to hold shape through repeated repositioning. Thread it through a narrow hem casing, leaving 1/4 inch extra length on each end so it doesn't poke through the fabric.
This technique works particularly well for:
1. Coat tails and cape edges that need dramatic flow 2. Collar points that should stay crisp 3. Pleated skirt hems that need to hold a specific silhouette 4. Sleeve cuffs for dynamic arm positioning 5. Scarf ends and trailing fabric elements
The wire adds roughly 30 minutes to construction time. On a black-and-blue sailor jacket with a pleated skirt, that half hour is the reason the skirt looks like it's caught mid-swing instead of just hanging there.
Working with Stretch Fabrics and Knits
Action figures need clothing that moves with their joints. Stretch fabrics solve this problem but require different handling than wovens.
Use a ballpoint needle and a slight zigzag stitch (0.5mm width, 2mm length) to keep threads from snapping when fabric stretches. Don't pull the fabric through the machine. Let the feed dogs do the work.
Stabilize shoulder seams and necklines with clear elastic or lightweight interfacing. Skip this step and knit garments lose their shape after a handful of pose changes — I've had jersey collars go permanently wavy after one weekend of photoshoots.
Test stretch recovery by pulling a fabric sample and releasing it. If it snaps back to its original size within a second or two, it'll survive repeated posing. If it sags, it won't.
When DIY Isn't Worth Your Time
Sewing 1/12 scale clothes takes 3-4 times longer than equivalent human garments. A simple jacket runs 6-8 hours for an experienced sewer, not counting pattern drafting.
Complex costumes with multiple layers, weathering effects, or character-specific details can run past 20 hours. At that point, a professionally made piece starts making more sense for a lot of people.
The Black Rock Shooter Figma Outfit includes wire-reinforced hems, metallic accents, and a dark blue-and-black palette matched to the character already assembled. Custom commissions for comparable detail typically run $80-120, so ready-made pieces sit in a similar price range without the wait time. If you want to browse other pre-made options first, the figure outfit collection has a range of styles at different price points.
Troubleshooting Common Problems
Seams that pucker usually point to incorrect tension settings or the wrong thread weight. Loosen upper tension gradually and test on scraps until seams lie flat.
Fraying edges plague beginners working with woven fabrics. Pinking shears help but don't solve the problem completely. Consider switching to knits, or use fabric glue sparingly on cut edges before assembly.
Proportion issues often come from wrong ease allowances. Figure joints need more room to move than human joints do, especially at shoulders and hips. Add an extra 1/8 inch to these areas.
Bulky seams make garments look homemade in the worst way. Grade your seam allowances by cutting them to different lengths, with the one closest to the body being longest. This creates graduated layers that press flatter.
One more thing nobody tells beginners: humidity ruins wire-reinforced hems. If you live somewhere genuinely humid, the fabric casing can go limp and the wire shape won't hold past a week. Skip elaborate wire shaping entirely in that climate, or store finished pieces with silica packets.

