


A soft goods cape shapeable wire build sews 20-gauge aluminum or copper craft wire into the hem of a black fabric cape. In our bench test it held a windswept pose for about 10 weeks untouched. Handmade versions cost $60-120, and the Spawn 7 Inch Cape sits at $84. A DIY version costs $12-18 in materials and 4-6 hours for a first attempt.
The bottom line
- Best gauge for 7-inch figures: 20 gauge. It bends by hand and held a pose longest without pliers. - Hold time: about 10 weeks untouched on 20-gauge wire. Expect to reshape every 7-10 days if you repose it for photos. - Price: stock plastic $0 (included), 3D-printed $15-30, handmade $60-120, DIY $12-18 in materials. - Torn edges: the wire runs along a smooth line inside the jagged edge. It never follows the flame tips. - Honest caveat: if your figure sits behind glass and never moves, skip the wire.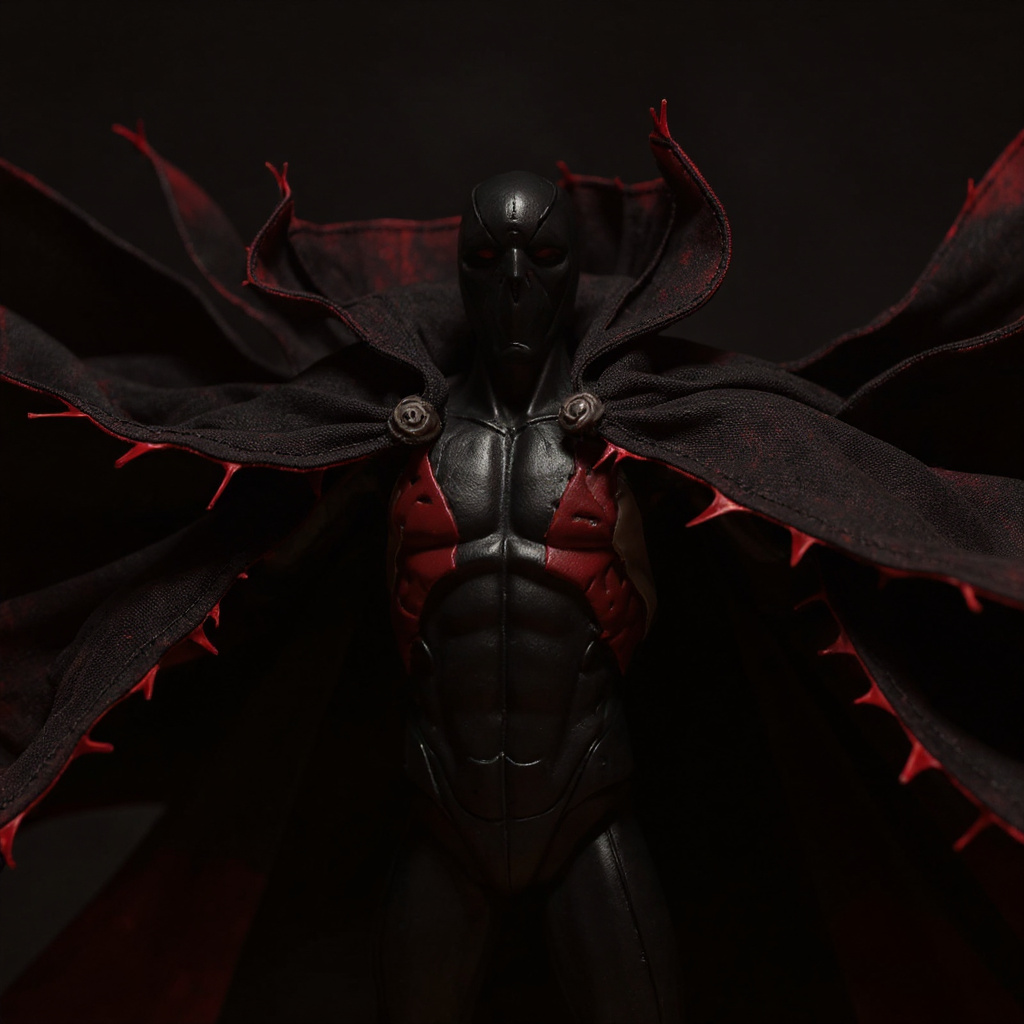
What a Wire-Framed Fabric Cape Looks Like
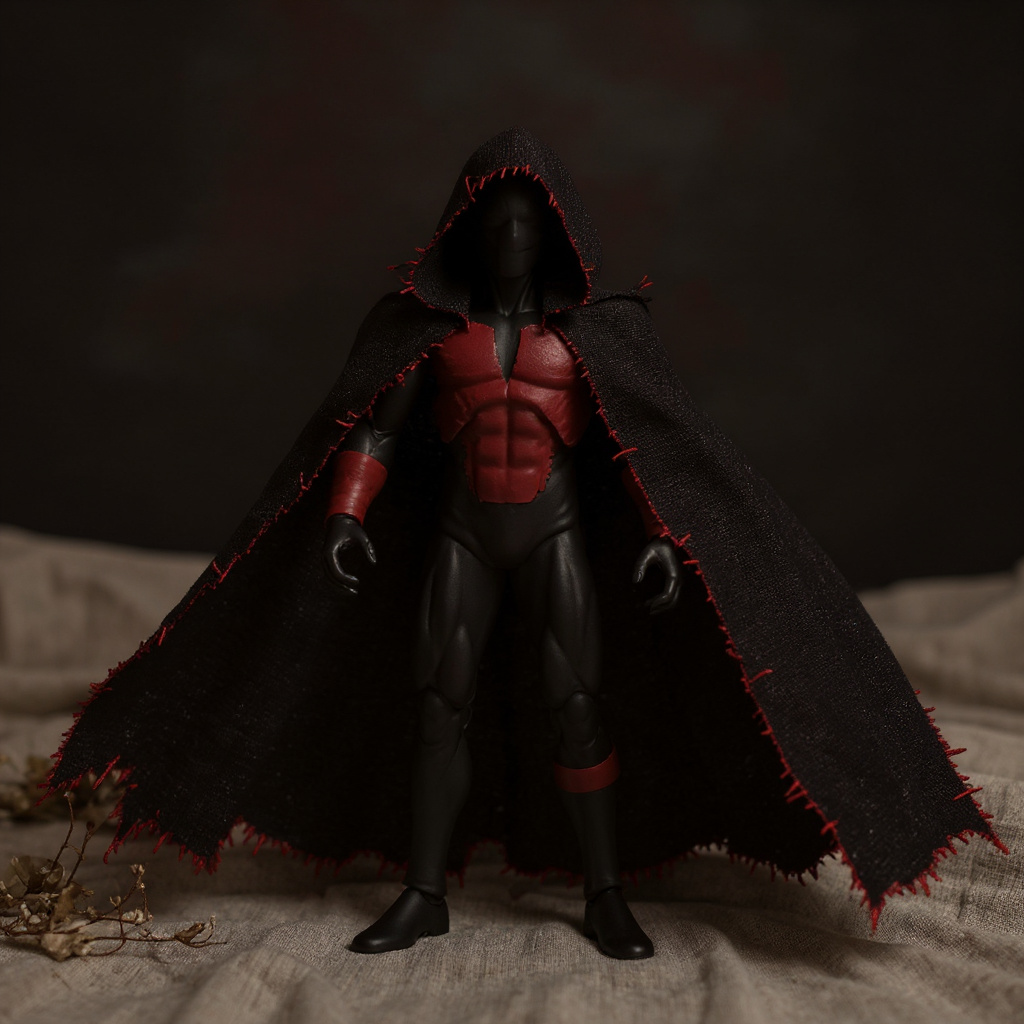
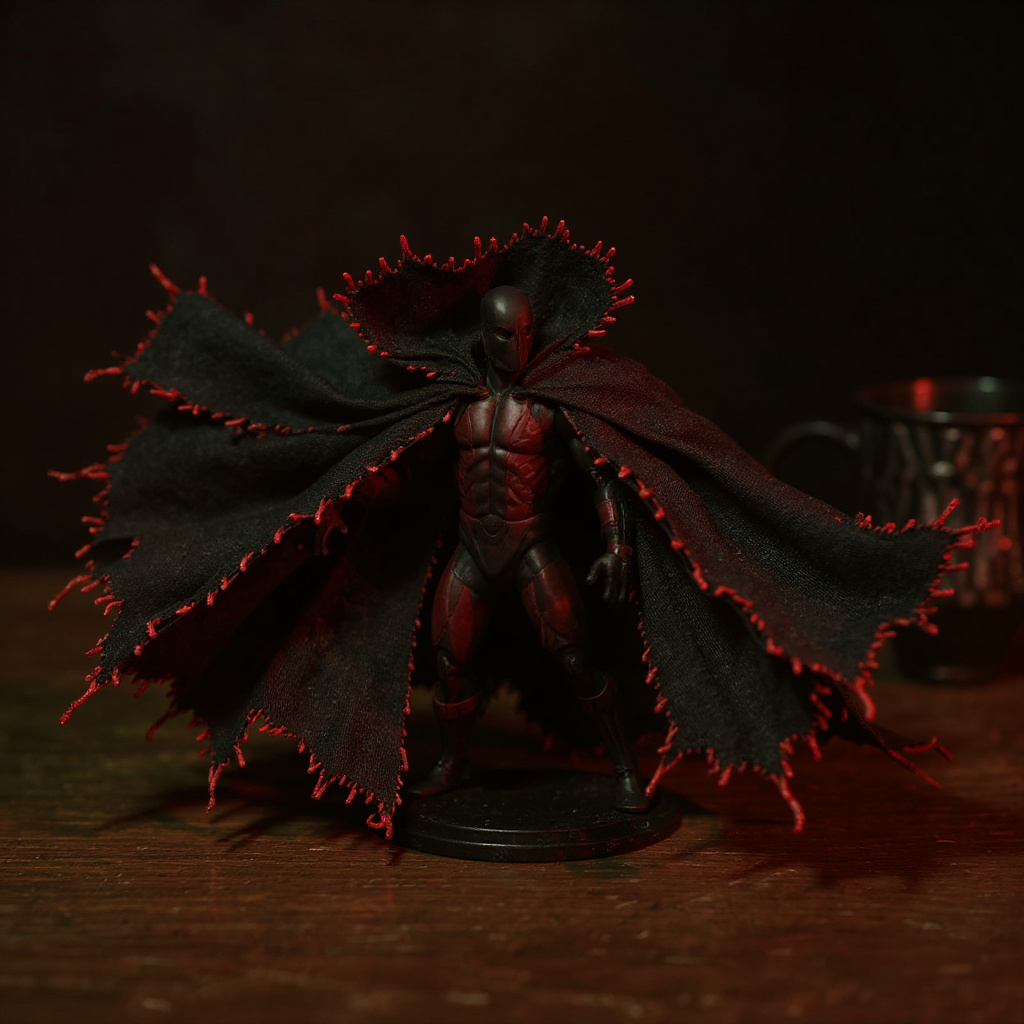
Picture matte black cloth with jagged, flame-like torn edges. The weave is visible and so are the hand stitches. It drapes over the shoulders of a dark red and black torso, and the silhouette sweeps sideways as if a storm just hit it. Behind it is a dark, moody backdrop. That is the target look for a Spawn-style figure.
Stock capes from McFarlane Toys are usually molded or hang straight. They look fine on a shelf. In photos they look flat. Lifeless. Done.
A wire-framed fabric cape fixes that. Matte cloth scatters light instead of reflecting it, so the folds read as shadow and depth against a dark background. The wire does the posing.
How a Shapeable Wire Cape Works
Bendable wire is sewn into a fabric channel and holds whatever shape you give it. On a cape with torn, flame-shaped edges, the wire cannot follow every point. We run it along a smooth line about 6 mm inside the edge. The ragged fringe hangs past the wire and flutters on its own.
Most builds use three runs:
1. One wire along the bottom hem. 2. One wire up each side. 3. An optional center spine from the neck to the hem for stability.
The wire is folded inside the fabric and closed with visible hand stitching, so you never see or feel it. Cheaper versions sandwich the wire between two layers without folding the edge. That leaves lumpy seams, and the lumps show up in close-up photos.
Soft Goods Cape Shapeable Wire: Gauge Chart for 7-Inch Figures
Wire gauge follows the American wire gauge standard. A lower number means thicker wire. We built eight capes from the same black cotton pattern, two each in 18, 20, 22 and 24-gauge aluminum wire. Each was posed in the same windswept shape. We then logged the weeks until the cape tip sagged more than 1 inch (25 mm) at room temperature.
| Wire gauge | Diameter | Hand-bending | Weeks to 1-inch sag (our test) | Best for |
|---|---|---|---|---|
| 18 | 1.02 mm | Hard, needs pliers | 12+ | Large capes, fixed poses |
| 20 | 0.81 mm | Medium | about 10 | 7-inch figures, occasional reposing |
| 22 | 0.64 mm | Easy | about 5 | Light fabric, small details |
| 24 | 0.51 mm | Very easy | about 1.5 | Accent wires, temporary shaping |
Two capes per gauge is a small sample, so treat the numbers as a guide and not a lab result. The pattern is clear, though. 20 gauge is the compromise that works for a 7-inch figure.
Material matters as well. Aluminum bends smoothly and does not rust. Copper is tougher but darkens with age. Steel holds shape best but needs pliers. Repeated bending causes metal fatigue). In our test, 20-gauge aluminum snapped at the same sharp fold after 25-40 back-and-forth reversals. Smooth arcs last far longer than creases.
Why Fabric Beats Plastic for Dynamic Poses
Plastic capes are molded in one position, and that is what you get. Fabric with wire gives you options. Bend it left for an action shot. Wrap it around the torso for a menacing, closed pose. Flare it wide to fill empty space in a diorama.
Texture is the other half. Cloth has real weave, natural wrinkles and uneven drape. Matte black cotton under a single side light shows every fold. Molded plastic shows a shiny highlight and not much else. Collectors on r/ActionFigures often post fabric-cape photos for exactly this reason, but that is community anecdote and not measured data.
What a quality wired cape like the Spawn 7 Inch Cape changes:
1. Photo variety: each shoot can use a new cape shape. 2. Display drama: static shelf poses gain motion. 3. Diorama fit: the cape can wrap scenery or trail behind a base. 4. Stop-motion work: you can shift the cape a few millimeters per frame. 5. Convention displays: a posed cape reads from across a table.
Handmade vs. DIY vs. Plastic: Cost and Hold Time
| Option | Cost | Posability | Hold time | Surface |
|---|---|---|---|---|
| Stock plastic cape | $0 (included) | None | Fixed shape | Molded, often glossy |
| 3D-printed aftermarket | $15-30 | None | Fixed shape | Visible layer lines |
| Handmade wired cape (mid-range) | $60-120 | High | about 10 weeks untouched (20 gauge) | Real cloth, hand-stitched |
| Handmade, Spawn 7 Inch Cape | $84 | High | about 10 weeks untouched (20 gauge) | Black cloth, torn flame edges |
| DIY wired cape | $12-18 materials | High | Depends on gauge, see chart | Your own stitching |
The $84 price is the listed price of one product, not an industry average. The $60-120 range comes from comparing handmade soft goods listings from several makers, so check current prices before you buy. What you pay for is pattern work, edge finishing and wire placement, which add up to hours of labor per cape.
How to Make a Torn-Edge Wired Cape (DIY)
Basic sewing is enough. Plan on 4-6 hours for a first cape and 2-3 hours once you have the pattern.
1. Cut a black cotton piece about 6 inches long and 4-5 inches wide at the hem, with a shallow curve at the neck. 2. Tear the bottom edge into flame points. Nick the fabric, then rip along the weave and fray the edge 2-3 mm. 3. Fold the side edges 6 mm inward and press them flat. Do not fold the torn hem. 4. Lay 20-gauge wire in each fold, leaving 10 mm of extra length at the neck end. 5. Hand-stitch each fold closed with black thread, using stitches about 3 mm long. Keep the wire centered in the channel. 6. Add a short center spine in the same way, then attach snaps, magnets or fabric ties at the neck. 7. Shape the wire into a smooth S-curve and test the pose before photographing.
DIY Material Costs
1. Black cotton fabric, quarter yard: $4-6 2. 20-gauge craft wire spool: $4-6 3. Black thread: $2-3 4. Snaps or magnets, plus fray sealant: $2-3 5. Total materials: $12-18 (labor not included)
Mistakes show on the first try. Wire bumps. Uneven hems. A loose stitch that snags the fringe.
Long-Term Pose Stability
Gravity wins eventually. Fabric weight pulls the wire back toward neutral, and metal fatigue shortens its life. With 20-gauge wire and no handling, our capes held a pose for about 10 weeks. If you repose for photos, plan to reshape every 7-10 days.
Wire breaks are rare. They happen at sharp creases, so favor wide arcs. Leave 10 mm of spare wire at the neck so you can trim and re-bend if a tip snaps. The cotton outlasted the wire in our tests. Synthetic cloth can hold permanent crease lines where the wire sits.
Honestly, if your figure lives behind glass and never gets reposed, skip the wire entirely. A plain hand-sewn cape costs less and will not sag. Wire only pays off if you pose, photograph or build scenes.
Fitting a cape to a figure varies by sculpt. McFarlane publishes no official cape dimensions that we could find. Our test pattern ran 6 inches from the shoulders, which suited a Spawn-style 7-inch torso. Measure your own figure before cutting.
Frequently Asked Questions
What is the easiest way to wire action figure soft goods?
Fold the fabric edges over 20-gauge craft wire and stitch them closed before you finish the final seams. This hides the wire and keeps it bendable by hand. Start with the hem and sides, and add a center spine only if the cape twists.Can you make a wired soft goods cape without stitching?
Fabric glue or iron-on tape works for a cape that will rarely move. Wire creates stress at every bend, and in our experience glued channels peel before stitched ones do. For a pose you plan to change, hand stitching is the safer choice.Has anyone made their own soft goods capes for action figures?
Yes. Customizers share patterns and builds on forums such as r/ActionFigures and fan communities like r/Spawn. Simple capes need only basic sewing. Torn edges, weathering and layered fabric take more practice.How do you keep jagged torn edges from fraying apart?
Tear along the weave so the fray stays shallow, about 2-3 mm. Then add a thin line of fabric fray sealant on the back side only. Keep the wire inside a stitched fold away from the torn points so it never snags the fringe.What size cape fits a 7-inch Spawn-style figure?
Our test pattern was 6 inches long from shoulder to hem and 4-5 inches wide at the hem. That draped well over the shoulders of a Spawn-style torso. These are our measurements, not an official spec, so check against your figure.How long do wired capes hold their pose?
With 20-gauge wire and no handling, about 10 weeks in our test. With regular reposing, reshape every 7-10 days. Thinner 24-gauge wire sagged in about 1.5 weeks.Does a matte black cape photograph well?
Yes, with the right light. One side light at a low angle shows the weave and the folds against a dark background. A front flash flattens everything and hides the stitching.Is a Shapeable Wire Cape Worth It?
A soft goods cape shapeable wire design earns its cost if you pose, photograph or build dioramas. Choose 20-gauge wire for a 7-inch figure and keep bends in smooth arcs. Plan to reshape the cape every 7-10 days if you handle it often.
For a ready-made option, see this handmade soft goods replacement cape. Browse more figures and accessories at The Figure Vault. If you only display your figure and never touch it, the stock cape is fine.

