


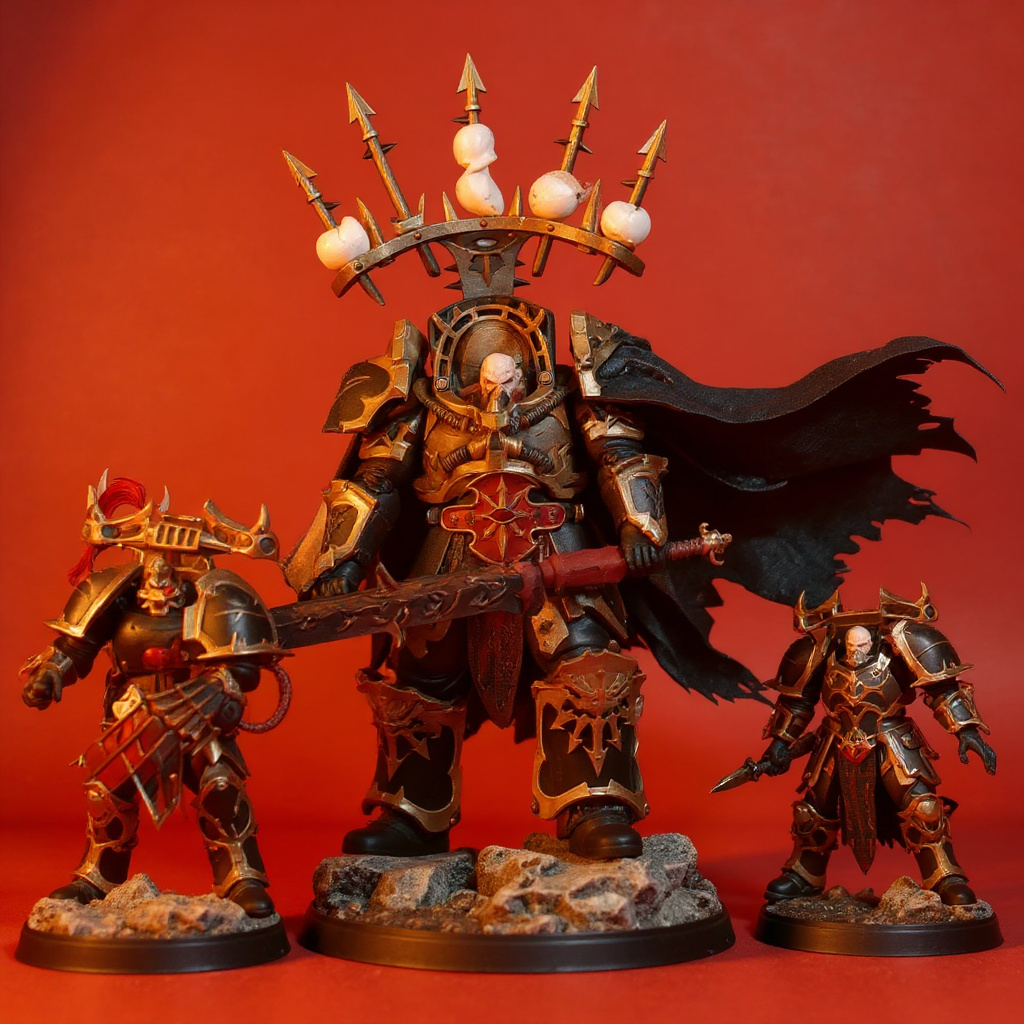
A wire frame cape for posable figures is a tattered black cloth cloak with 20–22 AWG copper wire inside its torn hem, letting you bend it into a windswept pose on a 1/18 scale figure. Expect a matte cotton body under 2 g, a magnet or snap mount, and $25–50 handmade.
We build and bend these capes for armored 1/18 figures, mostly black and mostly ragged. Everything below comes from that bench work, plus published wire, fabric and magnet specs you can check yourself. Where a number is our own small-sample test, we say so.
Why a Wire Frame Cape for Posable Figures Beats Molded Plastic
A molded cape is one frozen moment. Change the arm position and the cloak looks wrong, because the sculptor designed it for a single stance. Plastic also reads thick at 1/18 scale: a 2 mm edge on a 100 mm figure equals a 36 mm slab on a real person, and the glossy surface shines like a toy under display lights.
Cloth behaves differently. A matte black weave breaks light into small folds and soaks up glare, so the cape looks like fabric instead of a prop.
The wire armature solves the posing problem. Copper in the hem remembers each bend, so one cape serves a charging stance on Monday and a brooding stance on Friday. For grimdark builds the wire adds to the look too. Where the cloth tears, bare wire shows through like a broken frame. Deliberate, not accidental.
This suits posable action figures and dioramas alike. A flat cloak behind a figure looks dead, while a bent one suggests wind, speed or menace in a single frame.
Which Wire Gauge Works at 1/18 Scale?
Wire is sized by the American wire gauge (AWG) standard, where a bigger number means thinner wire. American wire gauge diameters give the first three columns below. The bend-cycle column is our own bench test on soft copper.
| Wire (AWG) | Diameter (mm) | Scaled to full size (mm) | Bend cycles to snap (our test) | Verdict |
|---|---|---|---|---|
| 18 | 1.02 | 18.4 | ~12 | Holds hard, but the ridge shows through thin cloth |
| 20 | 0.81 | 14.6 | ~17 | Good for cloaks longer than 90 mm |
| 22 | 0.64 | 11.6 | ~25 | Best default for 60–80 mm capes |
| 24 | 0.51 | 9.2 | ~34 | Survives bending but sags under fold weight |
Copper work-hardens as you bend it. Every repose makes the metal a little stiffer and a little more brittle, so gentle curves outlast sharp creases.
Weight matters here as well. A 70 × 80 mm panel of 100 GSM cloth weighs about 0.56 g, and 300 mm of 22 AWG copper adds roughly 0.9 g. The finished cape lands under 2 g, light enough for a tiny magnet to carry.
Which Fabric Suits a Tattered Black Cape?
Fabric weight is measured in grams per square metre (GSM); see the grammage reference for the unit. Aim for 60–120 GSM. Anything heavier looks like a tarp on a 100 mm figure.
| Fabric | Weight (GSM) | Thickness (mm) | Fits 1/18? | Approx. price per yard |
|---|---|---|---|---|
| Black cotton gauze | 60–90 | 0.2 | Yes, frays well | $4–8 |
| Cotton poplin | 100–120 | 0.25 | Yes, best all-rounder | $6–10 |
| Polyester crepe | 70–90 | 0.2 | Yes, can be singed | $5–9 |
| Silk habotai | 30–45 | 0.1 | Yes, but slippery to sew | $12–20 |
| Lightweight linen | 120–150 | 0.3 | Borderline | $10–18 |
| Cotton canvas (10 oz) | ~340 | 0.7 | No, too stiff | $8–14 |
Skip knits and jerseys. They stretch, so the wire channel warps and the cape never holds a clean shape.
For tattered edges, cotton poplin wins. It tears along the weave, frays into soft threads and takes a wash of dark paint without turning shiny.

How to Build a Wire Frame Cape: 7 Steps
1. Draft a paper template. For a 100 mm (about 4 inch) figure, start with a cape 70 mm long, 50 mm wide at the shoulders and 90 mm wide at the hem. Tape it on the figure and adjust. 2. Cut with a 6 mm margin. Cut the shoulder line clean. Tear the hem and side edges by hand along the weave so they stay ragged. 3. Fold the edge over 1/4 inch (6 mm). Press it flat, then stitch a channel 3 mm from the fold. Fabric glue works on cloth under 120 GSM if you clamp it for 10 minutes. 4. Thread 22 AWG wire in one continuous run. Leave the channel open for 8–12 mm at two or three spots so bare wire shows at the tears. Splices make weak points, so avoid them. 5. Finish the wire ends. Leave a 10 mm tail at each end and twist it into a flat loop. Sharp tips scratch armor. 6. Add an optional spine wire. Run a second 22 AWG strand from the hem midpoint up toward the neck. It controls mid-cape billowing. 7. Mount it. Glue a 3 × 1 mm N35 neodymium magnet into a small fabric pocket at each shoulder, or sew on 4–5 mm snaps. Check polarity before the glue sets. Test fit, then bend.
First cape? Make a plain rectangle before you try a shaped cloak.
7 Posing Techniques That Create Drama
1. Wind-blown asymmetry. Lift one hem corner 25–30 mm above the other, as if a gust hit from the side. 2. Flowing behind. Curve the hem back in a long S so it trails 40 mm past the heels, perfect for a mid-charge figure. 3. Wrapped around. Pull one corner across the chest for a guarded look, and press the cloth into the armor gaps. 4. Battle damage. Bend torn sections into jagged, uneven peaks and let the bare wire show at the rips. 5. Swirling turn. Twist the hem into a spiral to suggest the figure just spun to face an enemy. 6. Ground contact. Rest the lowest 10 mm on the base or terrain so the cloak seems to have weight. 7. Weapon clearance. Bend the cloth 15 mm away from a sword arm or a gun so nothing clips.
Think about the forces on real cloth. Gravity pulls it down, wind lifts it, motion drags it, and obstacles pin it. Pose to one force at a time, and the result looks believable instead of staged.
Collectors on r/Warhammer40k post dioramas where the only change between shots is the cape. It is a cheap way to make one figure look like five.
How to Weather the Cape: 6-Step Sequence
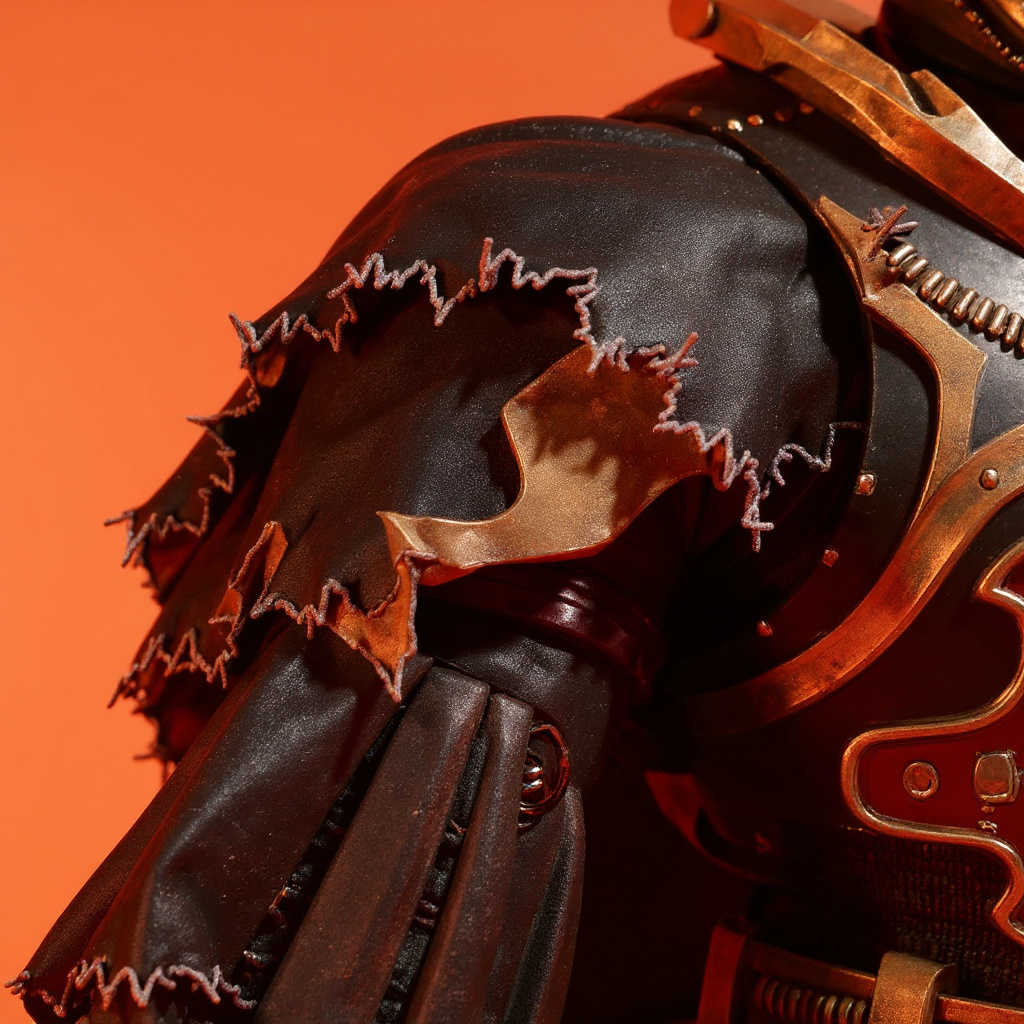
New black cloth looks too clean for grimdark. Work in this order, because each step builds on the last.
1. Tear and fray. Rip the hem along the weave and pull loose threads until the edge is ragged 3–6 mm deep. 2. Rough the edge. Rub it with 400-grit sandpaper for a few strokes. You can always add more, but you cannot undo it. 3. Wash the folds. Brush on dark grey acrylic thinned 1 part paint to 4 parts water, and let it pool in the creases. 4. Dry-brush the dust. Drag pastel chalk or grey pigment across the high points. Keep it matte. 5. Stain the bottom. Dab brown wash on the lowest 20 mm for mud and old blood. 6. Age the wire. Paint the exposed copper dark grey, then wipe it back with a cotton swab at the bends so the metal glints through.
Optional: singe the edges of polyester crepe with a lighter, outdoors, with a bowl of water nearby. The melted edge hardens and curls. Cotton burns instead of melting, so skip the flame there.
Pose the cape before step 3. Dirt then settles into the folds where it would collect on a real cloak.
Common Problems and Fixes
Wire snaps. Sharp creases kill copper. Bend in gentle arcs, and replace the wire after roughly 20 hard repositions. Cape sags. The wire is too thin or the cloth too heavy. Move from 24 to 22 AWG, or drop below 120 GSM. Cape slides off. A 3 × 1 mm magnet is enough for a cape under 2 g, but only if both magnets face each other with no thick paint between them. Wire pokes through. Sometimes you want that, at the tears. Everywhere else, re-fold the channel or paint the wire black.Here is what most guides skip: if your shelf sits in a humid room without a case, skip bare copper and cotton altogether. Copper tarnishes green, cotton grows musty, and you will spend more time cleaning than posing. Buy a sealed case or buy plastic.
Action figure customizers on r/ActionFigures tend to give the same advice for beginners: simple shapes first, tailoring later.
Cost: Handmade vs. Molded vs. DIY
Handmade wire frame capes run roughly $25–50. Molded plastic capes cost about $5–15 but cannot be repositioned. A DIY first cape costs around $8–12 in materials: a fat quarter of fabric, a spool of wire and a pack of magnets.
Building costs less. Buying saves the hours you would spend on trial and error.
Disclosure: TheFigureVault sells the Abaddon Black Legion Warmaster Cape, a $34 tattered black cloth cape with a wire frame for 1/18 Warhammer 40K figures. We cite it as one pricing reference, not the only option.When you compare makers, check four things: the wire gauge, whether the wire runs continuous with no splices, whether stitching hides on the display side, and whether the shoulder mount fits your figure body. Shoulder positions differ between manufacturers.
Frequently Asked Questions
How do you make a wire frame cape for action figures?
Cut a black cotton cape about 70 mm long from a paper template, fold the edge 1/4 inch (6 mm), and stitch a narrow channel. Thread 22 AWG copper wire through it in one continuous run, twist the ends into flat loops, then glue a 3 mm magnet into each shoulder.
What wire gauge is best for a 1/18 cape?
Use 22 AWG (0.64 mm) for most 1/18 capes and 20 AWG (0.81 mm) for cloaks longer than about 90 mm. At 24 AWG the wire sags under a folded cloth edge, while 18 AWG scales up to an 18 mm rod and looks bulky. Soft annealed copper holds a bend without springing back.
Can you make a posable cape without sewing?
Yes. Fold the hem over the wire and bond it with fabric glue or PVA, clamping it with clips for 10 minutes. Glued channels work well on fabric under 120 GSM and still fray for a tattered look. Sewing lasts longer on heavier cloth, and a stitched channel survives more repositioning.
What magnets hold a cape on a 1/18 figure?
A 3 × 1 mm N35 neodymium disc is enough, since a finished cape weighs under 2 g. Place one magnet in the cape and one on the figure's back plate, checking polarity before gluing. Keep magnets away from pacemakers and bank cards.
How do you make a cape look tattered and battle-worn?
Tear the hem along the weave instead of cutting it, pull loose threads, then rub the edge with 400-grit sandpaper. Add a diluted dark-grey acrylic wash, then dry-brush pastel chalk for dust. Leave 8–12 mm of wire exposed at two or three tears so the frame reads as battle damage.
Will the wire damage figure paint?
Rarely. Exposed copper ends can scratch armor, so flatten each tip into a loop and keep it 5 mm from the shoulder mount. Rubbing on matte paint can burnish it over time, so put a dab of matte varnish on contact points.
How much does a wired cape cost?
Handmade wire frame capes usually run $25–50, while molded plastic capes cost $5–15. DIY materials for a first cape come to about $8–12: a fat quarter of fabric, a wire spool, and a pack of magnets. Prices are rough market ranges, and they shift with fabric and finishing work.
Are cloth capes better than plastic ones?
For photos and dioramas, yes: cloth drapes with real folds and the wire lets you repose it. Plastic wins on durability and needs no care. If you set a figure once and leave it behind glass, a molded cape costs less and does the job. Wire matters only if you plan to repose.
Is a Wire Frame Cape for Posable Figures Worth It?
If you photograph figures or rearrange displays, yes. A tattered black cloak with a bendable frame turns a static armored figure into a scene. If you display once and never touch it again, save your money.
Build one from the steps above and you will know within an afternoon whether the hobby suits you. Fraying edges. Bent wire. A cape that finally moves.

