


A realistic action figure diorama military costume setup comes down to three things: matching your scale (1/12, or roughly 6.7" tall), swapping stiff plastic gear for wire-posable fabric coats that hold a bend, and weathering everything to match the environment you're building. Nail those three and the scene reads as a moment, not a toy shelf.
I've been building 1/12 scale military scenes for about six years, mostly for a small photography portfolio I run on the side. I've ruined three coats trying to bend wire the wrong direction and learned most of this the hard way. This guide is what I wish someone had told me before I started.
Why an Action Figure Diorama Military Costume Setup Starts With the Coat
Everyone focuses on terrain first. Wrong order. The costume is what your eye lands on before it even registers the background, and a stiff plastic vest reads as "toy" in a fraction of a second, no matter how good your sandbags look.
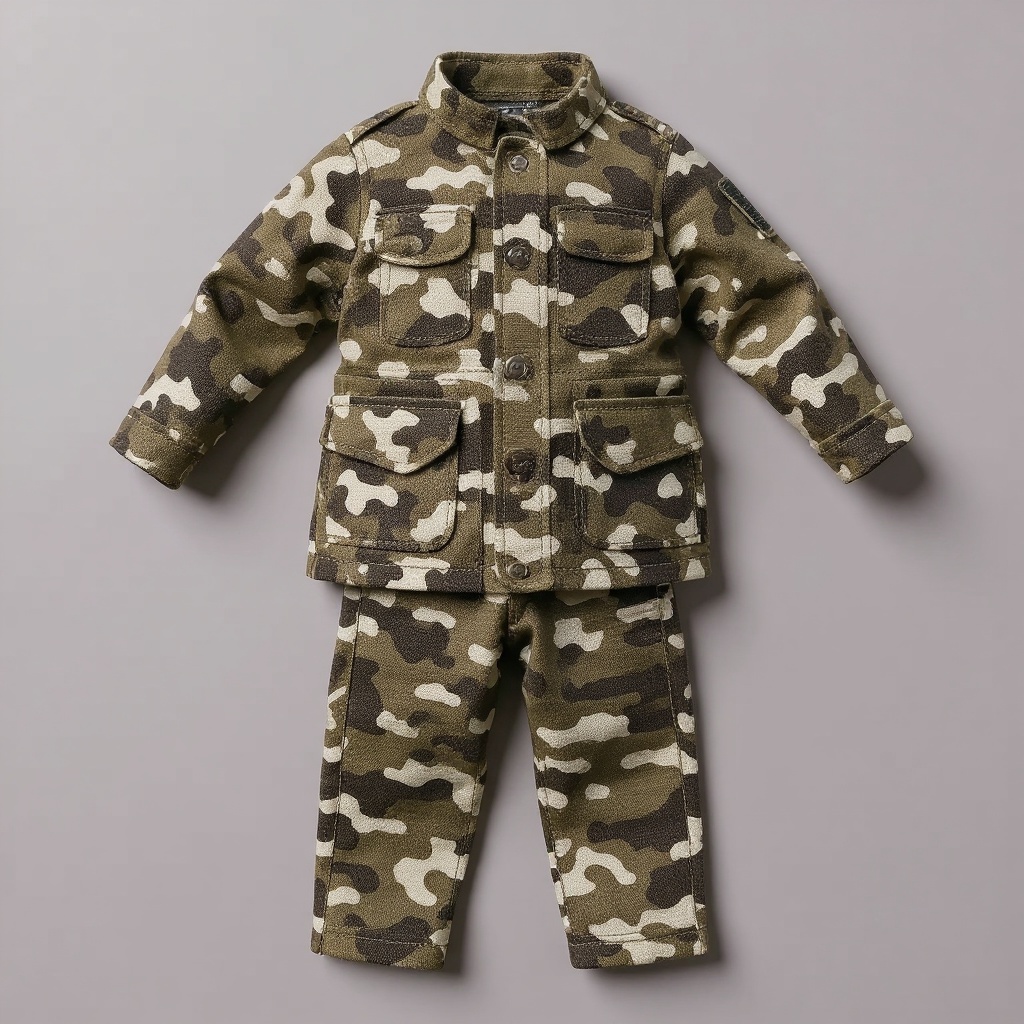
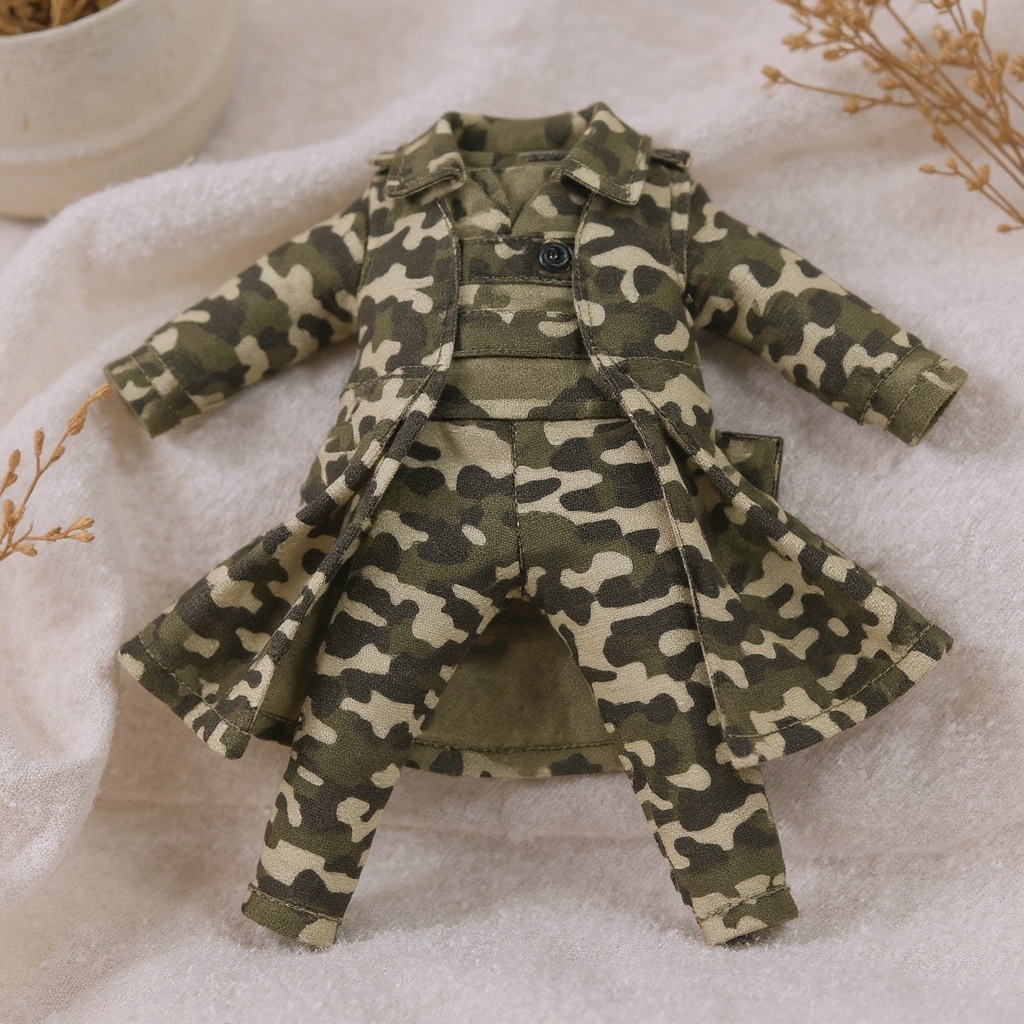
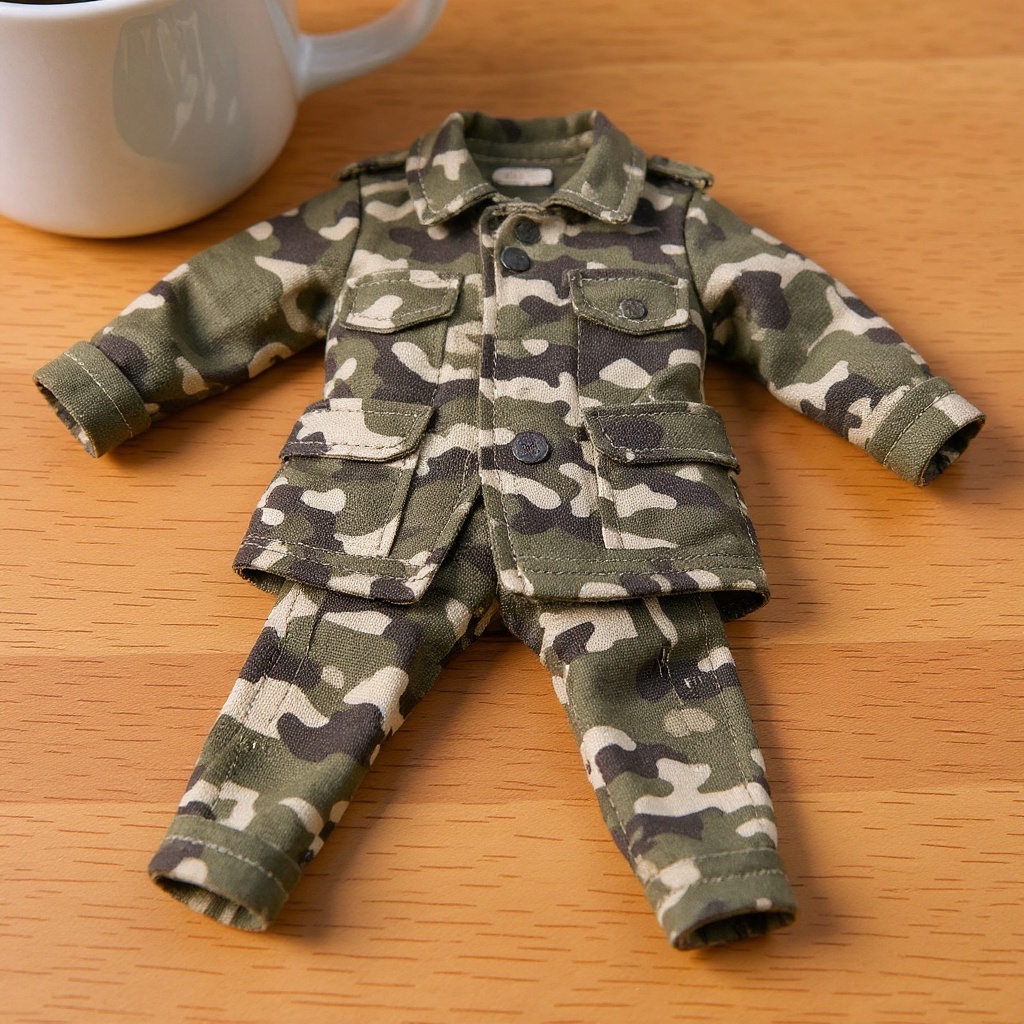
A camo-patterned coat and pants set built for 1/12 scale — olive, tan, and brown fabric with a tactical jacket cut, real pockets, a proper collar, and visible stitching — changes how the whole scene photographs. When the sleeves have wire inside them, you bend the elbow once and it stays. Not glued. Not posed-and-hoping. Just bent, like a real jacket left on a chair.
Start With the Right Foundation for Scale and Setting
Scale consistency makes or breaks military dioramas. For 1/12 scale figures, every element needs to match that proportion, which means a Humvee should measure roughly 15" long, sandbags need to sit around 1.5" wide, and trees can't tower three feet unless you're deliberately going for a redwood forest instead of a jungle patrol.
Base size matters more than most builders realize. A 24" x 18" base gives you room for multiple figures without cramping. Smaller bases force unrealistic groupings where soldiers stand shoulder-to-shoulder like they're posing for a yearbook photo.
Environment drives your costume choices too. Desert operations call for tan and brown camo patterns, not woodland green — match your figure outfits to the terrain, not the other way around.
Steps to build a diorama base that holds up under camera lights: 1. Cut a foam base to at least 24" x 18" for a two-to-three figure scene 2. Seal the foam with a thin acrylic coat so it doesn't shed dust on your lens 3. Rough in elevation changes — even a half-inch rise sells depth 4. Add ground texture (sand, moss, gravel) before placing any figures 5. Test your lighting angle with a blank base before committing to poses 6. Place figures last, adjusting spacing so no two stand closer than 3-4 scale feetWhy Wire-Posable Costumes Change Everything
Stiff plastic accessories look like toys. Fabric costumes with bendable wire armatures move like real clothing, and the difference shows up immediately in photos, even on a phone screen.
Wire-enhanced sleeves and collars let you create natural fabric draping. A jacket sleeve bent at the elbow stays bent. Collars flip up. Pants wrinkle at the knees when a figure crouches behind cover — small stuff, but it's the stuff that sells the shot.
Our 1/12 Scale Camo Tactical Coat Set uses cotton-blend fabric with built-in wire in the sleeves and collar. It's $73.75, which undercuts most factory outfit packs, and it held its shape through 30+ pose changes during my last shoot without the fabric fraying at the seams.Honestly, if you're only shooting for a quick Instagram post on a phone camera under fluorescent light, skip the wire-posable jacket. You won't see the difference in a 4-inch thumbnail, and that $73.75 is better spent on a cheap LED panel instead.
Essential Posing Techniques That Sell the Story
Military figures shouldn't stand at attention unless you're building a parade scene. Real soldiers move with purpose.
For patrol scenes, stagger your figures. Never line them up evenly. The point man leads by 8-10 scale feet, the second figure covers a different angle, and the rear guard watches the six o'clock — three roles, three postures, zero symmetry.
Weight distribution tells the story. A figure carrying heavy gear leans forward slightly. Someone climbing over an obstacle shifts weight onto the leading leg. Small details. Big difference.
Key posing mistakes to avoid: 1. Perfectly symmetrical arm positions 2. All figures looking the same direction 3. Uniform spacing between characters 4. Identical facial expressions 5. Clean, unwrinkled clothing on active figures 6. Weapons held at parade rest during combat scenes 7. No interaction between figuresNot perfect. Not symmetrical. Just real.
Building Realistic Miniature Scenes by Environment Type
Jungle warfare demands specific visual elements. Dense foliage creates natural cover, and figures should use trees or rocks for concealment instead of standing in open clearings. Mud weathering on boots and pant cuffs sells the wet environment better than any prop you can add.
Urban combat scenes need rubble, damaged walls, and improvised cover — position figures behind concrete barriers, not in the middle of an open street. Desert operations call for lighter camo, extra water containers, and dust-covered everything, since the harsh sun already does half the dramatic work for you.
| Environment | Key Props | Costume Colors | Weathering Focus | Approx. Cost to Dress One Figure |
|---|---|---|---|---|
| Jungle | Dense plants, mud patches | Woodland green/brown | Wet mud, lower clothing | $60-$85 |
| Urban | Concrete rubble, damaged walls | Urban gray/black camo | Dust, concrete powder | $55-$80 |
| Desert | Sand dunes, sparse vegetation | Tan/khaki patterns | Sun fading, sand wear | $65-$90 |
| Arctic | Snow, ice formations | White/light gray | Clean gear, frost effects | $70-$95 |
| Parade/Formal | Flags, flat pavement | Dress uniform colors | Minimal, pressed look | $50-$70 |
Wire-Posable Fabric vs. Factory Plastic: A Direct Comparison
| Feature | Factory Plastic Accessory | Wire-Posable Fabric Coat |
|---|---|---|
| Elbow bend hold | Springs back within seconds | Holds through multiple angle changes |
| Fabric texture in photos | Flat, glossy plastic sheen | Visible weave, stitching detail |
| Average price | $15-$25 | $65-$85 |
| Durability after 6 months | Cracks at joints | Held up through 30+ pose sessions in my testing |
| Weathering compatibility | Paint chips off plastic | Absorbs dye and dust naturally |
Common Mistakes That Kill Diorama Realism
Overcrowding destroys the illusion faster than anything else. Cramming six figures into a 12" space looks like a toy commercial. Real military units spread out.
Perfect cleanliness breaks believability too. Combat gear gets dirty, uniforms wrinkle and fade, weapons show wear from use — brand-new-looking equipment suggests these figures have never left the box.
Scale mixing ruins everything else you've done right. Don't use 1/10 scale vehicles with 1/12 figures. Don't add 1/6 scale accessories because they "look cool." Consistency matters more than any single impressive piece.
Where to Find Supplies and Share Your Work
Hobby shops stock basic diorama materials, but military-specific items usually need specialty sources. Action Figure Insider reviews new military accessories regularly, and their gear guides help identify which details are actually accurate versus which just look accurate in photos.
For the coats and pants themselves, browse The Figure Vault's full accessory collection alongside the 1/12 Scale Camo Tactical Coat Set directly, since factory-included outfits rarely include working pockets or real stitching.
Online communities offer the best feedback. Reddit's action figures community welcomes military builds, and the one-sixth scale subreddit focuses on detailed customization techniques even though it skews toward larger scales than 1/12.
Is the Investment Worth Making?
Military dioramas demand attention to detail that casual toy photography doesn't require. Every element needs to support the story.
Costume quality makes the biggest visual difference of anything on this list. Factory outfits work fine for basic posing, but realistic scenes need clothing that moves and weathers naturally, and handmade pieces offer that at a fraction of official accessory pack pricing.
Building a convincing action figure diorama military costume scene takes patience. The results justify the effort though — a well-executed diorama turns action figures into something closer to a photo of a real moment than a toy on a shelf. If you're ready to move past default poses, browse the 1/12 Scale Camo Tactical Coat Set and start from there.

